Transcription
Mission Building Quick-StartIntroductionThe first thing to understand is that the game is designed with the procedural missions system in mind. This means that if you construct your levelappropriately you will have a great deal of flexibility available to you in terms of adjusting things like the biome, weather, foliage, landforms, andso on. Unfortunately it also means that the process of putting together a custom level and laying out the gameplay manually is significantly morecomplicated and time consuming than it would be in a typical game.The purpose of this guide is to go step-by-step through putting together a simple mission taking place on a custom made single-tile level (asopposed to the proc missions in the game which take place on a level comprised of a matrix of terrain tiles).This guide also assumes you have a decent level of familiarity with level building and basic scripting in the Unreal Engine, so I won’t be going intoany detail about how to do things other than those which are peculiar to MW5.Step 1: Plan Events/ObjectivesBefore starting, you should have an idea in mind of what sort of gameplay you want to have in the mission. There are a number of missioncomponents from which you can assemble a wide variety of gameplay events, and the satisfaction of any of these mission components can bemarked as an objective for the player to complete in the mission.Some examples of events and objectives you can do with mission components are:-Set a timer-Spawn AI units to attack a base-Spawn AI units to attack the player-Spawn AI units to travel to a location-End the mission-Fire artillery-Player must capture a base-Player must destroy certain buildings-Player must defend certain buildings-Player must scan an item-Player must target a certain building or unit-Player must destroy certain units-Player must go to a certain location-Player must go to an evac pointUsing combinations of these and simple flow logic, you should be able to construct a wide variety of missions. Available, in addition to thisdocument, will be the complete Mission Flow Node Scripting Reference document which was written throughout the course of the project by thedesigners who created the mission components.Step 2: Make a Terrain LevelLandscape ObjectBecause we’re not using a matrix of connected terrain tiles for this mission, you can make your landscape object any size or resolution you want.For reference, the standard tile size for proc missions is a square 75600 units in diameter and 505x505 resolution. The smallest proc missionlevel ever would be 3 x 3 tiles (226800 units or 2268m across), and the largest would be 8 x 8 (604800 units or 6048m across). These are notlimits, you are free to make your level whatever size you want, performance should be your only limitation in that respect.
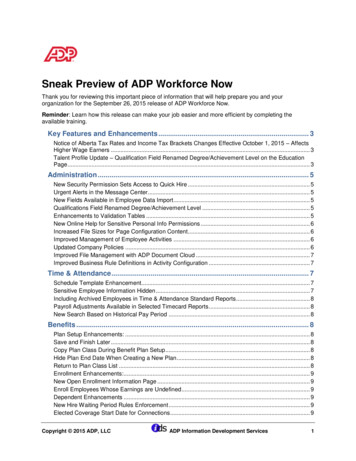
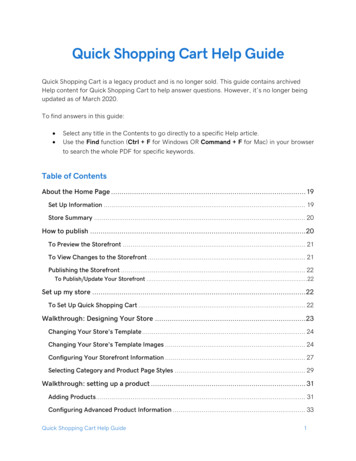
For the terrain material, I recommend using one of the DynamicTerrain material instances found in Content/Objects/Environments/ common/Materials/There will be a selection of them, for now I’ll suggest DynamicTerrain Default MTIThis material has two layers, Main and Secondary. You will need to set the Layer Info objects for each of these. They already exist, justselect them.I recommend filling the landscape with the main layer and painting the secondary layer as you see fit.
This will work nicely with the biome system. In the Forest biome, for example, the main layer will be green grass and the secondary layer will bebrown dirt. Some of the other dynamic landscape materials will have additional layers, but don’t use those materials unless you need theadditional layers because it will add to the performance cost of the landscape material.NavMeshBoundsVolumeThe main level must contain a NavMeshBoundsVolume that encompasses any area where you wish for the AI to navigate.
Foliage SpawnersFor things like trees, rocks and bushes, we do not place the specific assets directly into the levels. Rather we place foliage spawners. This willallow us to change both the varieties of asset and their respective densities based on which Biome we are specifying for the mission. Forexample, a tile with 1000 tree spawners will only spawn 10 trees if the tree density is set to 0.01 in the biome.The foliage spawners are found in:Content/Objects/Environments/Foliage/ common/FoliageSpawnerTypesThey need only to be set up as the foliage for that landscape and then can be painted/placed using the foliage editor dialogue. When the missionruns it will select the appropriate foliage items based on the specified Biome and DecorationCollection objects.The standard ones to use (the ones which will be most likely to have assets specified for them in the existing biomes) are:FoliageSpawnerType Bush FLTFoliageSpawnerType Rock Large FLTFoliageSpawnerType Rock Normal FLTFoliageSpawnerType Tree Normal FLT
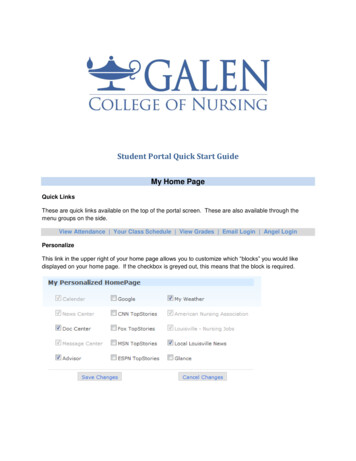
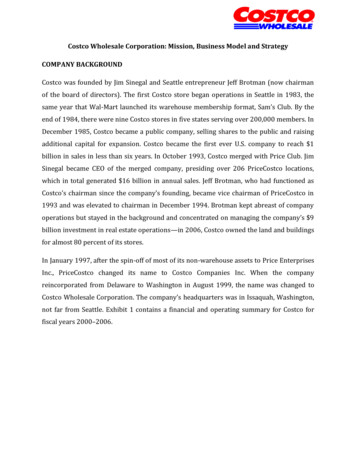
If you populate your landscape with these types of foliage spawners, they will spawn appropriate assets for whatever biome is selected.LandformsLandforms are giant terrain features, in most cases larger than a ‘Mech. They are also selected and spawned via spawners, and placed in thefoliage system. The most effective method for placing them is to find the landform blueprint you want in one of the folders located here:-Content/Objects/Environments/TerrainFeatures Then you can drag and drop the blueprints into the level, and scale and orient them appropriately. There will be a lot of files in these folders, youwant to use the ones that are blueprints and in the folders named "Prefab" etc.
Once you are happy with the location and orientation of a landform you can check “Bake Into Instanced Foliage Actor” in the Detailspanel. This will replace the blueprint instance with a foliage spawner similar to the type described above. You can still select and manipulate thespawner, but now you have to do it via the foliage dialogue which is a little less convenient. This is why it is advisable to do this after you haveplaced all your landforms. The editor may freeze up for a while after you click the checkbox. Don’t panic. Once those are baked, they are nowpart of the foliage system and they will appear in the foliage dialogue.Barrier WallsIf you wish to have collision walls around the level perimeter, preventing the player from exiting the level, add WorldBarrierVolume objectsand scale them to the desired size.
These will also show the red glowing indicator when the player moves within a short distance of them.Make sure your level is saved and we’re now going to create markup levels.Step 3: Set Up Markup LevelsFirst make a new level and include it as a sublevel in your terrain level from before. This is going to be your markup level. In the game these aretypically given the same name as the terrain level with “ MRK” tacked onto the end.For the proc mission tiles, normally some tiles are flagged as enemy tiles and some as friendly tiles. Since we’re only making one big tile, we’llhave to make two separate markup levels. I’ll describe the process just once, but ultimately you’ll be doing this twice. Once for friendly stuff, oncefor enemy stuff.
This level is going to be where you put all the “locator” objects that will indicate where things are going to spawn in your mission. (Bases, AI units,triggers, etc.)The first thing to place in this level is a ConfigurationController object. You can find this in the “Place” dialogue in the “Modes” window bytyping “Config” into the filter bar.Since this level is going to be unique to your mission, you’ll only need to set up one configuration for your tile, but we still need the ConfigurationController.With your ConfigurationController selected, go into the Details panel in the Tile Configuration section and click the sign to add anew Configuration Definition. For its Key Gameplay Tag, select Config.Default.Do all of the above twice. You can name the levels whatever you want, but I recommend naming them something like this:MyLevel Friendlies MRKMyLevel Enemies MRKThese should both be added as sublevels to your main level, with their offset at 0,0,0 (that’ll be the default unless you were to manually changetheir offset for some reason).
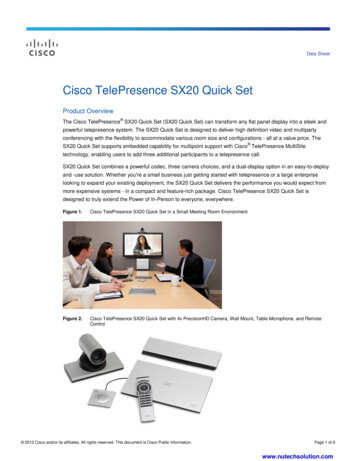
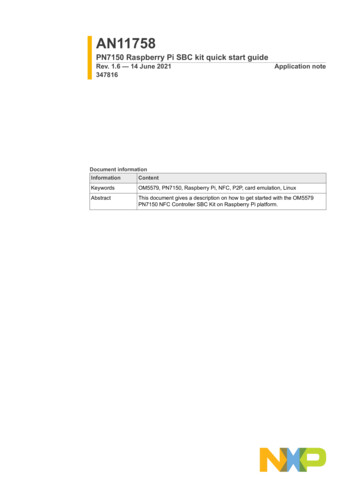
From now on you’ll be opening up your main level file to add anything, but you’ll want to be cognizant of which level you are adding things intoand make sure to select the appropriate one from the levels panel. To select the level you want to work in, double click it in the Level window.Don't forget the active one will be highlighted in blue text.Step 4: Friendlies Markup LevelSelect the Friendlies markup level you just made in the levels panel so that anything you place in this step goes into the friendlies markup level.First place a DropshipLandingZoneLocator where you want your mission to start. This can be used for either disembarking the player from adropship or just fading into the mission. For this and all the locators you are about to place, I recommend naming the objects in a tidy andreadable way – this will help you in the future for finding them in the world outliner panel and adjusting them.In order to use this locator in the mission, you will need to add this locator to the tile configuration that you created in the ConfigurationController. To do this, select the ConfigurationController, go down to the Config.Default configuration you created and under Locatorsclick the sign. This will create an entry. In the text box that says “0” by default, enter the name by which you want this locator to be referencedin the future – something like “MissionStartPoint”, for example. This is how you’ll find this locator inside the AreaSpec, which will be importantlater.Then in the dropdown box next to that, click the arrow and select the DropshipLandingZoneLocator you just placed. Now you’ve got alocator set up in a way that you can reference later. This is essentially how you’ll be adding all the locators to your mission.
This is all you really NEED to do in the friendlies markup level for now. If you wanted a friendly base, or friendly AI units in your mission, you’dadd all the locators for that in this level. But all of that setup is basically the same as setting up enemy ones, so I’ll just move on and describethose all in the next section.Step 5: Enemies Markup LevelLocators for Spawning AI UnitsThere are three ways to spawn AI units.a.)Have them drop from a dropship (four maximum, mechs only).b.) Spawn them from a WaveLocator (as many as you want, any type, they will pop into existence, you can set them up into waves and addsome basic logic for spawning the successive waves – timer, x% killed, etc.)c.)Spawn them in a base (as long as it has appropriate spawn points, the units will exist from the moment the mission loads)For dropping mechs from a dropship, you just need to place a HotDropLocator.For spawning units from a WaveLocator, first place SpawnPoint objects where you want the individual units to spawn. Note: do not use MWSpawnPoint, do not use SpawnPointLocator, use SpawnPoint.
Decide what type of unit you want to spawn from each SpawnPoint, then in the details panel under Spawner, select the type of unit – SpawnerVTOL, Spawner Mech or Spawner Tank.Then add a WaveLocator. Once your WaveLocator is added, add spawn points to it in the Details panel under Locator Config / AuxSpawn Points. Add all the spawn points you added earlier that you want trigger at the same time, or by the same logical structure in themission.
Don’t forget to add the WaveLocator to the Configuration in the ConfigurationController and name it appropriately. Don't forget, we'renow working in the Enemies MRK level which needs its own configuration controller, not the same one we put the DropshipLandingZoneLocator in in our Friendles MRK level.Later on in the AreaSpec section of this document I’ll cover how to specify the units and how to actually spawn them.Locators for Spawning GarrisonsThe third option for spawning AI units I mentioned above is spawning them at bases. You’ll notice I used the word “garrison” above. Early indevelopment of this game, the word “garrison” was chosen as a way of referring to bases without confusing the issue of code inheritance and“base classes”. The usage expanded, ultimately, to refer to essentially any sub-level that we spawn into one of our main levels. So any base,city, farm, factory, basically anything at all that gets saved out as a discrete level, and then spawned in other levels is generally going to bereferred to as a garrison. From here on out I will refer to bases as “garrisons”.Anywhere you want to spawn a garrison, you need a locator. The three main sizes for garrisons are squares with sides of 190m, 360m or a “fulltile” (which is a little smaller than a 756m standard tile). You’ll need to make sure if you are spawning a garrison into your level that you have aflat, unobstructed area of the appropriate size. The locators for these three different types of garrisons are:-GarrisonForwardOperating 190x190mLocator-GarrisonMain 360x360mLocator-GarrisonMain FullTileLocator
There are a number of other smaller types of garrisons with their own locators as well. You can experiment with these and see which ones willsupport the garrisons you are looking for.The garrisons themselves are just levels which will be ultimately spawned into your mission with their origin point at the coordinates andorientation of the locator. They can all be found in the Content/Levels/Garrisons folder, organized in various subfolders.As for spawning AI units in these garrisons, that’ll be covered in the AreaSpec section of this document. They will not require locators of theirown in the markup level, just having the garrison will cover it.Don’t forget to add your garrison locators to the Configuration in the ConfigurationController and name them appropriately.
Any of these locators I’ve described in the enemy markup level can also be added in the friendly markup level if you want them to be friendlyforces/garrisons.Step 6: Other LocatorsYou will likely need other locators as well, for things like waypoints, triggers, and so on. These can use existing locators you’ve already placed,for things like spawners or garrisons. Or if you need a special one you can just place a LocatorClass object. Name it what you want, add it tothe ConfigurationController like anything else, and you’ll be able to see and reference it from the AreaSpecification when you needto.
Step 7: AreaTilesUltimately the way we will refer to our levels in the mission is by AreaTile objects. We will need two of these for our mission – one for the levelitself and the enemy markup level, the other for the friendly markup (just the markup).To create one, go into the content browser and right click on the blank space, then under the MW5 Misc sub menu, select AreaTile.
Once you have your AreaTiles made, name them something like MyLevel AreaTile and MyLevel Friendlies AreaTile.Now double click the MyLevel AreaTile and go into it. There are a bunch of settings that we only need to care about if this tile needs to bepart of a connected tileset for proc missions. Since this does not, we can ignore everything except the Level and Markup Level.For MyLevel AreaTile you will need set those as your main level and your enemies markup level, respectively.For MyLevel Friendlies AreaTile, the only thing in that you will need to set is the markup level, which will be your friendlies markup level.
That’s all we need to do in the AreaTiles. At the bottom you have the option to add a proxy tile. This is also something we use mainly for procmission tiles, for those tiles it is a lo-res static mesh that just illustrates the very basic structure of the tile so we can see how the connectivitylooks in a level comprised of a matrix of different tiles. Since our level is just one tile, we don’t really need to make one.Step 8: AreaSpecification
Okay now we’ve created all the little files that we need to make the mission. From this point on, 99% of our work will take place in the AreaSpecification (hereafter “AreaSpec”).To create your AreaSpec, right click in the content browser and under MW5 Misc select Area Specification and name it.
Note: When working in your AreaSpec, you should not have a level loaded in the editor. If you have a markup level loaded in the editor, thatlevel's locators will not be available in your AreaSpec. Before you work in an AreaSpec you should do FileNew and just have an empty level in
the editor. If you load up an AreaSpec some day and notice a slew of red text and missing locators, make sure you don't have the correspondingmarkup level loaded in the editor.Go down to the bottom of the AreaSpec right away and set Mission Parameters to Objective Chain Mission Parameter. If youdon't, nothing will work.Area InformationBiomeOne of the most impactful choices you’ll make concerning how your level looks is choosing the biome. You can set it to one of the existingbiomes, or you can make a custom one for this mission only. If you want to do that, the easiest way to accomplish it is probably to duplicate oneof the existing biomes (the one closest to how you want your mission to look), give it a name specific to your mission and then just makeadjustments to that one as you see fit.
Weather and Sky PropertiesThis panel is filled with settings whose names are pretty self-explanatory. Ultimately it’s best to just try them all out and see what you like andwhat you don’t like. I’ll only describe a couple of them:-FreezingLevel is the Z coordinate above which snow will appear on the ground.NearFieldType (full/half/none) refers to the background mesh (likely mountains, or something). Full means that it will appear on all sidesof the level. Half means it will appear only on one side (this is useful for if you want to have an ocean on one side of your level). None meansnone.
HasOcean (true/false) refers to whether there is or isn’t a flat plane extending out on all sides of the level. For some biomes this plane isan ocean, for other ones it’s just a flat desert. This checkbox simply dictates whether or not the appropriate “ocean” plane will appear.BiomeOrientation can be set to a number of degrees (0-360) that the background level and lighting level will be rotated. Most usefulfor setting the light direction.Territory ListAdd one entry to this array, and set the Team Alignment to “Friendly”. This will let us have a friendly tile (the friendlies markup level wemade earlier) in addition to an enemy tile. By default, unless set to this friendly territory, any AreaTile you add will be designated as enemy.Area Tile ListThis is where we specify what tiles are included in the level, and their position and orientation. If you were to view the AreaSpec from a procmission, this would have dozens of tiles, and their proxy meshes would all appear in the viewport of the AreaSpec editor.For our mission we will only need to add two tiles, the two AreaTile objects we made earlier. Add two entries to the AreaTileList. Set one toyour main AreaTile object, and the other to your friendlies AreaTile object. For the friendlies one, set the TerritoryIndex to 0 (that’sbecause the friendly territory you defined in the Territory List has an index of 0.
Tile ConfigurationOnce the AreaTile object is specified, you need to specify a Configuration for it. If you set the ConfigurationControllers up as Idescribed above, you need to set this to Config.Default. At this point all of the locators that you put into your markup level should now belisted under Locators From Config.
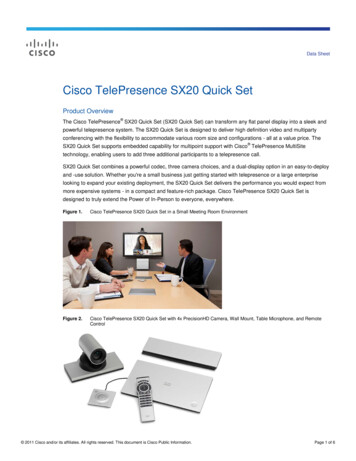
Adding LocatorsTo add the locators into your mission, double click each one in the list. They will then switch to the Added Locators column, and an entry willappear below the panel. In addition, a red dot will appear in the viewport, denoting that locator’s position in 3D space.
Each locator will have a dropdown box to the right of it, where you can specify which TileElement it will load. A TileElement is an objectwhich will specify levels to be loaded into the main level, such as garrisons.Mission StartFor your DropshipLandingZone locator, select either FadeInMissionStartArea or LeopardMissionStartDropZoneLandingArea 01.Adding GarrisonsTo add garrisons, find the locator you placed in the list, and select the garrison’s tile element from the dropdown list.
Locators With No Tile ElementSome locators will not have any Tile Element associated with them. Things like WaveLocators for spawning AI, or locators that you’ve onlyplaced as a waypoint or a trigger. They will still show up in the viewport and can be used, and you do not need to specify a Tile Element.
Adding AI UnitsUnder each locator you added, there is a Settings arrow that can be expanded to reveal a Unit Deck entry. This is where we add the AI units.First figure out which locator you want to spawn units from (whether it be inside a garrison, or from a WaveLocator, or HotDropLocator).Then go to the Unit Deck entries for that specific locator and click the sign to add as many units as you will want to spawn from there.For each Unit Deck entry you add a Unit Card, indicating specifically what type of unit you want to spawn. Here you can also set a FactionAsset ID to specify the unit’s faction, and you can add quirks to the unit such as Pilot Skill Level or Weapon Tech Level.Here you also need to manually generate a Unit GUID so that you can refer to the unit later. You can do that just by clicking the arrow next tothe Unit GUID field.
If you name your spawn points, you do have the ability here to specify a particular one for a unit to spawn at. If you do not bother with this, they’lljust choose for you. I think it just goes in order of when the spawns were created.If you want to spawn units from a HotDropLocator, you will need to specify the HotDrop 01 TileElement for that locator in theAreaTileList. (Unlike WaveLocators which do not require a TileElement).
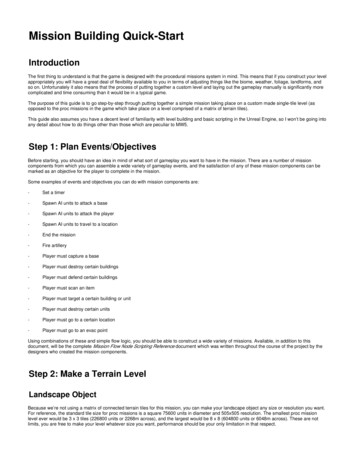
Mission ParametersUnder mission parameters there are two important sections, Mission Flow Node Data which is where we will set up all the gameplayelements of the mission, and Mission Flow Node Connection which is where we will set up all the logic that connects them together.Mission Flow Node DataEvery element of gameplay for missions from spawning to waypoints to mission objectives gets defined in these Mission Flow Nodes. Therewill be a separate document available with complete reference for all of these nodes, but I will do a quick write up here for about elements thatare common to all of them, and a quick description of the most commonly used ones.Name: this property is the name by which you will reference this node everywhere, it is important to make sure that it is meaningful andunique.Start on Setup: mission components are not active by default, they need to be started. Most of them you will start as a result ofcompleting some other node (and these connections will be described below) but for those you wish to start when the mission starts, check thisbox.Location: the specific locator this node refers to. Some nodes have a locator, some do not. The data refers to the Tile GUID, found inthe Area Tile List, and the Locator Key (the name of the locator you entered when adding the locator to the ConfigurationControllerin the markup level). An easy way to enter these is to find the locator (red dot) in the viewport, right-click on it (which is effectively pressing CTRLC to copy it) then right-click on the word “Locator” under Location in the Flow Node, and select Paste. That will copy and paste it perfectlyand prevent any errors on the data entry.-Node Types: here you can set what type of objective this node represents, if any.1. Primary Objective / Secondary Objective: both are necessary to successfully complete the mission, but are listed in separate sectionson the HUD2. Optional Objective: will be listed on the HUD but has no bearing on whether the mission is deemed successful3. Unlisted Objective: this can be useful for making an objective that will show some HUD elements, like a waypoint, but you do not wanta text description on the HUD or for it to be necessary for mission completion4. Non-Objective: not an objective, obviously. Most nodes will be non-objective.-Clear from UI on complete: if it’s an objective, do you want the objective text removed from the HUD when complete-Parent Mission Flow Node: I believe this is useful only for the container node-Definition Tags: this is where you define (using tags) which type of component this node is going to be
Additional Mission Data: this is where most data that is unique to the various flow nodes goes. The values/formats you’ll want will bedocumented in the flow node documentation.-Dispatch Data: this is where data concerning the spawn points/targets for AI units goes-Dialogue Script: this is where we can specify audio dialogue to be triggered when this node is started, completed, failed or abortedSpawning AI (Objectives.Type.Dispatch )To spawn AI units, use one nThis node does NOT require a Location, rather you specify the relevant WaveLocator (or HotDropLocator) under Dispatch Data - SupportSources.If dispatching the waves to attack a garrison or move to a location, specify the target locator under Dispatch Data - DispatchTargets.To specify which units (already having been defined in the AreaTileList) this node is to spawn, create an entry under AdditionalMission Data with parameter “wavedata1”, and under that add entries to the Guids list, and copy the Guids for the corresponding units in theAreaTileList.
Now this is all set. When the node is started, the units will spawn.You can specify multiple waves with different conditions for spawning as well. Refer to the Flow Node documentation for more advanced details.Units specified in a garrison, rather than in a WaveLocator or a HotDropLocator will just be there on mission start, no need to spawn themwith a flow node.Area Triggers / Waypoints (Objectives.Type.Travel.Go To)To create a node that will be triggered when the player enters a certain area you only need a locator placed, it doesn’t matter what type of locator.Set the Location to the locator you want to act as the waypoint. Remember you can copy it from the viewport using the right mouse button, andthen paste into the Locator under "Location".For this the node definition is Objectives.Type.Travel.Go ToThe trigger can either be a sphere or a rectangular volume.
For a sphere create an entry under Additional Mission Data with the parameter “usesphere” and the Value equals the radius of thedesired sphere in meters (ie: units / 100)For a rectangular volume, create three entries under Additional Mission Data with the parameters “length”, “breadth” and “height”and the Values also in meters.Once you do this you should be able to see the size of the trigger in the viewport by hovering the mouse over the relevant locator.
There are three different ways to do a Travel.GoTo trigger:1.) you want to see the yellow map marker and have it listed among the objectives, you set it to an Objective type: (Primary/Secondary/Optional)2.) you want to only see the yellow map marker, but NOT any text, you set it to Unlisted Objective3.) you want it to trigger, but not show the player anything, you set it to Non-objectiveOnce this is set up you have a flow node that will be considered complete when the player enters the trigger. Note it won’t be active until it’sstarted, so if you want it present from the get go make sure to check Start On Setup.Timers (Objectives.Type.Timer)To set a timer, use Objectives.Type.TimerThe only value you need to set is to create an entry called “timer” under Additional Mission Data, and set the Value to the time inseconds.Note: there is a “Timer” property in the node, don’t use it. You have to make the “timer” entry in Additional Mission Data.
This timer will start counting down when you start the node, and will be considered successfully complete when the countdown reaches 0.Destroy a Unit or Units (Objectives.Type.Destroy.Unit)To create a node which will be satisfied when a particular unit or units are destroyed, use Objectives.Type.Destroy.Unit.For this you need only specify the units by making an entry in the Additional Mission Data section with the parameter name “Units” anda list of Guids below.Once this is activated, the units will be shown on the HUD with a skull icon. If you don’t want that, you can add another entry to AdditionalMission Data with the parameter name “nomarker”.
End Mission (Objectives.Type.EndMission.Timed)To end the mission, simply trigger an Objectives.Type.EndMission.Timed node.To set a timer to wait x seconds after triggering the node, add an entry named “Timer” into the Additional Mission Data, with a value ofthe desired number of seconds. Typically you could trigger some mission ending dialogue when this node is started, and you’d want the timer toallow enough time for the dialogue to complete.
If you want the node to end the mission in a state of failure, add an Additional Mission Data entry with the parameter name “Failure”.End Mission with a Dropship Pickup (Objectives.Type.Evac.Go To ExtractionPoint)To have a dropship arrive to pick the player up, use Objectives.Type.Evac.GoToExtractionPoint.This needs to take place at a HotDropLocator that has been assigned the Pickup 01 TileElement.The Location will need to be set to that locator as well. Once the node is active, the player can arrive at the pickup point, the dropship will arriveand the mission will end.
Some Notes on Mission Flow NodesThis is by no means an exhaustive list of the different mission flow nodes, but rather a quick description of the most commonly used ones andhow to set the
want to use the ones that are blueprints and in the folders named "Prefab" etc. . dropship or just fading into the mission. For this and all the locators you are about to place, I recommend naming the objects in a tidy and readable way – this will help you in the future for finding