Transcription
Quick Klayout usage guideFor complete documentation visit: https://www.klayout.de/doc.htmlRecommended configuration changesBefore starting to draw your mask, there are two configuration changes that are recommended.Increase the grid sizeFile- Setup- Application- GridSet the grid spacing to 50 um or other similar valueSetting the grid size to a larger value helps with the drawing atlarger scales as it increases the grid snapping steps.Disable Zoom-on-copyFile- Setup- Navigation- Zoom and PanSelect "Don't Change View"This is a preference, but you most likely do not want the viewto change every time you copy paste.User interfaceThe user interface and usability of Klayout is not perfect, but overall using the software is fairly simple. The fewthings you need to know to design the mask are listed here.NavigationArrow keys move the view.Scroll wheel to zoom in and out.Right click to center view on a location.LayersClick to select a layer.Double-click to hide/show a layer.In the demo mask Layer 1 is the actual mask Layer 2 is the available area.Scale barLocated on the lower left corner.Displays the current view scaling.
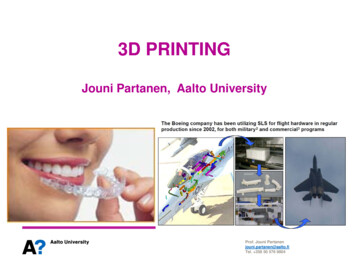
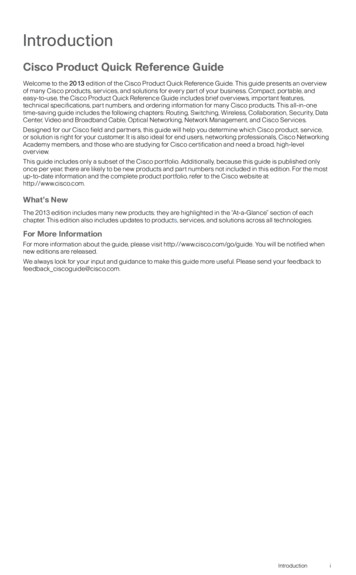
Basic toolsThe tools are relatively easy to use and self-explanatory. The following table is a cheat-sheet for the basic toolsrequired to create a simple mask.General notes Press Esc to stop using a tool. You can delete the selected objects usingthe 'Delete'-key on the keyboard. Holding down 'Shift' will allow you to selectmultiple objects by clicking them. Copy-paste (Ctrl C, Ctrl V) works. Use it. Ctrl Z to undo, Ctrl Y to redo.MoveClick a shape to start moving it.Click again to end the movement.To rotate, right-click while moving a shape.RulerAllows you to measure distances.Units are in micrometers.Note: The rulers are not saved as a part of the mask.They need to be saved separately as a Session.(File- Save Session, File- Restore Session)
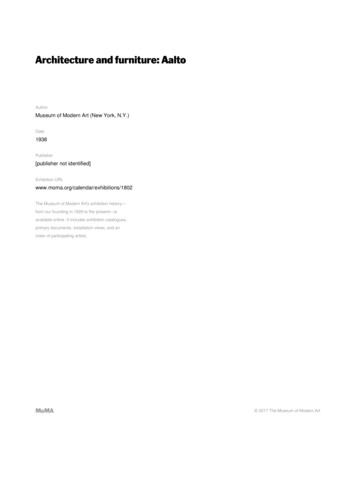
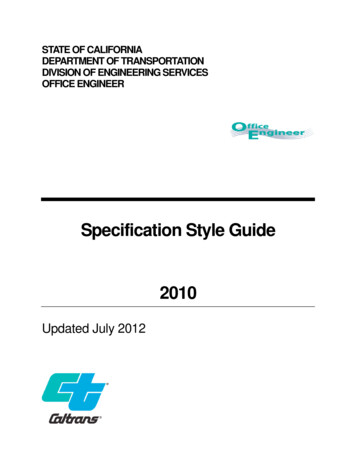
Combination ModeThis setting defines the mode that shapes fromother tools use when adding new shapes into theexisting mask.The default mode is Add.You most likely do not need to use the other modes.Options:Add - add the new shape as a new objectMerge - Combines the shape with existing objectsErase - Remove the shape from existing objectsMask - Use shape as a mask for existing objectsDiff - XOR the shape with existing objectsPolygonClicking adds a polygon point.Double click ends the polygon.BoxClick to start drawing a box.Click again to finish drawing the box.
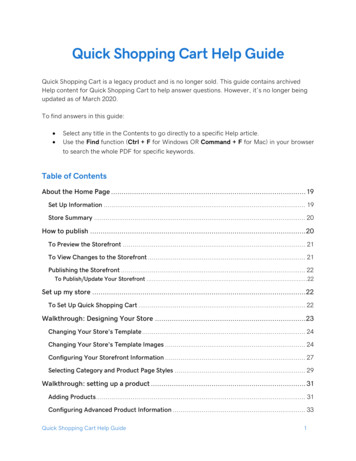
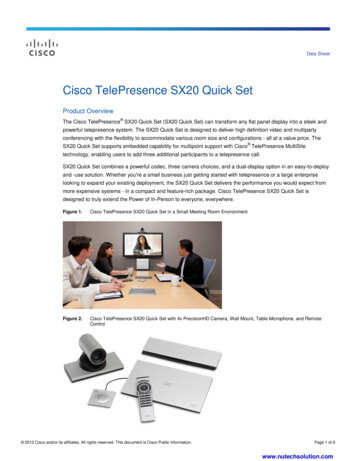
PathAllows you to define a path.Click the tool to set the width and style.Click to add a point to the pathDouble-click to end the path.Note: Excellent tool for creating the channels on your chip.Example workflowYou are free to draw the mask whatever way you want. However, please make sure your design fulfills the designrestrictions. These restrictions are listed on a separate document found in the course material.Follow the quick start guide inthe course materials to getstarted.Adjust the fluid inputs andoutputs to match your design.
Add the key features likemixers/etc.Connect the components into asingle network.
Path Allows you to define a path. Click the tool to set the width and style. Click to add a point to the path Double-click to end the path. Note: Excellent tool