Transcription
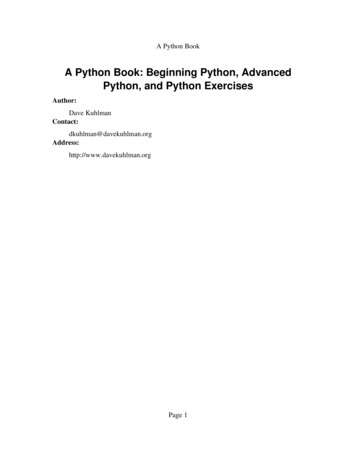
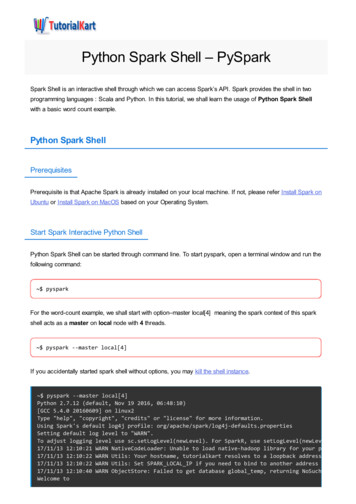
Python Installation TutorialIn this tutorial, we will show how to install Python on your system. The Python is free of cost.Step 1: Open your browser and go to Anaconda website (https://www.anaconda.com/distribution/) todownload and install Anaconda. You will see a page like this. Click on download.Step 2: You will see that following page appears. By default, Anaconda shows you the download link forMac operating system. If you have Mac, then you can click “64-Bit Graphical Installer” under Python 3.7version to start downloading the file. In this computer, Windows is the operating system, so we will selectWindows as shown below. If you have Linux as operating system, then you can select Linux option anddownload file in similar manner as Mac. Mac and Linux users can skip Step 3 & 4.
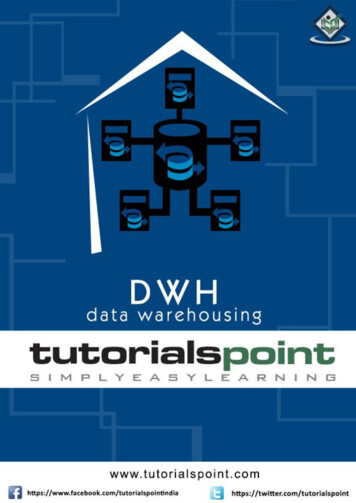
After clicking on Windows button, the following page will appear.Step 3: You can see that there are two options for Windows: 64-Bit and 32-Bit. You need to find outwhether your system is 64-Bit or 32-Bit and accordingly you need to select the file for your system. To doso, go to your desktop home screen, right click on ‘Computer’ icon, then select Properties.
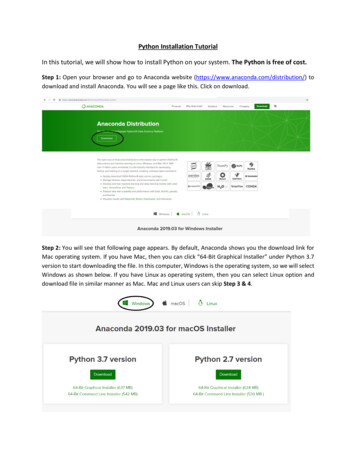
This will show you basic information about your system. Look for “System Type” as shown below andcheck whether it is 64-bit or 32-bit. For this computer, we see that Windows system type is 64 -bit.Step 4: Now, go back to your browser and then click “64-Bit Graphical Installer (662 MB)” as thiscomputer is 64 bit (as identified in Step 3)
The installer will start downloading the file (this may take a while) and will appear in bottom left of yourbrowser (if you are using google chrome) as shown below.Step 5: When the file is completely downloaded, click on the file. You will see that following windowappears. Click on ‘Run’, and then click ‘Next’ button.
A new window will appear asking you to accept the terms of agreement, select “I Agree”.Select ‘Just Me’ which is recommended and then click Next.
Step 6: Make sure you have the required free space for software installation. which you can check asshown below. Then click Next. (If you don’t have required space, then you need to delete some of youritems to free the space)Step 7: You will see that following window appears. Click on Install.
This will lead you to installation page showing the progress of installation. It will take some time for thesoftware to get installed.After all the files are extracted, the “Next” button will get enabled. Click on Next button
Then following window will appear. Click on Finish button to complete the installation. Now Anacondahas been installed on your computer.Step 8: Type ‘anaconda navigator’ in search box and click on the icon indicated below.
Step 9: You will see that the Anaconda Navigator icon appears on the bottom toolbar. Click on the iconto see the contents of Navigator.You will see that following page appears showing different options available which you can use. For CRE,we need Spyder. So, click on ‘Launch’ under Spyder section to install Spyder on your computer.
Step 10: Type ‘spyder’ in search box and click on the icon indicated below.A pop- up window will appear asking your permission to allow access to Python. Click on “Allow access”
Step 11: The following window will appear showing the Spyder interface. Now, you are ready to runPython LEP codes or create a new Python code.
If you have Mac, then you can click “64-it Graphical Installer” under Python 3.7 version to start downloading the file. In this computer, Windows is the operating system, so we will select Windows as shown below. If you have Linux as operating system, then you can select Linux option and