Transcription
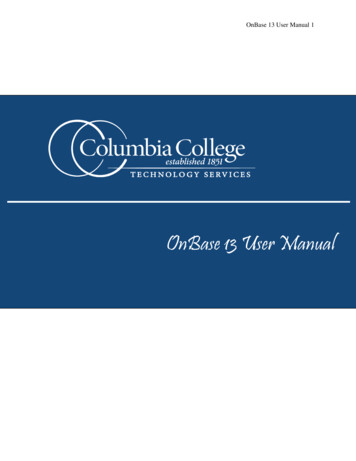
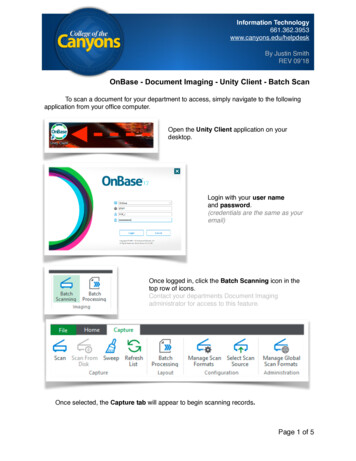
Information Technology661.362.3953www.canyons.edu/helpdeskBy Justin SmithREV 09’18OnBase - Document Imaging - Unity Client - Batch ScanTo scan a document for your department to access, simply navigate to the followingapplication from your office computer.Open the Unity Client application on yourdesktop.Login with your user nameand password.(credentials are the same as youremail)Once logged in, click the Batch Scanning icon in thetop row of icons.Contact your departments Document Imagingadministrator for access to this feature.Once selected, the Capture tab will appear to begin scanning records.Page 1" of 5"
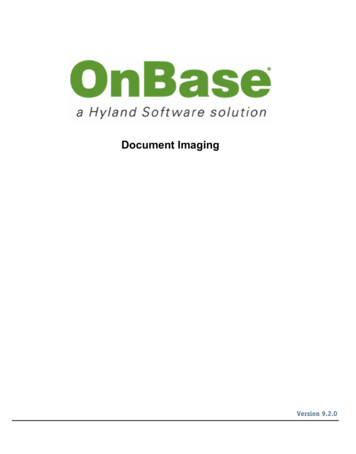
If this is your first time processing a batch, you will needto setup your scanner first.Click Manage Scan Formats to setup a scanner profile.Each scanner profile can be set with your desiredsettings to help expedite an import; such as DPI, color vsblack and white, or page size.Depending on the make and model of your scanner, you will see a unique scanner windowpop-up. For details on what settings to choose, please contact your departments DocumentImaging Administrator.Tip! If you’re simply scanning a black andwhite document with text, select 200x200 forthe resolution, select the appropriate papersize, and select gray-scale for color.Click the New button to add your first ScanFormat.Name the scan format whatever you’d like,I recommend a synopsis of the settings youintend to utilize.Select the scanner driver you prefer; usuallyClick the Document Setup button.Select Multiple DocumentsModify the Pages per document as neededCheck off Adjust for DuplexClick OK two timesPage 2" of 5"
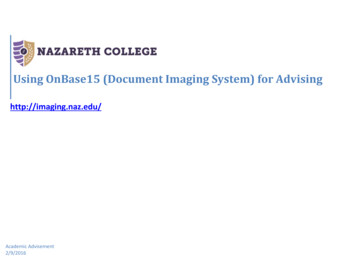
You are now ready to scan your first batch.Click Scan in the toolbarName your batchThe default should include todays date and yourusername. Note this name for later.Select the scan format you created.Click the Scan buttonClick DoneClick Go to BatchFind your batch name, it’s likely the first or last oneCheck the statusPage 3" of "5
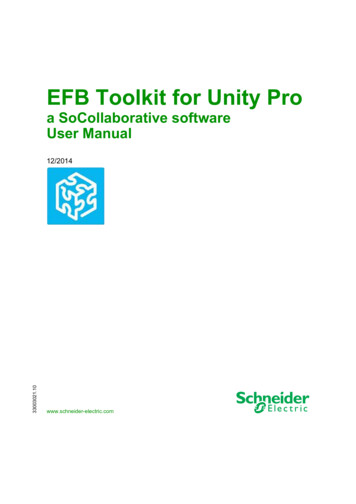
Click the Refresh button to update the status of your batchAutomatic system processing is done to each batch.Wait for your batch status to be Awaiting Document SeparationThe more pages and the higher the resolution, the longer it will take.You may need to click the Refresh button multiple times before seeing a status change.Click the Start Processing button when it becomes availableTIP! Drag and drop your pages thatshould be uploaded as a single document.You can remove blank pages at this timetoo.Hover your mouse over the end of a pageicon to quickly combine two pages into onedocument. Click when the paperclip iconappears.Hover your mouse between two pages toquickly split two pages into two documents.Click when the scissor icon appears.Click the Save and Close All button whenyou’re done separating you documents.Click Yes to commit to your changes.Tip! Click on the Skip Document Separation icon if you know you don’t need it. Theicon will appear in your ribbon if you have the batch selected and it’s processing.Page 4" of 5"
Your batch will then undergo additional system processing.Wait for the status to become Awaiting Index.You may need to click the re-fresh button a couple times to see the status update.Click Start Processing to begin Indexing your documents.A preview of your document appears in theright section of the application.Select the appropriatedocument group.Select the appropriatedocument type.Fill in all necessary keywords.Tip! These keywords will help you findyour files later.Tip! Type a students ID number and hit theTAB key to auto-populate a student record.Click the Index button.Repeat this process until all documentshave been indexed.Click Save and TransitionTip! After the transition, the documents in thisbatch will be available to all users who haveaccess to the document types.Page 5" of 5"
OnBase - Document Imaging - Unity Client - Batch Scan To scan a document for your department to access, simply navigate to the following application from your office computer. Open the Unity Client application on your desktop. Login with your user name and password. (credentials are the sam