Transcription
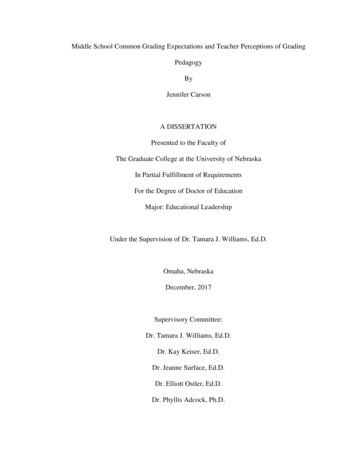
Grading – Civil 3D 2013The objective in grading is to build a proposed surface using points, feature lines, polylines, and gradings. Thenyou may calculate volumes comparing it to the existing surface.1. Right-click “Sites” New2. Dig into the site and right-click “Grading Groups” New3. Make sure you check the box “Automatic surface creation”. This must be checked, otherwise when youdaylight to the surface the grading object might not get added to the desired surface.4. Now using points, features lines, 2D polylines, 3D polylines, or Gradings, add the necessary data to thesurface under definition.http://www.cadmasters.com/c3d cheatsheets.html1
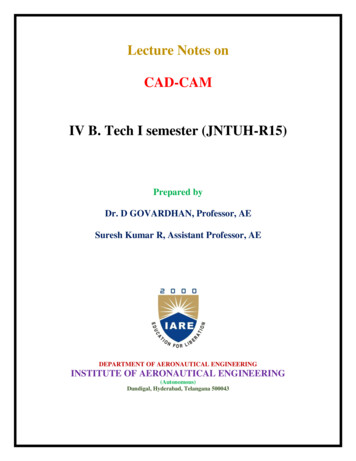
This figure below shows the path one can take to create and modify different entities. There are advantages anddisadvantage to each type of entity. By far, the most versatile are feature lines. You may convert these entitiesfollowing the arrows below.http://www.cadmasters.com/c3d cheatsheets.html2
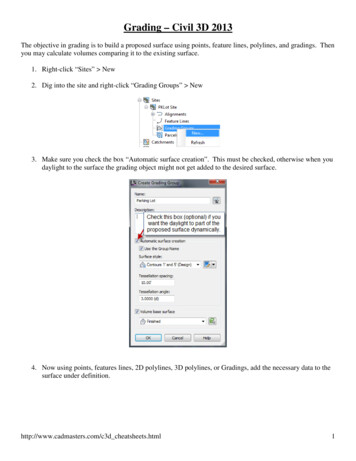
Feature LinesA thorough explanation of feature line commands exists in the advanced manual. Please refer to that foradditional information. The feature line commands can be found in the Grading pulldown or on toolbars.http://www.cadmasters.com/c3d cheatsheets.html3
PointsSelect the Point Creation Tools under the Home tab of the ribbon.Create Points on a Surface Random Points - This command reads the current surface and the user picks an x,y location in thedrawing and the command will enter the elevation based on the surface.On Grid - This command will prompt for rotation angle, x , and y spacing to place points in the samefashion as the ‘Random Points’ command.Along Polyline/Contour - This command places points based on a surface elevation along a polyline.The command prompts for the spacing.Polyline/Contour Vertices - This command places a point on each vertices of a polyline, this will notread the surface elevation.There is also a command to change existing points to the elevation of the surface.Points Edit Elevations from Surfacehttp://www.cadmasters.com/c3d cheatsheets.html4
Create Points based on Slope Slope/Grade – Distance - The user picks a starting point, then a second point which denotes direction &distance, then chooses a slope or grade with a number of intermediate points.Slope/Grade – Elevation - The user picks a starting point then a second point which denotes justdirection. The user then choosing grade/slope and elevation to end.High/Low Point - The user picks a start point then a second point. The user will be prompted fromeach point the desired grade or slope to find the intersection.Create Points by Interpolation Interpolate - The user picks two Point objects and enters the number of intermediate points theydesire.By Relative Location - The user establishes two points then is prompted for a distance to place a pointFROM the first point along the line defined by the initial two points.By Relative Elevation - The user established the two points then is prompted for an elevation betweento two points and the computer places the point at that elevation along the slope defined by the twopoints.Number By Distance - Same command as ‘interpolate’ except the user has more versatility inchoosing the two points (i.e. you are not limited to Point objects).Perpendicular - The user picks two points to establish a line, then the user picks any point on thescreen and the computer calculates the perpendicular point where it crosses the initial two pointsdefined line then places a point at the correct elevation based on the slope of the initial points.Incremental Distance - The user established two points with elevation and then is prompted for theincrement to set points.Incremental Elevation - The user establishes two points with elevation and then is prompted for theelevation increment to place points along the sloped line.Intersection - The user two points to define the first line then two points to define the second line. Theuser is prompted for the desired offset to each line, and will place a point at that location.http://www.cadmasters.com/c3d cheatsheets.html5
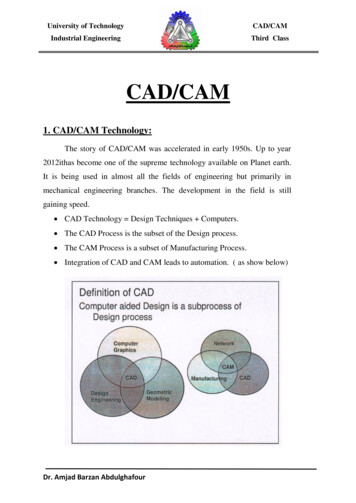
DaylightingIn Civil 3D, there is only one way to daylight to a surface; using Gradings.1. Select Grading Creation Tools from the Home tab of the ribbona. Select the object to daylight from. This must be a feature line.b. Select the side to search for the daylight surface.c. Apply to entire length? [Yes/No] Yes : This question applies if you wish to add transitionslopes along a feature. For example, part of the way I need to slope at 2:1, for another part itneeds to be 4:1, and then I need to transition the slope between the regions.d. Hitting enter out of the command adds the grading object to the surface supplied when youcreated the surface through creating the grading group (unless automatic surface generation forthe grading group is not checked).http://www.cadmasters.com/c3d cheatsheets.html6
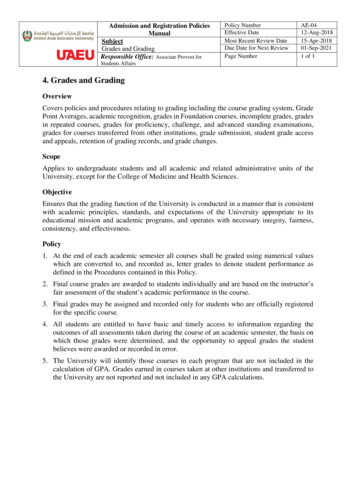
Volumes“Analyze” tab Volumes DashboardOther Options from the Volumes Dashboard Add a boundary to use the bounded volumes option. This will calculate the volumes for a closed areainstead of the entire surface. Generate Cut/Fill Report - this creates an xml report opened in Internet Explorer. Insert Cut/Fill Summary - The creates an AutoCAD entity in the drawing instead of an external report.http://www.cadmasters.com/c3d cheatsheets.html7
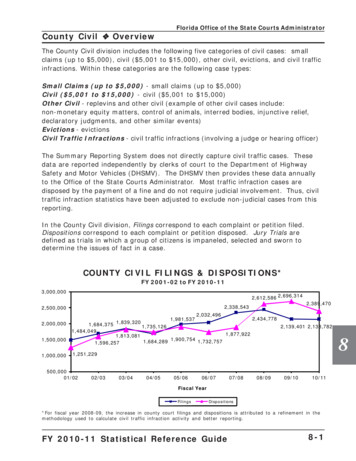
“Analyze” tab Grading Volume Tools 2012 CAD Masters, Inc. All rights reserved.http://www.cadmasters.com/c3d cheatsheets.html8
Grading - Civil 3D 2013 The objective in grading is to build a proposed surface using points, feature lines, polylines, and gradings. Then you may calculate volumes comparing it to the existing surface. 1. Right-click "Sites" New 2. Dig into the site and right-click "Grading Groups" New 3.