Transcription
Yale Custodial Services TrainingRestroom CleaningJuly 3, 21012
Key Learning Points of Restroom Care1. Clean Restrooms are critical to your health and image.A clean-looking restroom is a key factor in the image and reputation of yourfacility. A sanitary restroom is vital to the health and well-being of everyone whovisits it.2. Restrooms, by nature, get dirty.By design and function, many surfaces in the restroom collect soils and germs thatneed to be controlled.3. Restroom care is a combination of programs.Due to the array of surfaces, the range of soils encountered, and the levels ofclean to be achieved, you need a maintenance program that encompassesseveral different cleaning methods.4. Restroom care also involves Infection Control.A restroom can look clean but still be the home for dangerous germs. Yourcleaning program needs to control these germs before they can harm the user, orbefore they can be transported outside the restroom walls.2
Key Learning Points of Restroom Care5. You should have the right tools for the job.Restroom cleaners come in many formulations, designed to fit the surface cleanedand the application. Products can include: general purpose cleaners, disinfectantcleaners, toilet bowl cleaners, glass cleaners, floor cleaners, and specialtycleaners, such as lime and scale removers.6. It’s important to do things the right way.These carefully formulated products have a strong effect only when used at theright concentration, on the right surfaces, in combination with the proper protocol.7. It takes more than cleaning to create a healthy, hygienic restroom.A healthy, hygienic restroom is also one in which the plumbing works, the fixturesare efficient, the dispensers and vending machines are kept supplied. A qualitychecklist will help you realize your restroom meets the high standards you want toproject for your facility.8. Don’t play Chemist.Mixing cleaning chemicals containing bleach, for example, with other cleaningproducts may create dangerous chlorine gas. Become familiar with a product’sdirections and MSDS before use. Follow its instructions and heed the warnings. 3
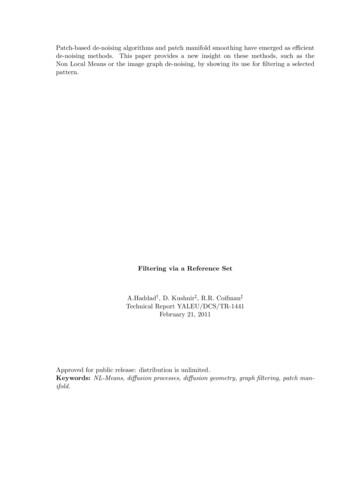
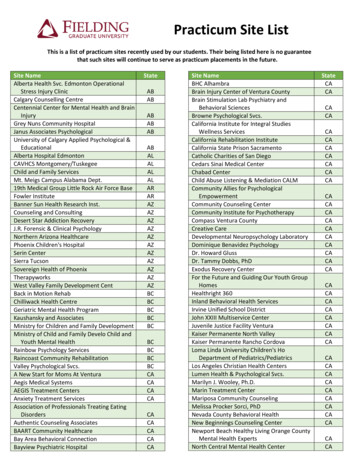
Restroom Cleaning Preparation1. Put on Personal Protective Equipment (PPE)Use PPE that has been recommended on the label and MSDS.4
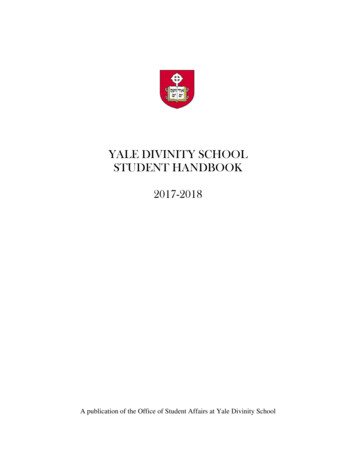
Restroom Cleaning Preparation2. Assemble equipment.Check your cart’s supplies and replenish if needed. Don’t forget wet floor signs.5
Restroom Cleaning Preparation2. Assemble equipment.Check your cart’s supplies and replenish if needed. Don’t forget wet floor signs.Supplies & Refills: Hand soap Hand towels Odor control Toilet tissue Trash can liners Dispenser keys Urinal screens andblocks Sanitary products6
Restroom Cleaning Preparation2. Assemble equipment.Check your cart’s supplies and replenish if needed. Don’t forget wet floor signs.Equipment PPE – Safety glasses and gloves asrequired Toilet cleaning brush (Johnny mop) Cleaning cloths, abrasive pad orbrush Floor broom High duster Mops, wringer and bucket, Dustmop and dust pan Scraper or putty knife, floor brush orpads Door stop, wet floor signs, restroomclosed signs Caddy or cleaning cart7
Restroom Cleaning Preparation2. Assemble equipment.Check your cart’s supplies and replenish if needed. Don’t forget wet floor signs.Cleaning Chemicals Air freshener Creme cleanser Disinfectant cleaner General purpose/multisurface cleanerAlpha HPCrew Disinfectant Heavy-duty cleaner Mirror/glass cleaner Stainless steel cleaner Tub, shower and tilecleanerCrew BathroomCleanerGlance NAStride8
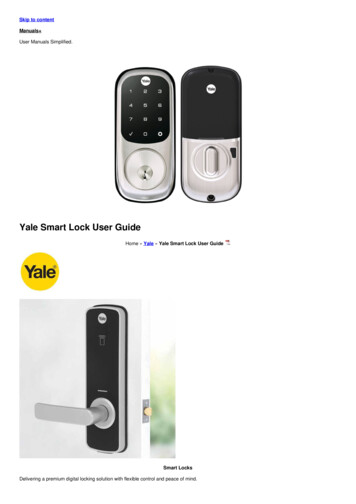
Restroom Cleaning Preparation3. Mix/dispense cleaning solutions. Wear eye protection and other PPEas required by the chemical’sMSDS/label and your facility’sspecifications. Protect your eyes fromsplashing. Always use cold or roomtemperature water when mixingchemicals. Be sure to follow label instructionswhen dispensing or mixing chemicals. Remember: an accurately measuredchemical solution is very importantfor effective cleaning anddisinfecting. Empty, clean, and fill spray bottlesand bucket. Be certain that your spray bottles arecorrectly labeled. Be sure to change cleaning solutionsin the mop bucket when visibly dirty,or according to your facility’sprocedures.9
Restroom Cleaning Preparation4. Knock, announce yourself, and prop open the door. Knock on the restroom door and announce “Facilities.”If no one is inside, you may start cleaning.If the restroom is occupied, wait outside until the last user leaves.Position the cart to prevent new entries without blocking those exiting.Use appropriate door stop to prop the door.10
Restroom Cleaning Preparation5. Prop the door open while cleaning.Use a “Wet Floor” or “Closed for Cleaning” sign, or position cart in the door sovisitors will know that the restroom is being cleaned .11
Daily Cleaning Inside the Restroom1. Report any problems to CTL or Superintendent.12
Daily Cleaning Inside the Restroom2. High dust/sweep floor. Pick up any solid wastes. Use a floor scraper or putty knifeto remove any items stuck to thefloor. Start at the farthest corner andwork toward the door. Sweep dry floor areas. Pick up soils with a dust pan andbrush just inside the doorway.13
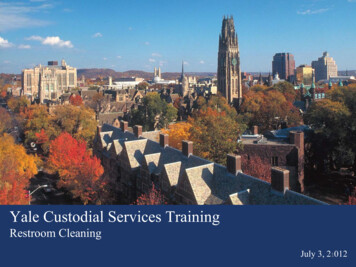
Daily Cleaning Inside the Restroom3. Apply product to INTERIOR of toilets, urinals and showers.Start by flushing.Next, lower the water level by pushing Johnny mop into the trap area.Make sure the product covers the whole interior, including under the rim.Give the bowl cleaner/disinfectant time to work. Check label directions forrecommended contact time. If you have showers and tubs, apply product to walls and floors at this time. 14
Daily Cleaning Inside the Restroom4. Fill Dispensers. Check and refill dispensers in a consistent order to avoid misses:- Hand soap. Odor control products (urinal drips, screens, rim cages, airfresheners, drain deodorizers).- Toilet tissue.- Paper towels.- Sanitary products.15
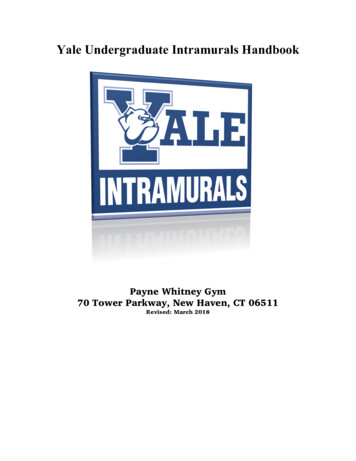
Daily Cleaning Inside the Restroom5. Clean mirrors and empty trash.Clean mirrors: Spray glass cleaner on cloth,then wipe from high to low. Scrub to remove tough spots. Use squeegee. Wipe dry to prevent spotting.Empty Trash: Wear safety gloves. Remove the used liner by pulling straight up – for safety, don’t press down onthe trash. There may be sharp objects that may cause injury. Tie the liner off at the top and remove from the trash can. Hold the liner away from your body. Place the liner in an approved disposal container. Spray the inside and outside of the trash can with disinfectant cleaner and wipedry, following label instructions. Do not use this cloth for any other cleaning. Place a new liner in the trash can, tie off neatly, and return the trash can to the16proper location.
Daily Cleaning Inside the Restroom6. Clean and sanitize surfacesApply product to EXTERIORS of toiletsand urinals: Spray the outside of the toiletsand urinals (including chrome,back wall area, and floorimmediately around the toiletsand urinals) with disinfectantcleaner. Leave the disinfectant on thesesurfaces so it has time to work.Clean and wipe dispensers: Spray glass cleaner or disinfectantcleaner on a clean cloth. Clean the outside of thedispensers with the cleaner. Report any broken dispensers toyour supervisor.17
Daily Cleaning Inside the Restroom6. Clean and sanitize surfaces,cont’dWipe sinks and countertops: Use appropriate cleaner to cleanany heavy buildup. Be careful notto scratch the sink. Wipe down sinks and countertopswith a clean cloth. Make sure to dry all chrome fixturesand plumbing to prevent spotting. Allow to air dry.Clean frequently touched surfaces: Spray cleaner on cloth and wipelight switches, push plates, kickplates, and doorknobs.18
Daily Cleaning Inside the Restroom7. Spot clean stall doors, partitions, and walls. Spot clean the stall partitions and walls by spraying cleaner on cloth andwiping. Don’t forget the back of the stall door. Wipe off with a damp cloth. Rinse well.19
Daily Cleaning Inside the Restroom8. Clean INTERIORS of toilets andurinals. After the product has had theappropriate time to work, scrubthe inside of the toilets and urinalswith your bowl mop and flush. Then rinse the bowl mop out in theclean running water of the toilet. Be careful to return the toilet brushto your cart withoutcontaminating other supplies.20
Daily Cleaning Inside the Restroom9. Wipe EXTERIORS of toilets andurinals. Never use the bowl mop, sincethis could cause crosscontamination. Wipe down all plumbing pipeswith a dry cloth to preventspotting. Dry the seat, seat bottom, and thelid of the toilet.21
Daily Cleaning Inside the Restroom10. Wipe showers and tubs.Note: Heavy Usage Showers: You may need to use a brush to remove stubborn buildup.22
Daily Cleaning Inside the Restroom11. Mop floors. Make sure the “Wet Floor” sign is inthe doorway. Damp mop the floor with adisinfectant. Dip your mop into the cleanersolution and wring it out so thatthere is no dripping. Apply the solution to the floor in afigure-eight motion. Start from thefarthest corner and work towardsthe door. Overlap each stroke. Avoid splashing walls, baseboards,or furniture. Turn string mop over every 5-6strokes (or sooner) as needed. Remove “Wet Floor” signs onlyafter floor is dry.23
Daily Cleaning Inside the Restroom12. Odor control. Use enzyme digester or water in floor drain traps to keep drains running clearand eliminate sewer odors from backing up into the restroom.Floor drain: Clean debris from the screen.Note: Do not spray bacteria-based cleaner into air as an air freshener.24
Daily Cleaning Inside the Restroom13. Visual quality check. Look the restroom over to make sure that you didn’t miss any tasks and that therestroom looks and smells clean. Pay special attention to toilets and urinals, making sure that there are nopuddles or damp spots. Identify any repairs or replacements required. Identify any graffiti requiring paint or repair.25
End of the Day1. Gather all supplies.2. Clean/check equipment. Inspect for proper operation and any repairs required.3. Check supply closet. Supply cabinet shelves should be cleaned and organized.Launder or wash, and hang mop heads to dry. Follow facility’s laundry policy.Clean buckets and wringers.Refill spray bottles.Clean trash receptacles.4. Stock cart.26
End of the Day5. Remove PPE and Wash Hands. Wet your hands.Dispense hand soap in your hands.LatherScrub for a minimum of 15 – 20 seconds.- Backs of hands- Between fingers- Under fingernails Rinse thoroughly with warm water. Dry with paper towels. Turn the faucet off by placing a clean, dry paper towel over the handles so youdon’t re-contaminate your hands. Discard paper towels in the trash. Hand washing should be conducted according to your facility’s specifications.27
Due to the array of surfaces, the range of soils encountered, and the levels of clean to be achieved, you need a maintenance program that encompasses several different cleaning methods. 4. Restroom care also involves Infection Control. A restroom can look clean but still be the home for dangerous germs. Your