Transcription
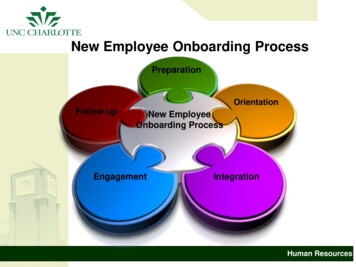
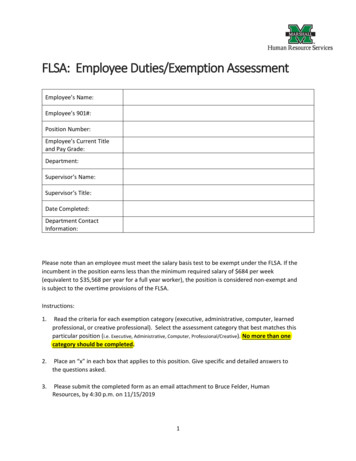
How to Create an Employee Birthday Calendar Step-By-StepDid you know one of the most common requests for an Intranet is an employee birthday calendar? Many folks havecreated custom code solutions in the form of either web parts or Apps to be installed but they don’t have to. To showyou how SharePoint can be powerful with only out of the box tools, we have put together a set of steps and tasks youwill be able to use to create a customized birthday calendar for your organization.At www.SharePointShepherd.com you will find more information about the kinds of support we can offer. Whether it’sour books or our content that helps everyone in an organization, we’ve got the tools you need to be successful withSharePoint. Another great way to connect with us is to sign up for the monthly newsletter or feel free to reach out to usand see how we can help through our email inbox.OverviewCreating an employee birthday calendar consists of three basic steps:The List: Creating and customizing a list to hold all the birthdays.Workflow: The workflow that will be used to automatically increment the next birthday for the employee so that wecan use the out-of-the-box list views to show the employee’s birthday.Document Retention Settings: The document retention settings will be used to trigger the workflow anytime thatthe employee’s next birthday is in the past. This mechanism will consistently update the employee’s next birthday.If this seems like a lot for a simple birthday calendar – it is. SharePoint supports recurring events so you can technicallycreate a birthday as a recurring event except that this breaks when you get more than about 100 employees. SharePointcan’t process the number of recurring appointments in the calendar and throws an error. In addition, you probablydon’t want to share the year of birth since this is sensitive information – particularly to those of us who are aging.So let’s use the out of the box tools in SharePoint to create an employee birthday calendar.Create a Custom ListSteps:1. Start Internet Explorer and type the URL for your organization’s SharePoint server. The Start page will open. Ifyou want this custom list to appear in one of your subsites, navigate to that site.2. Click the Settings menu gear icon. The Settings menu will appear.3. Click Add an App. The Apps page will appear.Exception: If you don’t see the option to Add an App, you do not have specific permissions to perform that function.Check the permissions settings to ensure you have the appropriate access rights.Copyright 2016 AvailTek LLC-1-Visit www.SharePointShepherd.com
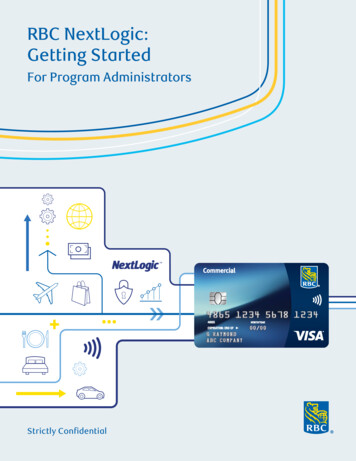
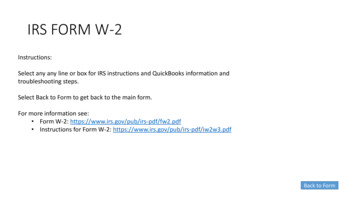
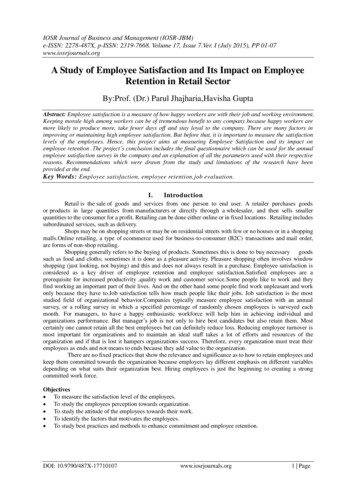
Figure 1: The Your Apps Page4. Click the Custom List icon. The Adding Custom List dialog box will open.Figure 2: The Adding Custom List Dialog Box5. Click Advanced Options. The Site Contents – New page will open.6. In the Name field enter a title for the new list. This is used to identify the list throughout SharePoint.(Suggestion: Employee Birthday Calendar)Copyright 2016 AvailTek LLC-2-Visit www.SharePointShepherd.com
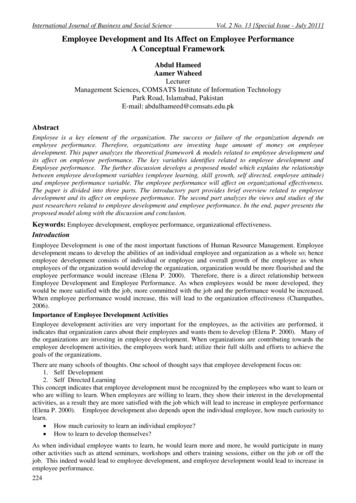
Figure 3: The Site Contents – New Page7. In the Description field, enter any notes about the new list. This appears as an information icon next to the listname when your list is open in SharePoint.8. Click Create. The new list will be created.Figure 1: The New ListNow that our Custom List has been created, next we are going to customize the columns to manage the data needed totrack the employee’s birthdays. We will use the columns to enter the data needed which is limited to the employee’sname, their birth month (Month), their birth day (Day), and their next birthday (NextBDay).Customize the Columns of the ListSteps:1. Click the List tab. The List ribbon will open.Copyright 2016 AvailTek LLC-3-Visit www.SharePointShepherd.com
Figure 2: The List Tools Ribbon2.3.4.5.Click List Settings. The List Settings dialog box will open.In the Column section, click on the Title Column. Change the Column name: Employee Name.Specify Require that this column contains information: as Yes. Specify Enforce unique values: as No.Leave Default value: as Text.Figure 3: The Create Column Dialog Box6. Click OK.7. Click on Employee Birthday Calendar. Click the List tab. The List ribbon will open. Click Create Column. TheCreate Column dialog box will open.8. In the Column name field, enter a name for the new column: Month. (The person’s birth month) Specify thetype of information in this list column as Number with no decimal. Specify Require that this column containsinformation: as Yes. Specify Enforce unique values: as Yes. Specify Min: as 1. Specify Max: as 12. SpecifyNumber of decimal places: as 0. Leave Default value: as Number. Click OK.9. Click the List tab. The List ribbon will open. Click Create Column. The Create Column dialog box will open.10. In the Column name field, enter a name for the new column: Day. (The date of the person’s birth) Specify thetype of information in this list column as Number with no decimal. Specify Require that this column containsCopyright 2016 AvailTek LLC-4-Visit www.SharePointShepherd.com
information: as Yes. Specify Enforce unique values: as Yes. Specify Min: as 1. Specify Max: as 31. SpecifyNumber of decimal places: as 0. Leave Default value: as Number. Click OK.11. Click the List tab. The List ribbon will open. Click Create Column. The Create Column dialog box will open.12. In the Column name field, enter a name for the new column: NextBDay. Specify the type of information in thislist column as Date. Specify Require that this column contains information: as Yes. Specify Enforce uniquevalues: as No. Leave Default value: as Text. Click OK.Now that our list is created and customized, we need to create the workflow. The workflow should run anytime that anitem is created. Let’s begin creating our employee birthday calendar workflow.Create a Workflow for the Employee Birthday Calendar in SharePoint DesignerSteps:1. Open SharePoint Designer. Open the site where the List was created. Select Workflows (in the left pane).2. Select drop down for List Workflow. Select the Employee Birthday Calendar previously created.Figure 1: SharePoint Designer Workflow3. In the dialog that appears, enter a name for the workflow (Next Birthday). Set the Platform Type to: SharePoint2010 Workflow. Click OK.Copyright 2016 AvailTek LLC-5-Visit www.SharePointShepherd.com
Figure 2: Create List WorkflowIn the designer we’re going to create a workflow that looks something like the following when we’re done:Figure 3: Employee Birthday Workflow4. Create first Set Variable action by starting to type Set Workflow Variable and press Enter. Click on theWorkflow Variable highlighted text. Select Create a new variable from the drop down.Copyright 2016 AvailTek LLC-6-Visit www.SharePointShepherd.com
Figure 4: Create a new variable5. Name: as Today. Type: as String. Click OK.Figure 5: Edit Variable6. Click on Value and then Fx button.Figure 6: Define workflow lookup7. Select Data Source: as Workflow Context. Field from source: as Date and Time Started. Return field as: as ShortDate. Click OK.Figure 7: Lookup for String8. Begin typing in the Step 1 box: Extract Substring from End of String when it appears press Enter.Copyright 2016 AvailTek LLC-7-Visit www.SharePointShepherd.com
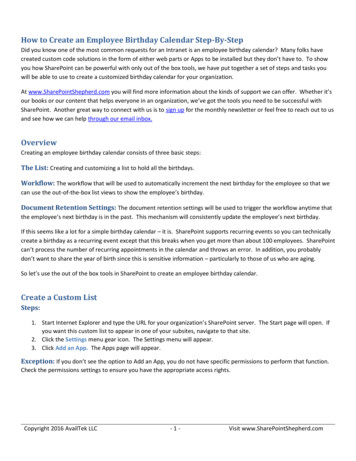
Figure 8: Create a date9. Click the 0 (zero) characters and change it to 4 (since years are 4 digits).10. Set the output variable by selecting Create a new variable. Name: as Year. Type: as String. Click OK.11. Select the String and click the Fx button. Data source: as Workflow Variable and Parameters, the Field fromsource as Variable: Today, and the Return field as. As String. Click OK.Figure 9: Lookup for String12. In Step 1: start typing Set Workflow Variable and press enter. Click on Workflow Variable. Select Create a newvariable. Name: CurYearBDayStr. Type: as String. Click OK.Figure 10: Create New Variable - CurYearBDayStr13. Click Value and click the (Ellipsis button, not the Fx button).Copyright 2016 AvailTek LLC-8-Visit www.SharePointShepherd.com
Figure 11: Blank String Builder14. Click the Add or Change Lookup button in the lower left. Select Data source: as Current Item. Field from source:as Month. Return field: as As String. Click OK.Figure 12: Lookup for String, Month15. In String Builder: Add a forward slash. Click Add or Change Lookup button.Copyright 2016 AvailTek LLC-9-Visit www.SharePointShepherd.com
Figure 13: Lookup for String, Day16. Data source as Current List. Field from source: Day. Return field as: As String. Click OK.Figure 14: Lookup for String, Year17. In String Builder: Add another forward slash at the end of the string. Click Add or Change Lookup button. Datasource as Workflow Variable and Parameters. Field from source as Variable: Year. Return field as: As String.Click OK. Click OK again on the String Builder window.Copyright 2016 AvailTek LLC- 10 -Visit www.SharePointShepherd.com
Figure 15: String Builder18. In Step 1: start typing set workflow variable and press enter. Click on Workflow Variable. Select Create a newvariable. Name: as NextBDate. Type: as Date/Time. Click OK.Figure 16: Create a new Variable19. Click the value and the Fx button. Select Data Source as Workflow Variables and Parameters. Select Field fromsource as Variable: CurYearBDayStr. Select Return field as As Date/Time. Click OK.Copyright 2016 AvailTek LLC- 11 -Visit www.SharePointShepherd.com
Figure 17: Lookup for Date/Time20. In Step 1: start typing If any value equals value and press Enter. Click the first Value in the statement. Click theFx button. Select Data Source: as Workflow Context. Select Field from source: as Date and Time Started. ClickOK.Figure 18: Define Workflow Lookup21. Click the second Value and click the Fx button. Select Data Source as Workflow Variables and Parameters.Select Field from source as Variable: NextBDate. Click OK.Figure 19: Variable NextBDate22. Select Equals in the middle of the statement. Change it to is greater than.Copyright 2016 AvailTek LLC- 12 -Visit www.SharePointShepherd.com
Figure 20: Equals Selection23. Click in the area below the statement and start typing set workflow variable and select it. Select WorkflowVariable.24. Select Create a new variable from the drop down menu. Select name as YearNum. Select Type as Integer. ClickOK.Figure 21: Workflow Variable25. Click Value. Click Fx button. Select Data source as Workflow Variable and Parameters. Select Field from sourceas Variable: Year. Select Return field as As Integer. Click OK.Figure 22: Lookup for Integer26. Click in the area below the statement and start typing Do Calculation and select it. Click the Output toVariable:calc and selecting Variable: YearNum. Click on the first Value and the Fx button. Select Data Source asWorkflow Variables and Parameters. Select Field from Source as Variable:YearNum. Click OK.Copyright 2016 AvailTek LLC- 13 -Visit www.SharePointShepherd.com
Figure 23: Lookup for YearNum27. Click second value, type the number 1 in the textbox and press enter. Click in the area below the statement andstart typing set workflow variable and select it. Click Workflow Variable text. Select the Create new variableitem from the drop down list. Select variable Name as NextBDayYearStr. Select Type as String. Click OK.Figure 24: Edit Variable28. Click Value and the ellipsis button (this reveals the string builder). Click Add or Change Lookup button. SelectData source: as Current Item. Select Field from Source: as Month. Select Return field as As String. Click OK.29. In String Builder: Add a forward slash. Click Add or Change Lookup button. Select Data source as: Current Item.Select Field from source: Day. Select Return field: as As String. Click OK.30. In String Builder: Add another forward slash at the end of the string. Click Add or Change Lookup button. SelectData source as: Workflow Variable and Parameters. Field from source: as Variable: YearNum. Click OK. Click OKagain on the String Builder window.Copyright 2016 AvailTek LLC- 14 -Visit www.SharePointShepherd.com
Figure 25: String Builder31. Start typing Set Workflow Variable and enter. Select Workflow Variable. Select Variable: NextBDate. ClickValue. Use Fx button. Data source: Workflow Variables and Parameters. Select Field from source: Variable:NextYearBDayStr. Select Return field as: As Date/Time.Figure 26: Variable: NextYearBDayStr32. Click in the area below the box that contains the statement and start typing Update List Item action and selectit.33. Click the this list text to display the Update List Item dialog. Click the Add button then select the drop down forSet this field: and select the NextBDay field. In the To this value: field, click the Fx button. Select Data source: asWorkflow Variables and Parameters. Select Field from source: as Variable: NextBDate.Copyright 2016 AvailTek LLC- 15 -Visit www.SharePointShepherd.com
Figure 27: Update List Item34. Click OK, three times. Go to the ribbon and click the Publish button.We have created our customized list and the workflow for our employee birthday calendar. Our final step will be to getour employees’ birthdays updated each year by using SharePoint’s document retention settings to cause our workflowto run every year, six months after their birthday.Set Up the Document Retention SettingsSteps:1. Go back to your Employee Birthday Calendar. Select List tab. Select List Settings button. Select Informationmanagement policy settings.Figure 1: Information management policy settings2. Select Content Type - Item.Copyright 2016 AvailTek LLC- 16 -Visit www.SharePointShepherd.com
Figure 2: Retention Stage3. Check the Enable Retention checkbox. Select Add a retention stage link. In the Event button set Time Period asNextBDay plus 6 months. In the Action section choose Start a Workflow from the drop down. Select Start thisworkflow: set as Next Birthday.Copyright 2016 AvailTek LLC- 17 -Visit www.SharePointShepherd.com
Figure 3: Stage to activate4. Click OK twice and return to the List Based Retention schedule page.Now you have created a way to track employee birthdays with out of the box tools in SharePoint. You could easily adaptthis process to managing employee anniversaries as well. We’d love to hear from you. We’re always available atShepherd@SharePointShepherd.comCopyright 2016 AvailTek LLC- 18 -Visit www.SharePointShepherd.com
10. Set the output variable by selecting Create a new variable. Name: as Year. Type: as String. Click OK. 11. Select the String and click the Fx button. Data source: as Workflow Variable and Parameters, the Field from source as Variable: Today, and the Return field as. As String. Click OK. Figure 9: Lookup for String 12.