Transcription
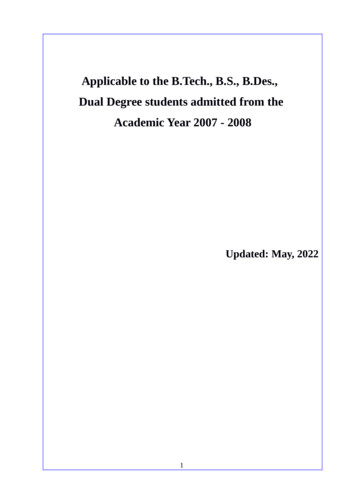
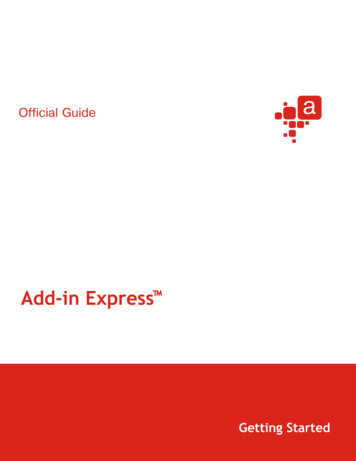
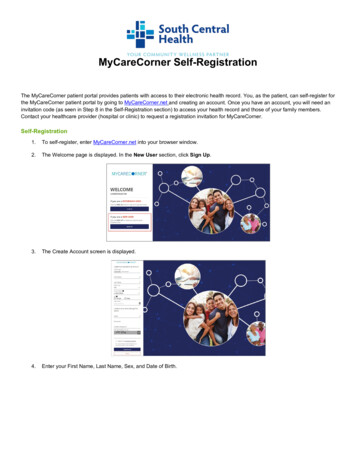
Class Registration from an Add AuthorizationAdd Authorizations are replacing the WebAdvisor Add Codes. Once a class starts meeting, you need an AddAuthorization to register for the class section. Add Authorizations are issued by the instructor of the class anddepend on seat availability. It is no longer a code that needs to be entered. It is a system permission that is uniqueto your ID and section. All you need to do is go to your schedule in Self-Service and register for the class if you arewaitlisted. If you are not waitlisted, then you must first search for the section and add it to your schedule. Bothprocedures are listed below.NOTE: After the section starts, only an Add Authorization will allow the student to register (barring any holds orprerequisite issues). The Add Period dates for every section can vary, but it’s always the section Start Date untilthe Add Period End Date (i.e. the day before Census). This can be seen in WebAdvisor by viewing the sectioninformation. The student can only register during the Add Period of the section. They cannot register before that.Easy way to remember is that you “Add during the Add Period.”Student is WaitlistedSTEPSSCREENSHOT1. In WebAdvisor, click the StudentPlanning link to open Self-Service.1
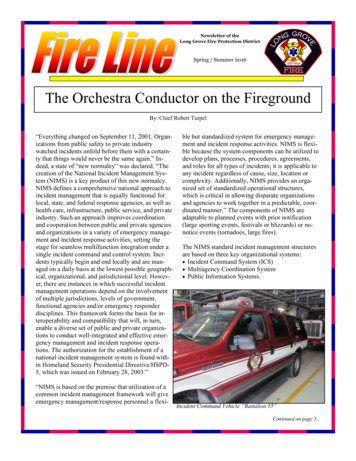
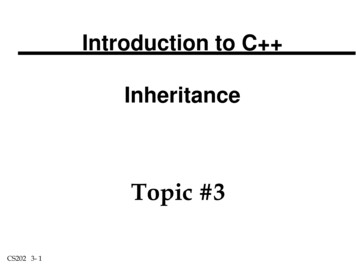
STEPSSCREENSHOT2. If prompted, log in with yourWebAdvisor account.Alternatively, you can bookmark theSS link and go t/3. Click on the Student Planning toopen your Planning Overview screen.4. In your Planning Overview screen,simply click on the Go to Plan &Schedule link.NOTE:Alternativey, if your course is on yourEd. Plan, then the section that hasreceived an Add Authorization will betan in color with a Planned status.You can click on it to open the Planand Schedule screen.2
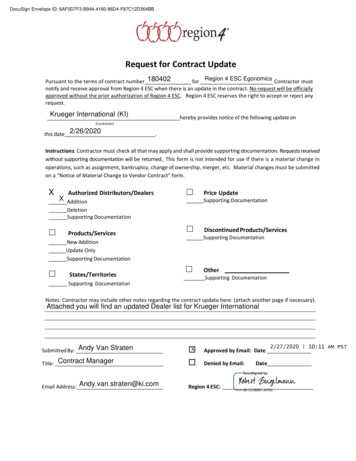
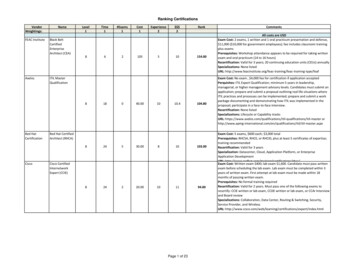
STEPSSCREENSHOT5. In the Plan and Schedule screen,click on the Register Now button toregister for the authorized class.If you just have one class on yourschedule, then it should register youand give a green notification.If you have more than one section onyour schedule, from the dialog boxselect the section you were authorizedfor and click the Register button.NOTE:If the Register Now button is notvisibile, then you have to search forthe course and add it your schedule inthe Search for Courses box.6. Barring any holds or pre-requistes,your section status should change toRegistered.The section should change to a greencolor on your schedule.You are now registered in theauthorized section. Please go toWebAdvisor to pay your enrollmentfees.3
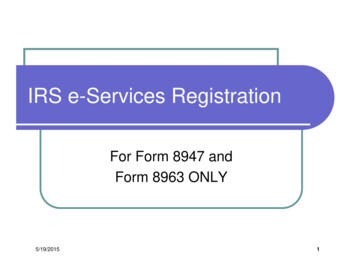
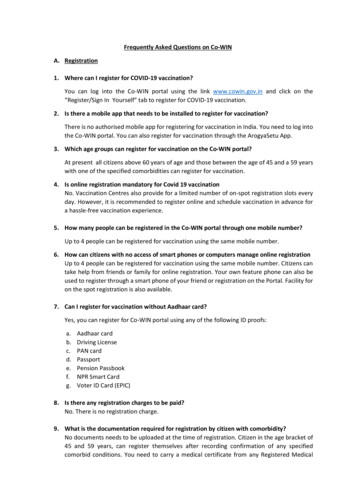
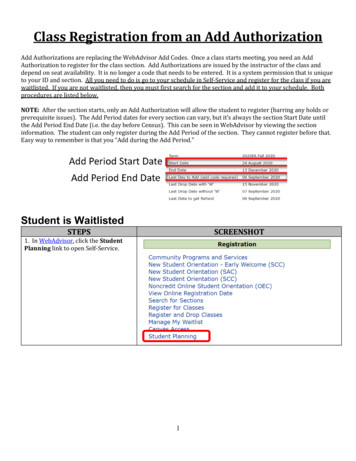
Student is NOT WaitlistedSTEPSSCREENSHOT1. In Student Planning, type inyou course (i.e. SURV-229)under your search and hit thelittle magnifying glass to do asearch.2. Once you see the results ofthe search, click on the littleblue arrow that is facing downand it will expand to reveal theavailable section. Click on AddSection to Schedule button.3. Once you add it to yourschedule, you can go back toStudent Planning and it shouldshow up on the left-hand sidewith a blue exclamation markthat states you are Authorizedto Add. Just click the Registerbutton.4
4. Barring any holds or prerequistes, your section statusshould change to Registered.The section should change toa green color on yourschedule.You are now registered in theauthorized section. Please goto WebAdvisor to pay yourenrollment fees.5
This can be seen in WebAdvisor by viewing the section information. The student can only register during the Add Period of the section. They cannot register before that. Easy way to remember is that you "Add during the Add Period." Student is Waitlisted . STEPS SCREENSHOT 1. In WebAdvisor, click the Student Planning link to open Self-Service.