Transcription
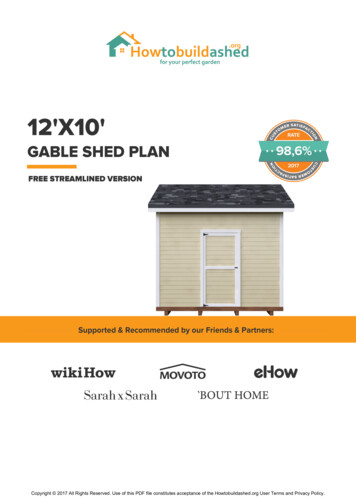
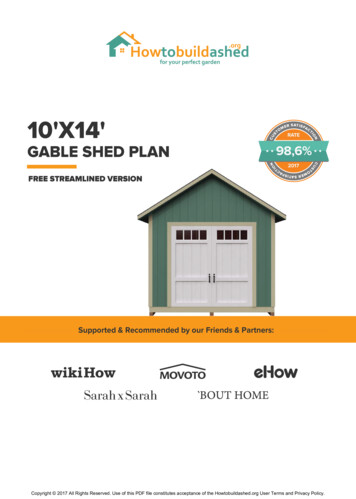
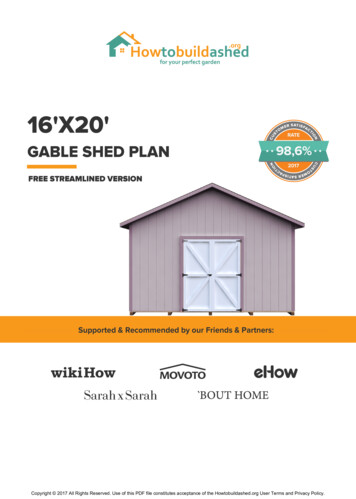
SCUMER S AT I S F ARATECTNMER S AT I S F AIOSCTFREE STREAMLINED VERSION2017TON98,6%CUGABLE SHED PLANTOIO16'X20'Supported & Recommended by our Friends & Partners:Copyright 2017 All Rights Reserved. Use of this PDF file constitutes acceptance of the Howtobuildashed.org User Terms and Privacy Policy.
DIFFERENCES BETWEEN OUR FREE & PREMIUM PLANSVS.FREE 16'x20' PLANPREMIUM 16'x20' PLAN 30 detailed 3D schematics Basic schematics Views from all angles Basic angles Measurements for every part Basic measurements Full layouts for every step Basic layouts Step-by-step assembly instructions Simplified instructions Full material / shopping list Full cutting list PRO-TIPS for every section Mobile / Tablet ready Designed for newbies and pro'sLEARN MORE ABOUT OUR PREMIUM 16'X20' SHED PLAN2Copyright 2017 All Rights Reserved. Use of this PDF file constitutes acceptance of the Howtobuildashed.org User Terms and Privacy Policy.
DISCLAIMERHowtobuildashed.org is here to help and assist the DIYer. All information / advice is free to use. The information /advice is for general guidance only and whilst every effort is made to ensure that it is correct, it should not be reliedupon as accurate. The information / advice contained within this document is intended for persons of no less than 18years of age. Use of the information / advice contained within this document is at your own risk. It is the soleresponsibility of any person(s) using the information / advice contained within this document that their level ofcompetence is appropriate for the task they want to complete. All users of information / advice contained within thisdocument should have all work checked / tested by a professional qualified trades person where applicable. Youshould be aware of current regulations on buildings, gas, water and electrical works (i.e. Part P) if you have anydoubts we would advise you to research further information or contact the appropriate professional body.LIABILITYHowtobuildashed.org and individuals associated with the document through ownership and contribution will notaccept any liability for any loss, damage, injury or negligence direct or indirect from use of the information / advicecontained within this document. Any dispute arising from use of this document or disclaimer will be decided by theUS courts under the relevant US law.COPYRIGHTThe contents of these and other pages (graphics, text and arrangement) are owned unless otherwise noted byHowtobuildashed.org and no part of this document may be reproduced without written permission of the ownersHowtobuildashed.org Information may be stored on computer for personal use only, not for presentation orpublication.3Copyright 2017 All Rights Reserved. Use of this PDF file constitutes acceptance of the Howtobuildashed.org User Terms and Privacy Policy.
1BASIC OVERVIEW AND DIMENSIONSThis 16 x 20 shed is quite spacious, with an overall body width of 20’ 1” and an enormously wide 21’ 6 ½” roof toprotect the body of the shed from extreme weather conditions. The front door is 7’ 1/2” tall and 3’ 8” wide,providing enough space for furniture, equipment and people to move in and out easily. The overall shed height is12’ 2 1/2” with the side width being 16’ 1”. The window area is kept at around 4’ x 4’. Windows and doors will eitherbe built independently or bought from a manufacturer. Follow the manufacturer’s instructions to install the doorand window in place.21' 6.5"6' 4.5"20' 1"3'FRONT VIEWDOOR12' 2.5"4'4'16' 1"WINDOWSIDE VIEWNOTEUse old doors and windows to save money. Follow manufacturer’s instructions to accurately install the doorsand windows.4Copyright 2017 All Rights Reserved. Use of this PDF file constitutes acceptance of the Howtobuildashed.org User Terms and Privacy Policy.
2FOUNDATION AND FLOORBuilding a solid foundation is the key to having a stable and steady shed. The foundation will support the walls so itneeds to be resilient and strong enough to hold in place. Use pressure-treated timber to create a 20’ x 16’foundation base as shown in the figure. Use ¾” Tongue and Plywood to build the floor on the foundation as shownin the figure. It is imperative to ensure the floor truss and skids are spaced equally to avoid any mishaps.20'16'FOUNDATION BASE3/4" Tongueand GroovePlywoodFLOORNOTEBuy per-designed joists and skids if you are new to building sheds. This way, you will reduce the chances ofany complications in sizing and spacing.5Copyright 2017 All Rights Reserved. Use of this PDF file constitutes acceptance of the Howtobuildashed.org User Terms and Privacy Policy.
3WALL STRUCTURESThe most crucial step of shed building is building the wall structures. Wall structures need to be accurately cut anddesigned before installation. Once installed, reshaping the structures will not be a feasible option. Use pressuretreated timber to construct the front and back wall frames as shown in the figure. You can use wall studs, headers,plates, cripple studs and L joints to assemble the parts. Use 3/12” galvanized nails to attach the frames firmlytogether. Both the walls need to be 20’ wide and 7’ 6” inches tall. Once the frames are constructed, install T1-11siding with galvanized nails and exterior screws to complete the wall structures.20'7' 6"20'FRONT WALL20'7' 6"20'BACK WALLNOTEAdd self-adhering flashing on the bottom edges of the windows before installing T1-11.6Copyright 2017 All Rights Reserved. Use of this PDF file constitutes acceptance of the Howtobuildashed.org User Terms and Privacy Policy.
4WALL STRUCTURESThe next step is to create the right and left walls of the shed with a width of 16’ and height of 15’ 5”. Note thatthe right wall will have an opening for a door as shown in the figure. Both the right and left walls arecomparatively easier to build, since they do not have many outlets for windows and doors as compared tothe front and back walls. Once built, install T1-11 siding on the walls with galvanized nails and exterior screws.16'15' 4"RIGHT WALL16'7' 6"15' 4"LEFT WALLNOTEMake sure the edges of T1-11 do not overlap each other as this will compromise the functioning and appearance ofthe T1-11.7Copyright 2017 All Rights Reserved. Use of this PDF file constitutes acceptance of the Howtobuildashed.org User Terms and Privacy Policy.
5ROOF SECTIONOnce all four walls are completed, it is time to start building parts of the roof. The roof is the most importantand complex part of a shed. It needs to be robust and the parts should fit well to ensure no leakage. Start withconstructing the trusses of the roof. Make sure all the trusses are identical in shape and size to provide theroof with a stable and levelled base. Use the trusses as rafters and install T1-11 on the two outer most trussesusing galvanized nails. Now, simply install the plywood sheathing on the roof using galvanized nails. Once theplywood is in place and is levelled, it’s time to install the roof felt with nails. After the felt is installed, startadding the roof shingles of your choice.AsphaltShingles9' 6"20' 11"NOTEFollow the manufacturer’s instructions carefully while installing the shingles. Get additional help forthe roofing task to safely get the job done.8Copyright 2017 All Rights Reserved. Use of this PDF file constitutes acceptance of the Howtobuildashed.org User Terms and Privacy Policy.
MER S AT I S F ARATECTNCUTOIOSSupported & Recommended by our Friends & Partners:CUMER S AT I S F AIOS2017TON98,6%CTWait no more! Click here to learn more about ourpremium 16'x20' shed plan and start buildingyour shed today!PREMIUM PLAN INCLUDES: 30 detailed 3D schematics Views from all angles Measurements for every part Full layouts for every step Step-by-step assembly instructions Full material / shopping list Full cutting list PRO-TIPS for every section Mobile / Tablet ready Designed for newbies and pro'sCopyright 2017 All Rights Reserved. Use of this PDF file constitutes acceptance of the Howtobuildashed.org User Terms and Privacy Policy.
FREE 16X20 Storage Shed Plan by Howtobuildashed.org Author: Howtobuildashed.org Subject: FREE 16X20 Storage Shed Plan. For more details & full material list vis
