Transcription
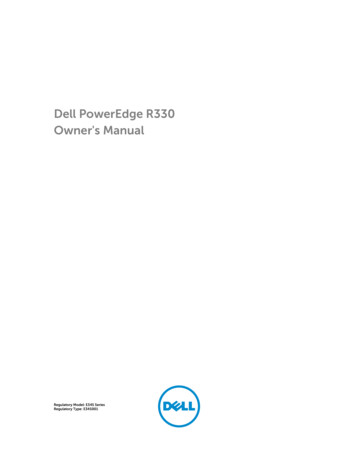
Dell PowerEdge R330Owner's ManualRegulatory Model: E34S SeriesRegulatory Type: E34S001
Notes, cautions, and warningsNOTE: A NOTE indicates important information that helps you make better use of your computer.CAUTION: A CAUTION indicates either potential damage to hardware or loss of data and tells youhow to avoid the problem.WARNING: A WARNING indicates a potential for property damage, personal injury, or death.Copyright 2015 Dell Inc. All rights reserved. This product is protected by U.S. and international copyright andintellectual property laws. Dell and the Dell logo are trademarks of Dell Inc. in the United States and/or otherjurisdictions. All other marks and names mentioned herein may be trademarks of their respective companies.2015 - 09Rev. A00
Contents1 About your system. 9Supported configurations on PowerEdge R330 systems. 9Front panel features and indicators.9LCD panel features. 14Diagnostic indicators.14Hot swappable hard drive indicator codes.16Back panel features and indicators. 17NIC indicator codes.18Indicator codes for redundant power supply unit. 19Documentation matrix.20Accessing system information by using QRL. 212 Performing initial system configuration . 23Setting up your system. 23Setting up and configuring the iDRAC IP address . 23Logging in to iDRAC.24Methods of installing the operating system.24Managing your system remotely. 24Downloading drivers and firmware. 243 Pre-operating system management applications. 26Navigation keys. 26About System Setup. 27Entering System Setup. 27System Setup Main Menu. 27System BIOS screen details.27System Information screen details. 28Memory Settings screen details.29Processor Settings screen details. 29SATA Settings screen details.30Boot Settings screen details.32Network Settings screen details. 33Integrated Devices screen details.33Serial Communication screen details.34System Profile Settings screen details. 35System Security Settings screen details. 36Miscellaneous Settings screen details. 38About Boot Manager.393
Entering Boot Manager. 39Boot Manager main menu. 39About Dell Lifecycle Controller. 39Changing the boot order.39Choosing the system boot mode. 40Creating a system and setup password. 40Using your system password to secure your system.41Deleting or changing system password and setup password. 41Operating with a setup password enabled. 42Embedded system management. 42iDRAC Settings utility. 42Entering the iDRAC settings utility.42Changing the thermal settings. 434 Installing and removing system components.44Safety instructions.44Before working inside your system. 44After working inside your system. 44Recommended tools. 45Front bezel (optional).45Installing the optional front bezel.45Removing the optional front bezel. 46System cover.46Removing the system cover. 46Installing the system cover. 47Inside the system. 48Intrusion switch. 51Removing the intrusion switch.51Installing the intrusion switch. 52Cooling shroud.52Removing the cooling shroud. 52Installing the cooling shroud. 53System memory. 54General memory module installation guidelines. 55Sample memory configurations. 55Removing a memory module. 56Installing a memory module. 57Hard drives.59Supported hard drive configurations . 60Removing a 2.5-inch hot swappable hard drive blank.60Installing a 2.5-inch hot swappable hard drive blank. 61Removing a 3.5-inch hot swappable hard drive carrier blank. 624
Installing a 3.5-inch hot swappable hard drive carrier blank. 62Removing a 3.5-inch cabled hard drive carrier.63Removing a cabled hard drive from a hard drive carrier. 64Installing a cabled hard drive into a hard drive carrier.65Installing a 3.5-inch cabled hard drive carrier. 66Removing a hot swappable hard drive carrier. 67Installing a hot swappable hard drive carrier. 68Removing the optional 1.8-inch solid state drives. 69Installing the optional 1.8-inch solid state drives.70Installing a 2.5-inch hot swappable hard drive into a 3.5-inch hard drive adapter. 71Removing a 2.5-inch hot swappable hard drive from a 3.5-inch hard drive adapter. 72Installing a 3.5-inch hard drive adapter into the 3.5-inch hot swappable hard drive carrier.73Removing a 3.5-inch hard drive adapter from a 3.5-inch hot swappable hard drive carrier.74Removing a hot swappable hard drive from a hard drive carrier. 74Installing a hot swappable hard drive into a hot swappable hard drive carrier. 75Optical drive (optional).76Removing the optional optical drive. 76Installing the optional optical drive.77Cooling fans. 78Removing the cooling fan blank.78Installing the cooling fan blank.79Removing a cooling fan.80Installing a cooling fan. 81Internal USB memory key (optional). 82Replacing the optional internal USB memory key. 82Expansion cards and expansion card riser. 83Expansion card installation guidelines. 83Removing the expansion card riser. 85Installing the expansion card riser.86Removing an expansion card.87Installing an expansion card. 88Removing the internal PERC card. 89Installing the internal PERC card. 90iDRAC port card (optional). 91Replacing an optional SD vFlash card.91Removing the optional iDRAC port card.92Installing the optional iDRAC port card.94Internal dual SD module (optional). 94Removing an optional internal SD card. 94Installing an optional internal SD card.95Removing the optional internal dual SD module.95Installing the optional internal dual SD module .975
Heat sink and processor. 98Removing the heat sink. 98Removing the processor.99Installing the processor. 101Installing the heat sink.103Power supply units.105Hot spare feature.105Removing a redundant power supply unit.105Installing a redundant power supply unit.106Removing the power supply unit blank.107Installing the power supply unit blank. 108System battery.108Replacing the system battery. 108Hard drive backplane.110Removing the hard drive backplane. 110Installing the hard drive backplane. 119Control panel assembly.119Removing the LCD control panel assembly. 119Installing the LCD control panel assembly. 121Removing the LED control panel assembly. 122Installing the LED control panel assembly. 123Power interposer board. 124Removing the power interposer board. 124Installing the power interposer board. 125Trusted Platform Module. 126Installing the Trusted Platform Module. 126Re-enabling the TPM for BitLocker users.127Re-enabling the TPM for T
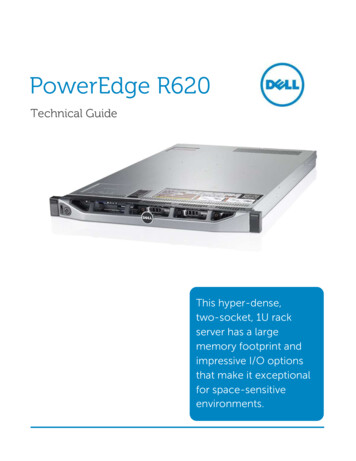
The Dell PowerEdge R330 rack server supports one processor based on the Intel E3-1200V5 series, up to 4 DIMMs, and up to eight hard drives or solid state drives (SSDs). Supported configurations on PowerEdge R330 systems The PowerEdge R330 systems are available in the following configurations
