Transcription
Using ESP32-CAM with Arduino IDETutorialCopyright 2020, OLIMEX Ltdreleased under CC-BY-SA 4.0 licensee
What you need: ESP32-CAM, ESP-PROG-C, USB-CABLE-A-MICRO-1.8M
1. Install ArduinoGo to arduino.cc and download latest revision for your OS.
2. CH340 patch for LinuxCH340 Linux drivers has bad PLL settings for all kernels before 5.5.If your system happen to be with Linux Kernel before 5.5. here is the GitHub repository with thepatch to install.If you do not have this patch CH340 will work, but will not be able to communicate at speed over115200 bps, with the patch up to 2Mbps communication is possible.
3. Wire cables:You need to connect ESP32-CAM and ESP-PROG this way:ESP32-CAM GND---- ESP-PROG GNDESP32-CAM 3.3V---- ESP-PROG 3.3VESP32-CAM U0T---- ESP-PROG RXDESP32-CAM U0R---- ESP-PROG TXDFor firmware uploading you need one more connection, which is necessary ESP32 to go inBootloader mode:ESP32-CAM IO0---- ESP32-CAM GND
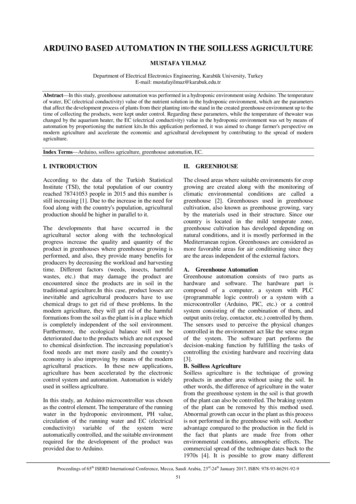
4. Configure Arduino for ESP32-CAMRun Arduino. In the Files-Preferences add:https://dl.espressif.com/dl/package esp32 index.json
In Tools-Board-Board Manager search for ESP32 and install it
Exit Arduino and Run it again so it loads new board data. From File-Examples select ESP32Camera-CameraWebServer
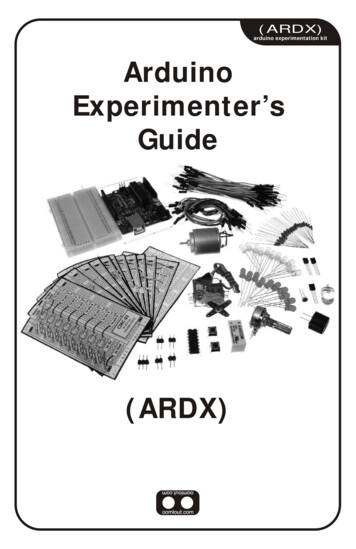
In select camera model uncomment CAMERA MODEL AI THINKER and comment all other:Then enter SSID and PASSWORD for your WiFi router.
In Tools-Board select : ESP32Wrover ModuleSpeed 921600Flash Frequency 80MhzFlash Mode QIOPartition Scheme: Huge appPort: the port where your ESP-PROG USB Serial is connected it may be „ttyUSB0“ if you arerunning Linux or COMxx if you run Windows
Compile and see if there are no errors:
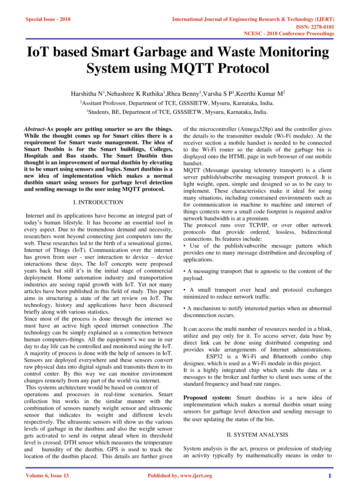
Then Press RESET button on ESP32-CAM, release it and hit Upload button on Arduino IDE.If you get this error under Linux:This means that the access to ttyUSB0 is not enabled for your user and you have to run in terminalsudo chown youruser /dev/ttyUSB0Where „youruser“ can be seen and try again.
If everything is OK you will see this picture:
Now you have to disconnect ESP32-CAM IO0 and GND and press reset. In serial monitor you willsee this message:
when you open http://192.168.100.109/ you will seeNow you can play with the different settings!
Exit Arduino and Run it again so it loads new board data. From File-Examples select ESP32-Camera-CameraWebServer. In select camera model uncomment CAMERA_MODEL_AI_THINKER and comment all other: Then enter SSID and PASSWORD for your WiFi router. In Tools-Board select : ESP32Wrover Module