Transcription
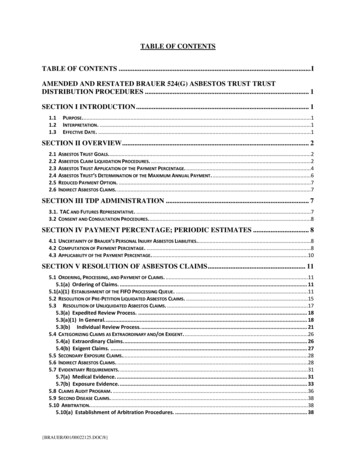
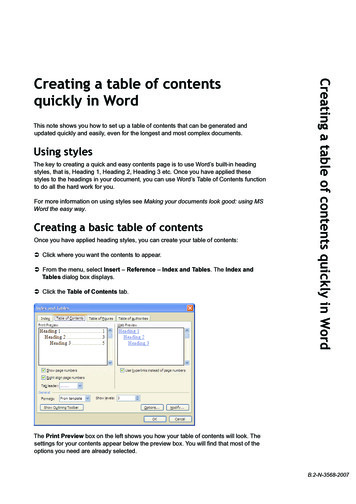
This note shows you how to set up a table of contents that can be generated andupdated quickly and easily, even for the longest and most complex documents.Using stylesThe key to creating a quick and easy contents page is to use Word’s built-in headingstyles, that is, Heading 1, Heading 2, Heading 3 etc. Once you have applied thesestyles to the headings in your document, you can use Word’s Table of Contents functionto do all the hard work for you.For more information on using styles see Making your documents look good: using MSWord the easy way.Creating a basic table of contentsOnce you have applied heading styles, you can create your table of contents: Click where you want the contents to appear. From the menu, select Insert – Reference – Index and Tables. The Index andTables dialog box displays. Click the Table of Contents tab.Creating a table of contents quickly in WordCreating a table of contentsquickly in WordThe Print Preview box on the left shows you how your table of contents will look. Thesettings for your contents appear below the preview box. You will find that most of theoptions you need are already selected.B.2-N-3568-2007
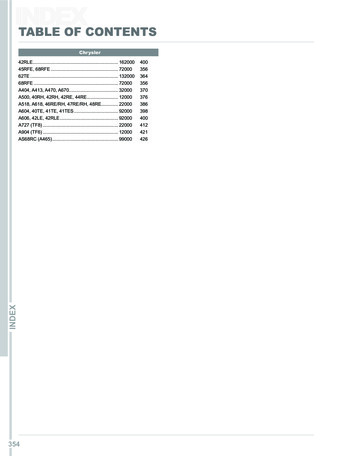
Your contents will show page numbers, have right-aligned page numbers, and a tab leader (the characterthat appears between the contents entry and the page number).You can change the tab leader if you wish, for example you may want a different one,or no tab leader at all.Word shows three levels by default, that is, the text from the paragraphs to which you have applied thestyles Heading 1, Heading 2 and Heading 3 will appear in your table of contents. You can use the Showlevels box to generate more or fewer levels.Make sure the option From template is selected in the Formats box so that you use the Table of Contents(TOC) styles that are automatically included in the document you are working on.When you have made your selections, click OK. Your table of contents is displayed:Don’t apply a heading style to your table of contents heading – you don’t want it appearingon your contents list! You can create a custom style or format the text manually.Updating a table of contentsIf you make changes to your document, for example you might add or delete sections, or alter the text of aheading, Word does not automatically update the table of contents. You must remember to do this yourself.To perform the update, click anywhere in the table of contents and press F9 to display the Update Table ofContents box.You can choose to update page numbers only, or the entire table. Itis a good idea to always choose to Update entire table in case youhave made any other changes. Click OK to start the update.Always update your table of contents before sending out or printing the document so that any changes areincluded. This will also avoid the Error! Bookmark not defined message appearing in your contents.You can set Word to always update tables of contents automatically when you print. SelectTools - Options - Print and click the Update Fields box.
Modifying a table of contentsThe entries in a table of contents are not ordinary text; they are fields. Although there is nothing to stop youediting the entries directly, any changes you make will be lost when you perform an update. To change thewording of entries, you must change the text in the document itself, then press F9 to update the contents.If you want to change the way the text in your table of contents looks, i.e., font type, size, etc., you can dothis through the Index and Tables dialog box: Click anywhere in the table of contents and select Insert – Reference – Index and Tables. Click the Modify button at the bottom right.Word includes nine built-in table of contents styles corresponding to the nine heading levels. These appearas TOC1, TOC2 etc. (The symbol indicates the style of the paragraph your cursor was in when youclicked Modify.) Click on the style you want to change and click Modify. The Modify Style dialog box displays. Make changes to the formatting as required and click OK. Select another style to modify and repeat. When you have completed the editing, click OK to exit. Click OK to replace the table of contents.Note: You can also make formatting changes to TOC stylesby using the Styles and Formatting task pane. Click in thetable of contents just in front of the page number. The styleappears in the Formatting of selected text box:Move your cursor to the box, click on the down arrow andclick Modify. Note that the TOC styles do not appear in thePick formatting to apply list, even if you select All styles.Including custom stylesIf you have a document that uses custom styles as well as, or even instead of, the built-in heading styles,you can include these in the table of contents. Click where you want the contents to appear and select Insert – Reference – Index and Tables. At the Table of Contents tab, click the Options button. The Table of Contents Options box displays.
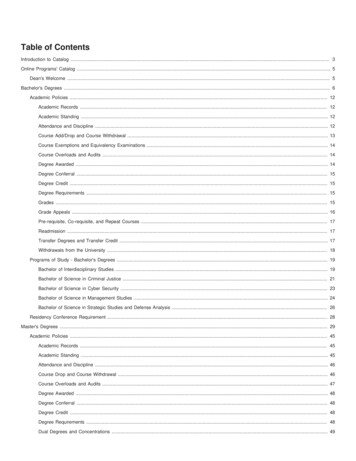
The built-in heading styles are selected by default in theAvailable styles list. You select which style goes with whichlevel by typing in the TOC level number.You can ‘mix and match’ built-in and custom styles as you wish. As an example, you may have createdcustom styles called Appendix 1 and Appendix 2, and you want the text for these entries to appear on thetable of contents at the same levels as Heading 1 and Heading 2.All you need to do is scroll the Available styles list to find your custom styles then type in the levels:Your table of contents will include the entries where the styles Appendix 1 and Appendix 2 have beenapplied:Including a table of figuresIf you have figures (such as diagrams, tables or images) in your document, you can include entries for thesein your table of contents. This is done by creating a caption for each figure, then inserting a table of figures.To create a caption: Click the figure and select Insert – Reference – Caption. At Label, select the label for the object. The default list is Equation, Figure or Table. You can create a newlabel if nothing on the list is appropriate. In the Caption box, click after the label and add any descriptive text you wish.
Select the Position for the caption and click OK.To insert the table: On your contents page, click where you want the table of figures to appear. Select Insert – Reference – Index and Tables and click the Table of Figures tab. At Caption label, select the label from the list. Select any other options you require and click OK.You can create as many tables of figures as you need. Note that each table has to be updated separately. Aquick way to do this is to select Edit – Select All then press F9. An Update Table of Contents prompt willappear for each table.Tips, tricks and troubleshootingI have unwanted entries in my table of contentsA common problem with a table of contents is to find ‘rogue’ entries. In the example below, an entireparagraph has appeared in the contents.This happens when a style used to create the contents has been applied to a paragraph. This may havebeen done inadvertently, in which case simply locate the paragraph and apply another style. It may alsohave been due to one of Word’s AutoFormat As You Type options. To check, select Tools – AutoCorrectOptions and click on the AutoFormat As You Type tab.Make sure that the Define styles based on your formattingoption in the Automatically as you type section is deselected.If this option is selected, Word assumes that if you havemanually formatted some text with the same attributes as anexisting style, you want to apply that style to your text. This isfrequently the reason for a table of contents not working correctly.
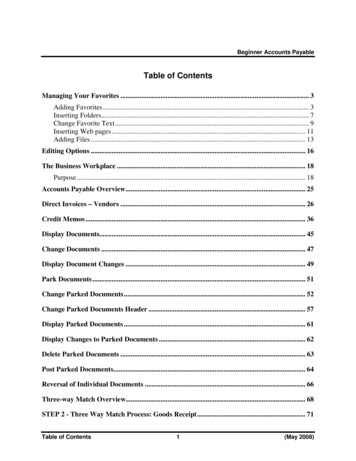
I am getting ‘Error! Bookmark not defined’ in my contentsYou will see this error if you have removed text from your document but have not updated the table ofcontents. Update by clicking anywhere in the table and pressing F9.Some of my entries look different from the restIf you have manually formatted a heading in your document, for example to change the font to italics, theformatting will be reflected in the table of contents. If you want to keep the formatting you have used inyour document, you can create and apply a custom style and incorporate that style in the contents (see thesection Including custom styles). It is possible to edit the entries in the table of contents directly to removethe formatting, but it will reappear when you update the table again.I have long headings that are too close to the page numberIf you have very long headings, your table of contents entries may come very close to the page number, asin the example below.To improve the appearance, you can make the text wrap further away from the page number. To do this,modify the TOC style, select Format – Paragraph and under Indentation, set a Right indent.I want to stop page numbers appearing for the top levelYou can stop page numbers appearing at any level by clearing the Show page numbers check box in theTable of Contents dialog box. However, if you want to show page numbers for some levels but not others,you have to edit the TOC field code directly. The most common layout is to omit page numbers for styles atTOC level 1. First, insert your table of contents with the Show page numbers check box cleared. No page numberswill be displayed at any level. To see the code, click in the table of contents and press Alt F9. If you have created a table of contentswith three levels and have omitted page numbers, the field will look like this:‘TOC’ is the field code for table of contents. The field also contains ‘switches’ shown as \ and a letter. Theinstruction to omit page numbers is the switch \n. To omit page numbers for specific levels, enter a range after the \n switch. Even if you are omitting pagenumbers for a single level you must still enter a range. For example, to omit level 1 entries, click in thefield after \n and type the range “1-1”: Press Alt F9 again to see the table of contents text then press F9 to update.
Creating a table of contents quickly in Word This note shows you how to set up a table of contents that can be generated and updated quickly and easily, even for the longest and most complex documents. Using styles The key to creating a quick and easy contents page is to use Word’s built-in heading styles, that is, Heading 1, Heading 2, Heading 3 etc. Once you have applied these styles to .