Transcription
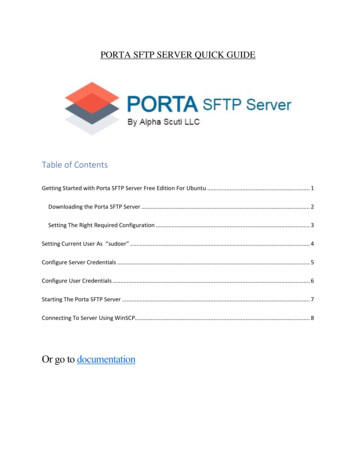
PORTA SFTP SERVER QUICK GUIDETable of ContentsGetting Started with Porta SFTP Server Free Edition For Ubuntu . 1Downloading the Porta SFTP Server . 2Setting The Right Required Configuration . 3Setting Current User As “sudoer” . 4Configure Server Credentials . 5Configure User Credentials . 6Starting The Porta SFTP Server . 7Connecting To Server Using WinSCP. 8Or go to documentation
1Getting Started with Porta SFTP Server FreeEdition For UbuntuGetting started with Porta SFTP Server Free Edition for Ubuntu is so easy as it only requires few stepswhich can be done no longer that 5 minutes. The goal of Porta SFTP Server is to make the setup of SFTPServer easy for both Windows OS and Ubuntu. Note that we will going to cover only the Ubuntu versionof Porta SFTP Server in this document.
2Downloading the Porta SFTP ServerGo ity-edition/ then download the Ubuntu versionwhich support only 20.04 at the moment. Note that the zip file is password protected and you should havereceived the password after you requested the download link. Once you downloaded it, please place thePorta SFTP folder to safe place and not in the Download folder itself.
3Setting The Right Required ConfigurationBefore you can run the “SFTPServer” executable you have to set the permission of the file by going intothe folder of the Porta SFTP Server with the terminal and execute “sudo chmod x SFTPServer”. Orsimply right click the file- Properties- Permissions then set the following:If you do not set these permission you will get this window:
4Setting Current User As “sudoer”After you set the permission and try to run the application, you will get the prompt window for requiredconfiguration. Please follow the steps mentioned, After this you should be prompt for installing therequired runtime and just allow it by hitting the “Yes” button.Reference: u/
5Configure Server CredentialsIn order for any SFTP client to connect to Porta SFTP Server, the server needs a keys to be used forauthentication. This is a combination of the private and public keys, when the SFTP client attempt toconnect to the server, it will need to accept the sessions meta such as Fingerprint of the server and cache itas trusted party.
6Configure User CredentialsAs conjunction to the server credentials, a user credentials must be created to connect to the SFTP Server.This user credential information are resides within the perimeter of the SFTP Server owner and will begiven to the intended users.Whenever the SFTP client connect, the SFTP Server will compare this credential against its cached,database or similar storage. In the case of Porta SFTP Server it stores the credentials in App.config.
7Starting The Porta SFTP ServerOnce you’ve configured everything, you can click the “Start Server” button and you are ready to connectany SFTP Client using the user credentials that has been created.Please note that in practice, you should setup all the credentials first before starting the server.
8Connecting To Server Using WinSCPDownload and install the WinSCP from https://winscp.net/eng/download.php then put the credential suchhost/ip and the username and password you’ve created.
As conjunction to the server credentials, a user credentials must be created to connect to the SFTP Server. This user credential information are resides within the perimeter of the SFTP Server owner and will be given to the intended users. Whenever the SFTP client connect, the SFTP Server will compare this credential against its cached,