Transcription
Virtual Isilon Install GuideSend any feedback on the manual to Jason Sturgeon jason.sturgeon@isilon.com
1Gather information about your VMware install1.128Add the rest of the nodes of the cluster30Removing virtual Isilon cluster4.15Install and configure the virtual clusterAdd the rest of the nodes to the cluster3.144Install the virtual Isilon cluster2.13Gather information about your VMware installRemoving the virtual Isilon cluster33Running virtual nodes on ESX5.1Running virtual nodes on ESX36
Gather information about yourVMware installVirtual Isilon Install Guide - 3Isilon Systems
Gather information about your VMware installVerify that you system is capable of running the virtual version of OneFSVM nodes are for demo purposes only and are not available for support, questions, or repair byIsilon Global Services.System Requirements:1. RAM: Must have at least 1 Gigabyte of RAM2. Must have a VT-capable processor and have the feature enabled in the BIOS3. HD: Must have at least 17 gigs of free space on the hardrive to run 1 Virtual node, 16G more ofspace per additional VM4. VMware Server, Fusion, Workstation or Player installedVMware Player if free and the guide is based on it.Other versions are very similar in configuration.The site for VMware Player is http://www.vmware.com/products/player/Use this template to collect some network informationInternal Network:IP Range:Netmask:External Network:IP Range:Netmask:Gateway:Virtual Isilon Install Guide - 4Isilon Systems
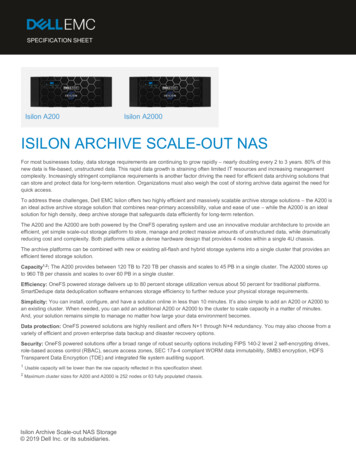
Determine the internal and external ranges to be usedFrom the command prompt, type ipconfigThe network generated for VMnet1 by vmware will become your internal range.In this example, the network 192.168.208.The range I would write down would be 192.168.208.101-192.168.208.109. Anything, but the.1address is fine.The netmask I would write down is 255.255.255.0The network generated for VMnet8 by vmware will become your external range.In this example, the network 192.168.47The range I would write down would be 192.168.47.101-192.168.47.109. Anything but the .1 addressis fineThe netmask I would write down is 255.255.255.0Virtual Isilon Install Guide - 5Isilon Systems
The gateway I would write down is 192.168.47.1. The address VMware has created on that networkis your gateway.Enter this information in the step above.Virtual Isilon Install Guide - 6Isilon Systems
Install the virtual Isilon clusterVirtual Isilon Install Guide - 7Isilon Systems
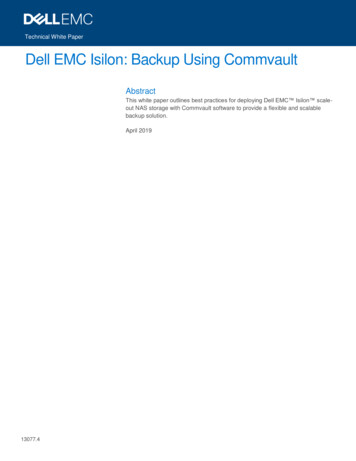
Install and configure the virtual clusterUnzip the Virtual Isilon Node zip fileRlght-click on the file and choose "Extract All."Choose a good location and Click "Extract"Virtual Isilon Install Guide - 8Isilon Systems
Once complete you should see a folder that looks something like this in that specifiedlocationOpen the folderYou will see several files and folder. Each clone directory will be a virtual node, if you want. You canjust run a single node, or you can build a virtual cluster up to 6 nodes.Virtual Isilon Install Guide - 9Isilon Systems
Open the clone1 folder and double click on the .vmx fileVirtual Isilon Install Guide - 10Isilon Systems
VMware software should startIf prompted to install tools, choose not to.The system may prompt you to find the .vmx file. If so, just browse back to the clone1 folderThe first boot of the virtual node will take some time.Virtual Isilon Install Guide - 11Isilon Systems
When prompted to format the drives, type yes and hit returnThis is when the virtual drives in the clone directory will start to consume 16G of space.Virtual Isilon Install Guide - 12Isilon Systems
Once the node is done, configure your cluster as any other clusterChoose 1 to create a new clusterVirtual Isilon Install Guide - 13Isilon Systems
Complete first steps of wizard1. Set the root password2. Set the admin password3. Do NOT enable SupportIQ4. Set a cluster nameVirtual Isilon Install Guide - 14Isilon Systems
Continue Wizard1. Choose the encoding2. Choose to configure the netmast3. Set the netmask for the internal networkVirtual Isilon Install Guide - 15Isilon Systems
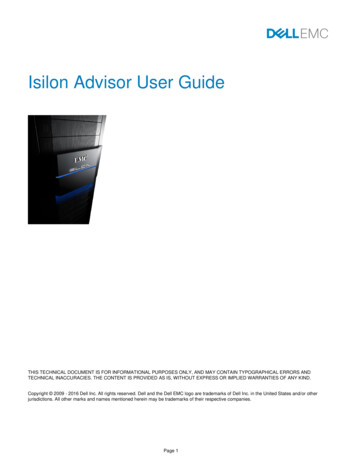
Configure the internal network1. Choose 3 to configure the ranges2. Choose 1 to Add an IP Range3. Enter the lowest IP in the range4. Enter the hight IP in the rangeYou numbers will most likely be different that what is here.Virtual Isilon Install Guide - 16Isilon Systems
Continue the internal network configuration1. Press enter to Keep the current IP ranges2. Press enter to Keep the current configuration3. Choose 1 to configure the external networkVirtual Isilon Install Guide - 17Isilon Systems
Configure the external network1. Choose 1 to Configure the netmask2. Enter the netmask for the external network3. Choose 3 to Configure the external IP rangesVirtual Isilon Install Guide - 18Isilon Systems
Continue the external network configuration1. Choose 1 to Add an IP Range2. Enter the lowest IP in the range3. Enter the hight IP in the range4. Press enter to Keep the current IP ranges5. Press enter to Keep the current configurationYou numbers will most likely be different that what is here.Virtual Isilon Install Guide - 19Isilon Systems
Continue the external network configuration1. Set the Gateway2. Press enter to Keep the current SmartConnect settings (This can be setup later if needed)You numbers will most likely be different that what is here.Virtual Isilon Install Guide - 20Isilon Systems
Continue Wizard1. Press enter to Keep current DNS settings2. Press enter to Exit configuring external network3. Press enter to Keep the current date and time. (VMware takes the time from your host computer.You can set a timezone and time if you like)4. Press enter to Kepp the current join mode of ManualVirtual Isilon Install Guide - 21Isilon Systems
Configure configuration and continuePress enter to to commit these changes.If anything is wrong, you can type back and return as many times as needed to go back in the wizard tomake changes.It make take a few minutes before the node finishes the configuration and is available.Virtual Isilon Install Guide - 22Isilon Systems
This is not uncommon to see on the consoleNow the node is up, you can ssh or use the web interface to make use of it.Virtual Isilon Install Guide - 23Isilon Systems
Connect to the web interfaceEnter the first IP address in the external range that you configured.You will see a warning. It is safe to click Continue.Virtual Isilon Install Guide - 24Isilon Systems
Now you can login as root or adminSome warning will be on the system, this is expectedVirtual Isilon Install Guide - 25Isilon Systems
It's be to quiet the eventYou can go to Status Events SummaryYou should see a warn related to the fact that the virtual machine only has 4 drive and real nodes haveat least 12.Click the Quiet link to get rid of the warning.You wil have to do this will each virtual node you add.Virtual Isilon Install Guide - 26Isilon Systems
SSH to the virutal node will also workEnter the lowest IP address that you configured for the external rangeVirtual Isilon Install Guide - 27Isilon Systems
Login as rootVirtual Isilon Install Guide - 28Isilon Systems
Add the rest of the nodes to theclusterVirtual Isilon Install Guide - 29Isilon Systems
Add the rest of the nodes of the clusterAdding the rest of the nodes is optionalJust running a single node can be very useful, but a full three or six node cluster allows for more testingand experimentationFor each additional node you want to join to the cluster, explorer to the clone2,3,4,5,or 6 folder anddouble click on the .vmx file. You will again have to type yes to formatting the drivesMost laptops will only be able to support a three node cluster.Please note that adding nodes to the cluster will continue to take more CPU, RAM and Disk spaceAdding the node to the clusterOnce the clone is booted up and formatted:1. Choose 2 to Join an existing cluster2. Choose 1 to join your clusterVirtual Isilon Install Guide - 30Isilon Systems
Once done, that node will be part of the clusterJoin as many of the remainig nodes as you want following the previous stepsVirtual Isilon Install Guide - 31Isilon Systems
Removing virtual Isilon clusterVirtual Isilon Install Guide - 32Isilon Systems
Removing the virtual Isilon clusterPower off all the virtual nodesVirtual Isilon Install Guide - 33Isilon Systems
Delete the directory with all the virtual nodesVirtual Isilon Install Guide - 34Isilon Systems
Running virtual nodes on ESXVirtual Isilon Install Guide - 35Isilon Systems
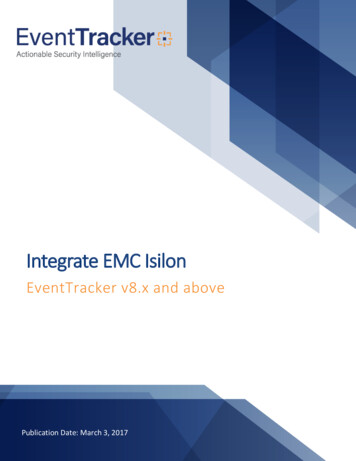
Running virtual nodes on ESXTo run virtual nodes on an ESX server, they must be coverted with the converter tool from VMware.Use the Converter tool for vCenter or download and install VMware vCenter Converter Standalone.Both are free and I will use the standalone in the example belowRun the tools and click "Convert Machine"Virtual Isilon Install Guide - 36Isilon Systems
For the source choose "VMware Workstation or other VMware virtual machine"Virtual Isilon Install Guide - 37Isilon Systems
Choose BrowseVirtual Isilon Install Guide - 38Isilon Systems
Browse to the .vmx file in the .vga directory, NOT in the clone directoriesIf you accidently do use a clone directory, it just won't work.Virtual Isilon Install Guide - 39Isilon Systems
Continue in the wizardClick "Next"Virtual Isilon Install Guide - 40Isilon Systems
Enter the information for the ESX server that will host this VMVirtual Isilon Install Guide - 41Isilon Systems
Choose a name for the Virtual Machine and continueClick NextVirtual Isilon Install Guide - 42Isilon Systems
Optionally choose a datastore and continueClick NextVirtual Isilon Install Guide - 43Isilon Systems
On the options screen you may want to change the networks and continueIf a network change is needed, click Edit next to the Networks sectionClick Next when doneVirtual Isilon Install Guide - 44Isilon Systems
Click Finish to convertVirtual Isilon Install Guide - 45Isilon Systems
The task will then startThe time estimates can be way off.Virtual Isilon Install Guide - 46Isilon Systems
Once complete, the VM can now be powered onOne you have the VM on your ESX server, if you want to run more than one node, you will then justconvert it to a template and create new VMs from that templateVirtual Isilon Install Guide - 47Isilon Systems
2 Install the virtual Isilon cluster 2.1 Install and configure the virtual cluster 8 3 Add the rest of the nodes to the cluster 3.1 Add the rest of the nodes of the cluster 30 4 Removing virtual Isilon cluster 4.1 Removing the virtual Isilon cluster 33 5 Running virtual nodes on ESX 5.1 Running virtual nodes on ESX 36