Transcription
Spintires:MudRunner modding guide (Beta)21 February 2018ContentsCreating a truck mod for Spintires:MudRunner . 2Step 1. Install free Spintires:MudRunner Editor in Steam and create a mod. 2Step 2. Create truck ‘.X’ mesh file. 5Step 3. Create truck ‘.XML’ mesh file. 8Step 4. Create truck file .14Step 5. Customizing the truck .17Step 6. Test the truck in the game .22Step 7. Publish mod .25Importing Spintires-2016 mod into Spintires:MudRunner .26Step 1. Create new mod .26Step 2. Import Spintires-2016 mod content .26Appendix A. Using 3dsMax2012 to create X files .27Appendix B. General information on textures.29Appendix C. General information on XML inheritance.30Appendix D. Attributes introduced since Spintires-2016 .32Creating a map mod for Spintires:MudRunner .34Step 1. Create a mod and Create the source level files .34Step 2. Edit the level .37Step 3. Test the level in the game .43Step 4. Publish mod .43Appendix A. Importing Spintires-2016 terrain.441
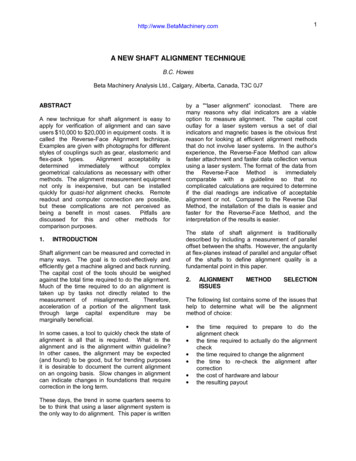
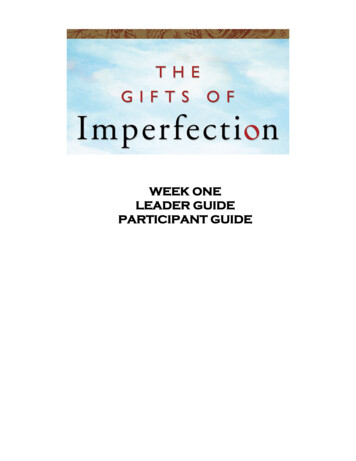
Creating a truck mod for Spintires:MudRunner Step 1. Install free Spintires:MudRunner Editor in Steam and create a modThe Editor is located in the Steam Library Tools Spintires: Mudrunner – EditorFor more info on modding, follow the /Upon first launch of Spintires:MudRunner Editor, that’s what you should see:Spintires:MudRunner Editor first launch2
You need to configure Spintires:MudRunner Editor first. Go to Settings Paths.Configuring Spintires:MudRunner Editor.1. You need to have Spinires:MudRunner installed! Select path to the installed game (by default“.\Steam\SteamApps\common\Spintires MudRunner).2. Press “Install Game Media” – this extracts game files to local Spintires:MudRunner Editor folder, so youcan use them to build your mods.3. It is also recommended to download and install Notepad for XML editing. Just follow the link “GetNotepad ”.4. After Notepad is installed, press “Install Notepad plugins” to install SpinTires plugins and follow theinstructions. A set of useful functions would become available in Notepad , including:- Quick open any game file (ALT-SHIFT-O)- Goto XML node within file (ALT-SHIFT-D)- Quick comment/uncomment XML (ALT-SHIFT-C / ALT-SHIFT-U)- XML file format/sort (ALT-SHIFT-F)After you click “Ok” to close “System Paths” dialog, “File View” pane would get populated by file items.Tip: make sure Steam is currently running (you should see Steam overlay in bottom right corner atstartup)3
Right click “ mods” subfolder in “File View” and select “Create new mod” in context menu. This willcreate a new Steam Workshop mod, which won’t be visible to anyone but you (until you publish it later).Creating new Steam Workshop modIf mod is created successfully, a new subfolder would be created, with name consisting of 8 to 16alphanumeric lowercase letters. This name is unique Steam Workshop item ID, which is used to identify yourmod.Basic mod conceptsA mod is a set of files within directory with mod ID name – which is in turn within special directory called“ mods”.Each time you launch Spintires:MudRunner Editor, directories for all mods that you own areautomatically created within “ mods”. But you need to populate them with files yourself before publishing.When you choose to publish the mod, those files would be automatically converted to game-friendly formats,renamed and packed – and then sent to Steam Workshop. So no one but mod author will see original files.4
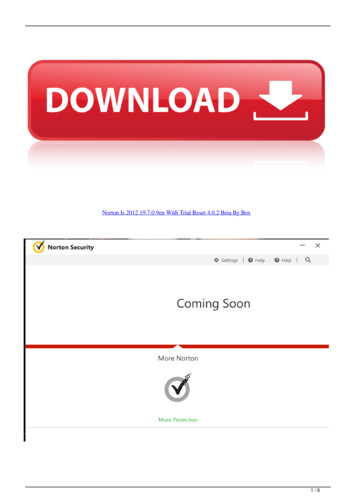
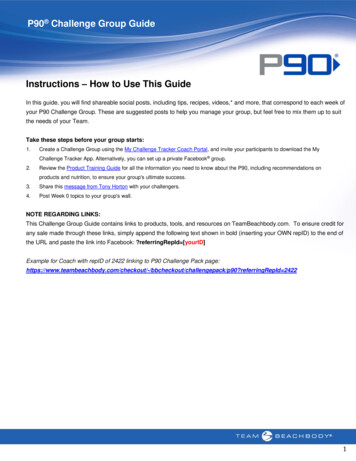
Step 2. Create truck ‘.X’ mesh fileYou don’t always need to create a new mesh for new truck – sometimes you just want to mod thetextures or properties of existing trucks (which is perfectly ok) – but in this example, we are creating new truckfrom scratch.Spintires:MudRunner uses “.X” mesh file format – which is an old DirectX file format.So you have to get a converter for whatever modeling software you are using. In our case its 3ds Max2012 – and recommended converter is kW X-port (See Appendix A)3ds Max 2012 view of the truck mesh we will be converting to Spintires:MudRunner 5
Make sure to setup your mesh properly:Note that there should be single root object. Also note that 3ds Max Z axis is Y axis in Spintires:MudRunner (andZ axis in Spintires:MudRunner is Y axis in 3ds Max)Tip: Make sure all exported objects have identity scale (X:100.0, Y:100.0, Z:100.0).Make sure root object and truck mesh itself (in our case, “truck” object) have identity rotation (X: 0.0, Y:0.0; Z:0.0)- use Utilities tab - Reset XForm modifier)Note: truck should be aligned along ‘X’ axis. Typical default alignment axis is ‘Z’. ‘X’ instead of ‘Z’ is alegacy issue in Spintires:MudRunner At least one truck object (subobject) should be physical. A physical object must have collision model.Spintires:MudRunner automatically generates collision model for objects with “ cdt” name postfix. So thoseobjects won’t be visible in game, but they can have physical bodies attached to.At the same time, if an object has child objects which are called “cdt” – it uses their geometry as its own collisionmodel. Objects called “cdt” are not accessible in game.6
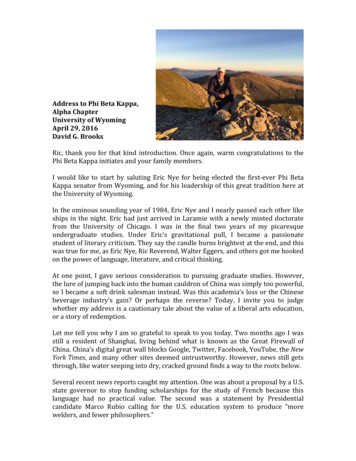
After truck mesh setup is complete, export .X file to “Media\ mods\[mod name]\meshes\trucks”3ds Max: Select all exported objects, click “Export - Export Selected“ and pick “kW X-port (*.X)” in “saveas type” combobox.kW X-port exporter settings for 3ds Max 20127
Step 3. Create truck ‘.XML’ mesh fileEach ‘.X’ file in Spintires:MudRunner has paired ‘.XML’ mesh file – which describes textures and gamespecific mesh properties.Navigate to newly created ‘.X’ file in “File View” and double-click it:A prompt to create new XML for ‘.X’ fileTechnically, you can have multiple XML meshes referencing single ‘.X’ file. But in general case you shouldhave XML with the same name as ‘.X’ file (leave suggested name as default).8
Open new XML file in Spintires:MudRunner Editor. Right click main view and select “Open XML File” incontext menu.Spintires:MudRunner mesh file view. Notice mesh structure in “Scene View”. You should verify it before goingany further. Any object (frame) you are planning to attach physical body to should have at least one “cdt” child(collision model). Collision models themselves are visualized with teal wireframe. Collision model type is part ofthe name in brackets. It can be either box, convex, or mopp. “Box” is the best performing collision model – while“Mopp” is by far the slowest – so make sure any collision models that can be represented as boxes are actually“Boxes”.We assume you are using Notepad for XML editing, that you have “.xml” extension associated with itand that you have Spintires:MudRunner Editor plugins for Notepad installed (as described above). Given that,“Open XML File” would automatically launch Notepad with given XML mesh file contents:Notepad showing XML empty mesh file9
Double-click on “CombineXMesh” (XML root element) – it should turn into a button:XML node name turns into a buttonClick on “CombineXMesh” button. Node editing dialog should open up. Add appropriate amount ofmaterials. (“material” describes part of mesh with specific texture, blending and surface shading)Dialog shows available child nodes and current child node. Double click on element on the list to add/removethem.10
After “Material” child nodes are added, double-click them and add appropriate attributes:Select attributes for materials. DiffuseMap, NormalMap and SpecularMap are texture files. MeshParts describespart of the mesh which material is applied to – and is required unless there is single material in a file.After you add DiffuseMap and other attributes, place cursor at the attribute values (between commas).Attribute-editing dialog should show up. Click “File” button and browse for the texture file:Attribute-editing dialog provides set of useful tools for XML editing11
Pick texture file with Spintires:MudRunner file browser:Spintires:MudRunner file browser. Note – when texture is referenced, only its sub-path under“.\Media\textures\” is stored. If mesh file (XML) is referenced, its extension is omitted and its sub-path under“.\Media\meshes\” is stored. If class file (XML under “.Media\classes\” is being referenced, its extension isomitted and its sub-path under “.\Media\classes\[class type]” is stored. Spintires:MudRunner file browserautomatically extracts the right sub-path for the file you selected.Use attribute-editing dialog to pick “MeshParts” for the material. Click “Mesh Frame” buttons and selectone or more mesh part:Spintires:MudRuuner mesh frame browser. It only works correctly after you specify correct mesh XML file withinyour truck XML file.12
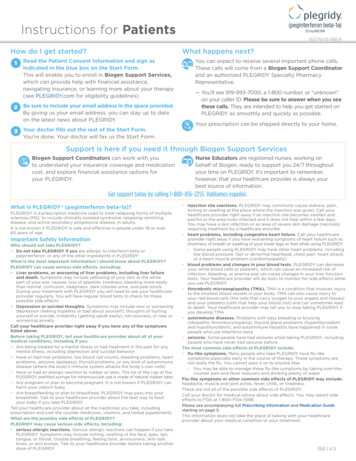
Use Spintires:MudRunner Editor to figure out which mesh parts should use which materials:Spintires:MudRunner Editor show mesh parts. A mesh file (‘.X’) may contain multiple meshes. Each mesh mightbe split into multiple materials. A mesh part is identified by mesh (parent frame) name and an index (starting 0)In the end XML mesh file should look similar to that:Typical view of a XML mesh fileTip: Use ALT-SHIFT-F after text changes to standardize XML sorting/formatting.13
Step 4. Create truck fileRight click mod folder created at Step 1 and select “New truck.” in context menu:Creating new truckPick the name for your new truck (it is advised to consist of alphanumeric lowercase letters and “ ”).IMPORTANT: file names within particular file groups (trucks, textures, level) must be unique! The gameignores folders, so if you have multiple mods with the same folder structure, make sure trucks are nameddifferently.Naming new truckAfter you choose a name, a new XML file will be created at [mod name]\classes\trucks.14
Select it and pick “Show in explorer” in toolbar:Show a file in Windows ExplorerOpen truck XML file in Windows Explorer. Spintires:MudRunner Editor automatically creates a templatetruck file which you now need to customize.First off, select truck mesh file as an attribute value to “Truck/PhysicsModel/Mesh”. UseSpintires:MudRunner tools to pick a file and instead of "[truck mesh]" you should have "trucks/kamaz65115"(as an example).Next, select wheel classes (some of default wheel classes are listed in “Media/classes/wheels” folder) –and replace "[rear wheel class]" and "[front wheel class]". Note that those are XML classes – not meshes.After that, verify “ParentFrame” attributes point to correct mesh frames (sub-objects).15
With those modifications done, you can open truck XML file in Spintires:MudRunner Editor and itshould look similar to that:Default mod truck with minimal modificationsNext step is customizing truck parameters.16
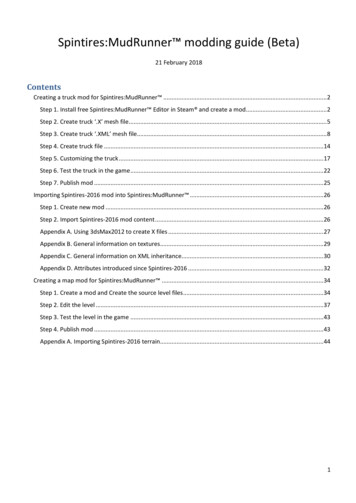
Step 5. Customizing the truckProcess of creating the truck essentially boils down to editing truck XML text file. But there are a numberof tools to assist you with that:Spintires:MudRunner Editor toolbar. Each action has a hotkey (hover mouse to read tooltip)1.2.3.4.5.6.7.8.9.10.11.Wireframe mesh viewDisable edit when you only want view but not change (for instance, object positions in mesh view)Lighting mode: directional or ambient-only (helpful for verifying textures and occlusion volumes)Enable/disable fog. Not used for creating truck mods.Show/hide scene gridSystem statisticsSystem timersReload resources (textures and meshes)Open Media file. An important assist to navigate files of your mods.Duplicate object. Not used for creating truck mods.Start/stop physics simulation. Use this to test trucks physics within Spintires:MudRunner Editor.You can also use Havok Visual Debugger to test your physics setup. To do so, open truck XML file withinSpintires:MudRunner Editor, then start the simulation (toolbar button 11):Spintires:MudRunner Editor shows collision
Spintires:MudRunner Editor show mesh parts. A mesh file (.X) may contain multiple meshes. Each mesh might be split into multiple materials. A mesh part is identified by mesh (parent frame) name and an index (starting 0) In the end XML mesh file should look similar to that: Typical view of a XML mesh file Tip: Use ALT-SHIFT-F after text changes to standardize XML sorting/formatting. 14 Step .