Transcription
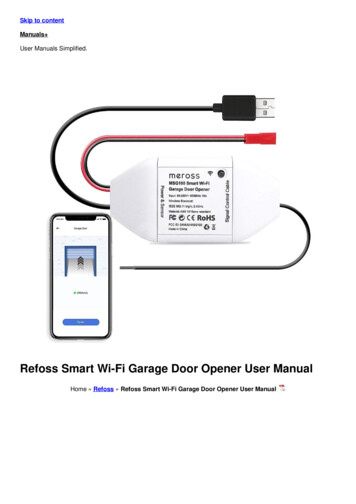
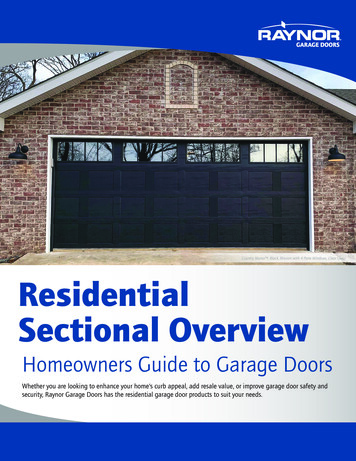
SMART GARAGE DOORCONTROLLER INSTALLATION GUIDEInstallation requires no special tools — you’ll justneed a screwdriver, stepladder and smartphone!(Tools and smartphone not included.)Model V2Bperformaxopeners.com1-800-495-9278
Thank you for purchasing the Performax SmartGarage Door Controller!Please read and follow all installation instructions. Homeownersshould retain this guide for reference.ControllerPoweradapterWireless doorsensorOpenercable
1 Download the app & begin setupGarage door opener system must be installed and operationalbefore beam Home can be installed.While inside your home, download* the “beam Home”app from the App Store (iOS) or Google Play (Android). Open the app, and select “Setup Your beam.” Follow prompts within the app to verify the WiFi network you’d likeyour controller to connect to, and enter your network password.TIP: Make sure you do not select a 5G network for setup (beamonly connects to 2.4GHz networks).*Standard data and messaging rates may apply.
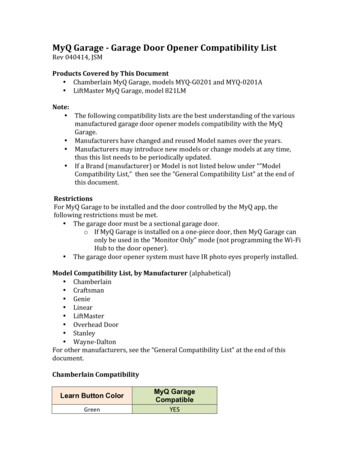
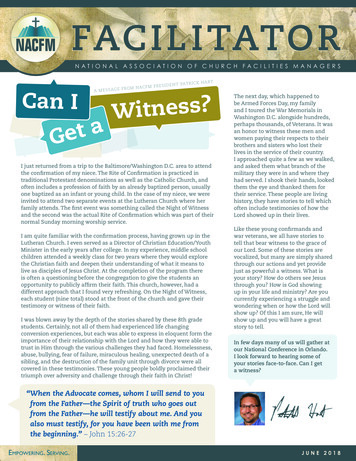
2Power up the controller Locate the controllerand power adapter. Plug the adapterinto the DC IN port on the controller and a nearby power source. The controller’s WiFi status light will blink orange to indicate it’sready for setup.Opener PortTop SidePower IndicatorDC IN PortWiFi StatusBottom SideControllerPower IndicatorSetup Port
3Program the controller Follow prompts within the app, and when directed, press yourphone screen tightly (taking care not to damage your phone)against the bottom setup port.TIP: It may be helpful to dim the lights or cup your hand over yourphone during programming to minimize light interference. If successful, the controller will beep and the WiFi status lightwill blink green. You’ll then be prompted to create an account.(If not successful, the WiFi status light will blink red and you will beguided through setup again.)Point screen atsensor now!5Controller
4Scan the wireless door sensor code Locate the wireless door sensorand follow prompts within theapp to scan the code (found on the back of the sensor). Enter a name to identify your door. Unplug the controller and head out to the garage!Wireless DoorSensor
5Mount the wireless door sensor Clean and wipe dry an area at the top of your garage door’sinterior panel. Remove the battery tab from the back of the wireless doorsensorand mount to the cleaned area of the garage doorusing the adhesive Velcro strip.Mounting location(top of interior panel)WirelessDoorSensor
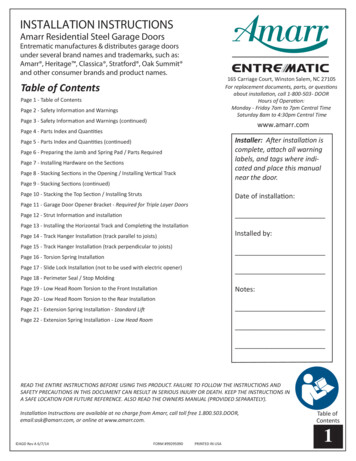
6Mount the controller Unplug your opener. Locate the controllerstepladder.and power adapter, and grab your Clean and wipe dry your selected mounting location, either onthe garage door opener or a nearby surface. Mount using theadhesive strip on the back of the controller.TIP: The controller should be mounted within 3 feet of the garagedoor opener and within 6 feet of a power source. The use of anextension cord is not recommended.Mounting locationoptionsOpener
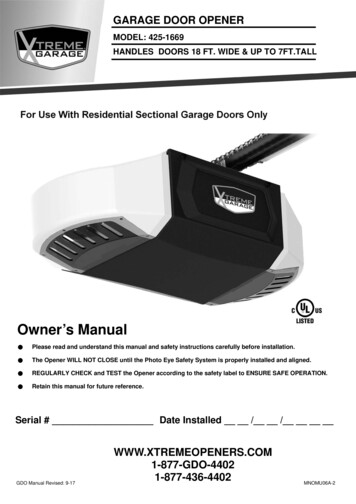
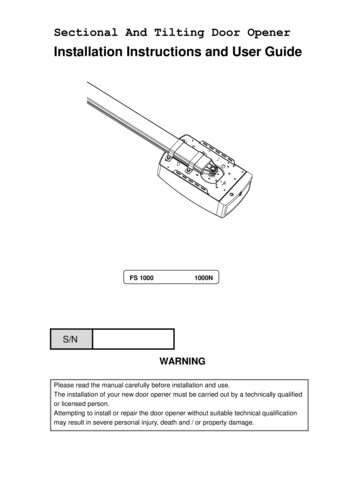
7Connect the opener cable to the controller Make sure opener is unplugged. Locate the opener cable. Plug the black connector into the opener port on the top side ofthe controller.Opener PortWiFi StatusControllerPower IndicatorOpener CableDC IN Port
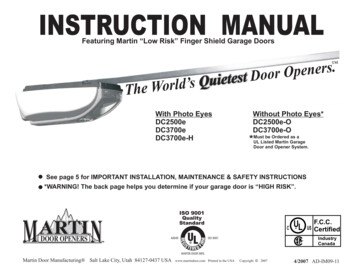
8Connect the controller to the garagedoor opener Make sure opener is unplugged. Using a small screwdriver, connect the other end of the openercableto your garage door opener push button terminals. Ifthere are already other wires present, they can be spliced togetherwith the opener cable to share the same terminals.PUSHBUTTON
9Power up the controller & opener Plug the power adapterinto the DC IN port on the controllerand a nearby power source. Plug your garage door opener back in. All done!Power SourceControllerOpener
Get the most from your Performax Smart GarageDoor Controller! Share access with others – Invite friends and family within theapp. No need to share your code or buy additional remotes. Explore integrations – beam plays well with others, from IFTTTto Amazon Alexa.Customer Service: 1-800-495-9278Warning:To reduce the risk of injury to persons: Use this Smart Garage Door Controller only with Residential Sectional Garage doors. Do not enable this device on a one-piece or swinging garage door. System will not work without Photo Eye Safety System installed.Amazon, Alexa and all related logos are trademarks ofAmazon.com, Inc. or its affiliates.Decko Products 2301 Traffic St. NE. Minneapolis, MN 55413
the garage door opener or a nearby surface. Mount using the adhesive strip on the back of the controller. TIP: The controller should be mounted within 3 feet of the garage door opener and within 6 feet of a power source. The use of an extension cord is not recommended. 6 Mounting location options Opener