Transcription
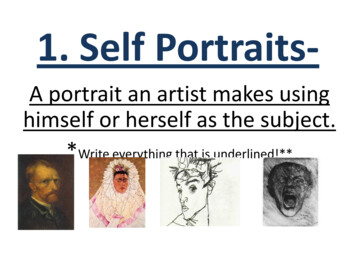
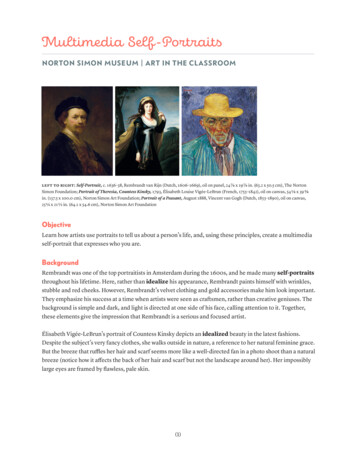
Multimedia Self-PortraitsNorton Simon Museum Art in the Classroomleft to right: Self-Portrait, c. 1636–38, Rembrandt van Rijn (Dutch, 1606–1669), oil on panel, 24 7/8 x 19 7/8 in. (63.2 x 50.5 cm), The NortonSimon Foundation; Portrait of Theresia, Countess Kinsky, 1793, Élisabeth Louise Vigée-LeBrun (French, 1755–1842), oil on canvas, 54 1/8 x 39 3/8in. (137.5 x 100.0 cm), Norton Simon Art Foundation; Portrait of a Peasant, August 1888, Vincent van Gogh (Dutch, 1853–1890), oil on canvas,25 1/4 x 21 1/2 in. (64.1 x 54.6 cm), Norton Simon Art FoundationObjectiveLearn how artists use portraits to tell us about a person’s life, and, using these principles, create a multimediaself-portrait that expresses who you are.BackgroundRembrandt was one of the top portraitists in Amsterdam during the 1600s, and he made many self-portraitsthroughout his lifetime. Here, rather than idealize his appearance, Rembrandt paints himself with wrinkles,stubble and red cheeks. However, Rembrandt’s velvet clothing and gold accessories make him look important.They emphasize his success at a time when artists were seen as craftsmen, rather than creative geniuses. Thebackground is simple and dark, and light is directed at one side of his face, calling attention to it. Together,these elements give the impression that Rembrandt is a serious and focused artist.Élisabeth Vigée-LeBrun’s portrait of Countess Kinsky depicts an idealized beauty in the latest fashions.Despite the subject’s very fancy clothes, she walks outside in nature, a reference to her natural feminine grace.But the breeze that ruffles her hair and scarf seems more like a well-directed fan in a photo shoot than a naturalbreeze (notice how it affects the back of her hair and scarf but not the landscape around her). Her impossiblylarge eyes are framed by flawless, pale skin.(1)
Vincent van Gogh’s Portrait of a Peasant features an older man. His skin is weathered and tan, and he iswearing a straw hat and less refined clothing, all of which indicate that he probably works outdoors in the sun.Like Rembrandt, Van Gogh uses a simple, ambiguous background to keep the viewer’s attention on the subjectand to make the portrait timeless. This approach directs the viewer’s attention to the man and the brushworkrather than the setting and context. Van Gogh was known for his thick, colorful and expressive style. Heplaced complementary colors such as yellow-orange and blue-violet side by side to create visual interest andto compare this otherwise humble man to medieval and Renaissance paintings of saints painted with boldcolors and yellow-gold haloes.DiscussionTake five minutes to look at two of the artworks listed above. Then discuss each work one at a time beforediscussing them side by side. Look at the person’s expression, pose and clothing. How would you describe him or her in this painting?What can you conclude about his or her social status and lifestyle? How would you describe the background,colors and lighting in this painting? How do these elements affect the mood of the picture and your impression of the person depicted inthe portrait? What do you think the artist is trying to communicate about this person? What do you see that makes yousay that? Compare the two portraits. Looking at them together, do you notice anything you had missed when you firstlooked at them individually?(2)
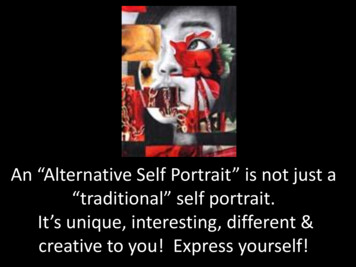
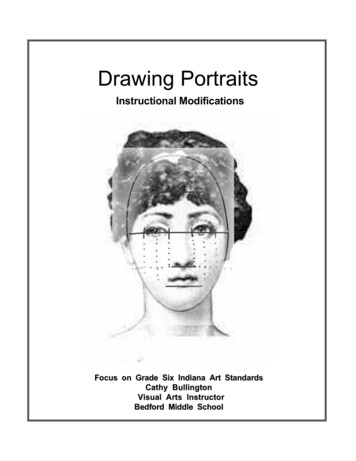
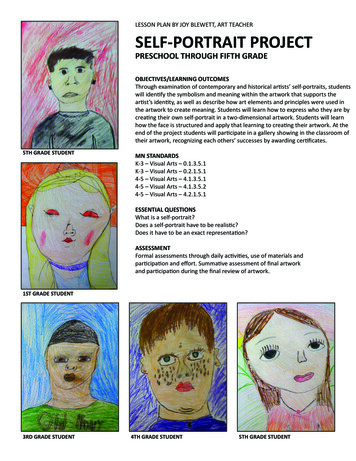
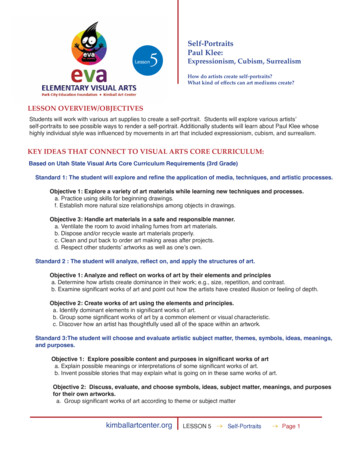
ActivityUsing collage and transparency sheets, create a layered self-portrait that expresses who you are, includingyour interests, personality and background.Materials 6 ½ x 8" construction paper (2 sheets) 6 x 8" Dura-Lar (3 transparency sheets) 6 x 8" white paper (1 sheet) pencil Sharpies scissors glue stick1 collage papers magazines or photos mirror or smartphoneSteps1.2Begin by using a mirror or the camera feature on a smartphone(flipped to face you), and make a line drawing of your face andneck using paper and pencil.2. Place a transparency sheet over your drawing, and trace yourdrawing onto the transparency sheet using a Sharpie.3.3Cut out images from magazines and/or use collage papers orphotos that connect to your interests, personality and culture.Arrange them in a meaningful and balanced composition ona transparency sheet, and then glue them in place. This layerwill be your background.(3)
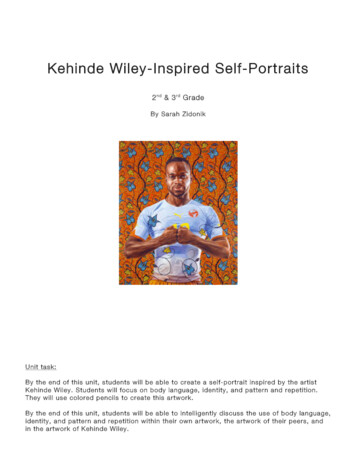
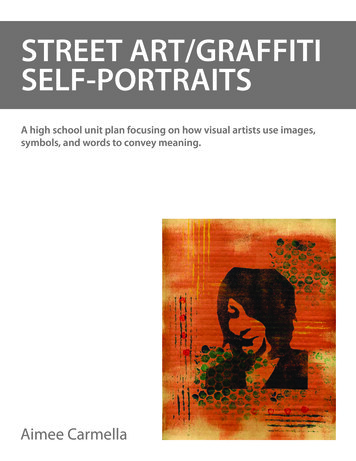
44. Take another transparency sheet and, using Sharpies, drawadditional images that symbolize aspects of your personalityand culture. You can also add more collage, but keep someareas open in order to see through to the background. Thiswill be your middle layer.5. Take one piece of 6 1/2 x 8" construction paper and fold theedge lengthwise (about an inch). Flip the paper over andfold it back the same width as the first fold. Do this threemore times until you have six sides when you open up youraccordion-style fold. Do the same for the second sheet ofconstruction paper. For younger students, you can preparethis step in advance.56. Glue one side of the line drawing of your face about half aninch onto the first fold of the construction paper. Then repeat,gluing the other side of your drawing to the ther folded pieceof construction paper. This will be your first layer.67.Glue the Sharpie drawing of additional images (your middlelayer) onto the third fold of your construction papers, behindyour line drawing. This will be your second layer.8. Glue your background sheet onto the last fold of yourconstruction papers. This will be your third and final layer.78(4)
ReflectionPresent your self-portrait to the class. What can you tell about your classmates from looking at their portraits?Based on this feedback, do you think your self-portrait represents an accurate picture of who you are?VariationsThis project can be scaled up or down and made more simple or more complex, depending on grade level.Older Students: Incorporate more collage, write a poem or short story complementing or further expressingthe themes in your portrait and/or incorporate a photograph of a place with which you identify, and use it inthe background. Students with Special Needs: Use one transparency sheet with a white paper underneath,a Sharpie and a mirror, and draw what you see. Glue cutouts from magazines or collage paper that interestyou, and incorporate them into your drawing.VocabularyComplementary colors: any two colors that are directly opposite each other on the color wheel, such as redand green or purple and yellow. These opposing colors create maximum contrast and, when combined in theright proportions, produce a neutral color.Idealized: something that is depicted as perfect or better than reality.Self-portrait: a representation of an artist painted, drawn or sculpted by that artist.Timeless: not restricted to a particular time or date.(5)
Curriculum ConnectionsVisual Arts: Pre-K: create a self-portrait; create a three-dimensional form; discuss what is seen inartworks; ask questions about artworks; discuss what they like about their own artworks and that of others.K–1: demonstrate use of scissors, glue and paper in creating three-dimensional construction; make a collage;describe artworks; discuss how and why they made artworks. Grade 2: perceive and discuss differences inmood created by warm and cool colors; demonstrate beginning skill in collage; create a painting or drawing,using warm or cool colors expressively. Grade 3: compare and describe various artworks that have a similartheme and were created at different time periods; write a poem or story inspired by their own artworks.Grade 4: use accurate proportions to create an expressive portrait; describe how the individual experiencesof an artist may influence the development of specific artworks. Grade 5: communicate values, opinions orpersonal insights through an original artwork; assess their own artworks. Grade 6: discuss artworks as totheme, genre, style and idea; create increasingly complex original artworks reflecting personal choices; selectspecific media and processes to express moods, feelings, themes or ideas; construct and describe plausibleinterpretations of what they perceive in artworks. Grade 7: analyze and describe how the elements of art andthe principles of design contribute to the expressive qualities of their own artworks; develop skill in usingmixed media while guided by a selected principle of design; explain the intent of a personal artwork and drawpossible parallels between it and the work of a recognized artist; take an active part in a small-group discussionabout the artistic value of specific artworks. Grade 8: analyze and justify how their artistic choices contributeto the expressive quality of their own artworks; construct an interpretation of an artwork based on the formand content of the work. Grades 9–12: analyze their own artworks as to personal direction and style; describethe use of the elements of art to express mood in one or more of their artworks; create original artworks ofincreasing complexity and skill in a variety of media that reflect their feelings and point of view; demonstratein their own artworks a personal style and an advanced proficiency in communicating an idea, themeor emotion.English Language Arts: Pre-K–2: ask and answer questions about key details in an [artwork]; identifythe main themes of an [artwork] and how it is supported by details; participate in collaborative conversations.Grade 3–12: cite [visual] evidence to support analysis of the meaning of an [artwork]; analyze how an[artwork’s] form or structure contributes to its meaning; cite [visual] evidence to support analysis of what an[artwork] says; determine an author’s point of view; engage effectively in a range of collaborative discussionswith diverse partners.History-Social Science: Grade 1: recognize that some aspects of people, places and things change overtime while others stay the same. Grade 9: The Humanities/Anthropology/Psychology.(6)
Learn how artists use portraits to tell us about a person’s life, and, using these principles, create a multimedia self-portrait that expresses who you are. Background Rembrandt was one of the top portraitists in Amsterdam during the 1600s, and he m
