Transcription
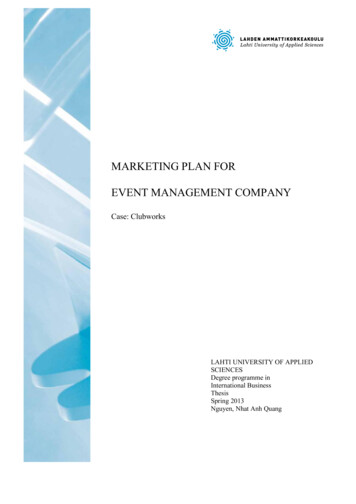
Teams Live Events are a function of Teams that allows you to broadcast out a live message to a largenumber of people. Whereas a typical Teams meeting allows two-way communication between two ormore people, a Teams Live Event is designed for one-way communication, from a presenter to a largeaudience. This is useful for town hall-style presentations.A Teams Live Event can be run by one or more presenters. There can be only one active presenter at atime, but this can be handed off to another presenter at any time.Though the presenter(s) will use the Teams client to record the presentation, the recipients can view thepresentation in a web browser and as such will not require Teams.Teams Live Events can be broadcast to the entire SOM userbase, to a subset of people, or can be madepublic entirely. They can also recorded for later dissemination.Creating a Teams Live EventOpen the Teams app, or go to teams.office.com. Create a Live event.Configure your title, start & end times, and more.You can add additional members of your Live Event team here. Add them as a producer if you wantthem to have full control of the event, with abilities such as ending the event, switching presenters, andmoderating the Q&A panel, if present. Add them as a presenter if you simply want them to participatein the video stream.Click Next when done.
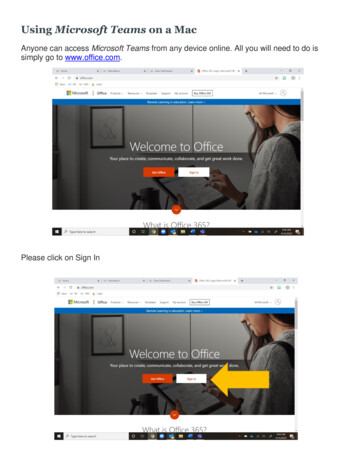
Next, choose your audience. You can include specific people only, the entire SOM userbase, or makethe event public. This last option will necessary if you want to include UMMS, UMB or FPI employeeswithout a SOM account.
Before scheduling, scroll down at this window if you’d like to enable Q&A for the event.
Now you’ll come to the summary screen. You can get attendee link, which will copy a URL to yourclipboard. Paste this into an email and send it to the audience you’d like to reach. Teams will notautomatically invite anyone to the event.If you close this window, you can open it again by going to your calendar in Teams and double-clickingon the event. When you are ready, Join the event.
Starting a Teams Live EventUpon joining an event, Teams will display several panes. Since the event is pre-live, the left pane letsyou queue up what you’d like to broadcast first. The right pane is what viewers are seeing real-time.The bottom pane shows you and your fellow presenters and producers.Turn on your video & audio to be able to broadcast yourself. Share if you’d like to add another source,such as a video or a Powerpoint slideshow.
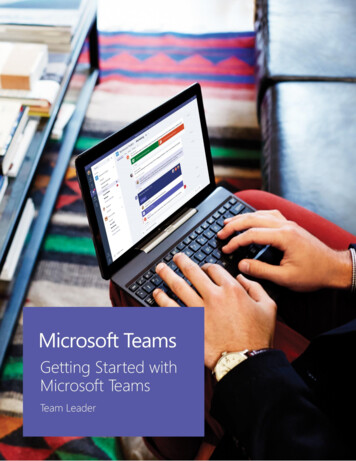
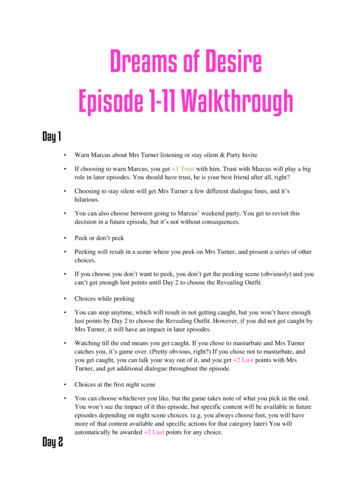
When you choose to Share, you can choose to share an entire screen (meaning any app that appears onthat screen, just as you see it – shown below in blue), or just a specific app, such as a web browser that’sdisplaying a video, or an Excel spreadsheet with a graph you’d like to show (shown below in red ). I’llchoose a web browser.
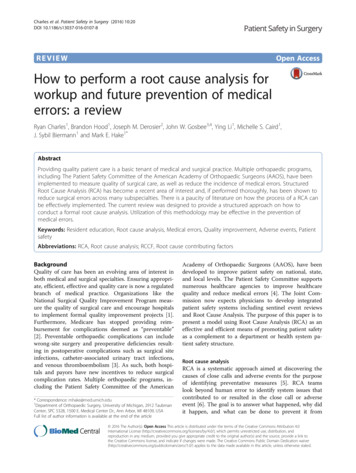
As soon as you share something, Teams disappears! A red border will outline the content that you’resharing, whether it is a single app or your entire screen. Menus to the top and bottom right will give youcontrol over the presentation. At the top, you can hand control over to another presenter. At thebottom right, you can enable or disable your video & audio, stop sharing, or leave the event entirely.Double-clicking this will bring you back to the previous screen.Back at the previous screen, we can see that we have two sources below – my live video and a webbrowser on my computer. I can choose which I’d like to present, and then Send live for a preview.When you’re ready, click Start. This will officially start the event for the viewers.
If you’re unsure if you’ve started successfully, open the attendee URL for the event in a separatebrowser. It’ll either display as The live event hasn’t started
Or it will show your event. As the message stated above, there is a 10-20 second delay.If you’d like to switch to another source, click on it in the content pane. This will appear in the Queuewindow. Click Send live to bring it to the live event.
Switch to another presenter in the same way. If a part of the event, they will show up on the contentpane as well. Once active, they can choose to share their live video, or a screen or app on their owncomputer.What is shown in the right window here will always be what the viewer sees.
As we touched on earlier, icons in the upper right hand corner will allow you to create notes for theevent, chat with the other presenters, or invite new presenters on the fly. None of this information isaccessible to the viewers.
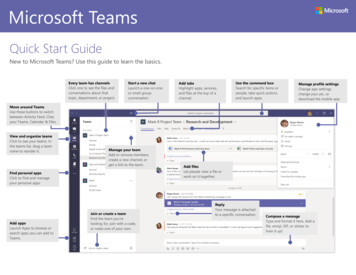
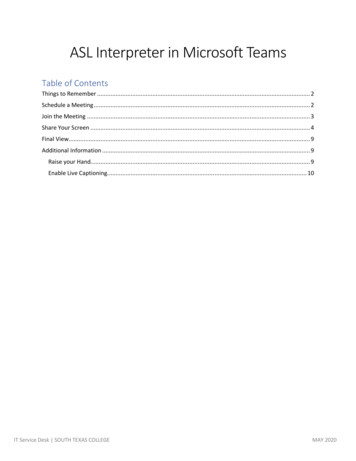
If you’ve enabled Q&A, you’ll have an additional icon in this area. You can publish messages, andanswer viewers’ questions either publicly or privately. This is a public message:
Here is a question from a viewer. You have the option to publish it and respond to it publicly, or you cananswer it privately.
The Q&A pane will appear on the right of the presentation automatically for your viewers. They will seeyour messages, and can ask questions here. Viewers have the option of asking a question anonymously.
When you are finished, you can end the event. Leave will let you exit the event without ending it, aslong as there is at least one other presenter. End will end the event entirely.
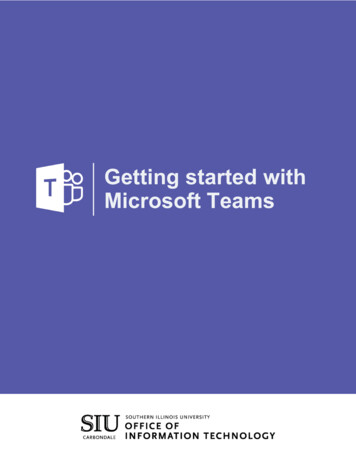
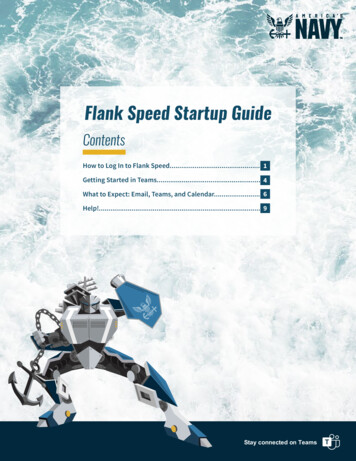
Once ended, you can return to your Teams calendar, open the event, and download an mp4 of theevent, as well as an attendee report.
It is recommended that you host a test event before holding a public event.
Creating a Teams Live Event Open the Teams app, or go to . teams.office.com. Create a Live event. Configure your title, start & end times, and more. You can add additional members of your Live Event team here. Add them as a producer if you want them to have full control of the event, with abi