Transcription
2Checkout Autoresponder & Follow UpIntegration AWeber Communications, Inc. 2006
Following up with customers after they purchase is a critical part of the sales process. Thiscommunication helps foster trust and loyalty from people who have already purchased from you.By redirecting your 2Checkout buyers to an opt-in form for your customer list, you can have themadd to your AWeber autoresponder account. You can then:Send post purchase email to customersSend out purchased information products automaticallyUp-sell your customers using emailSend customer newsletters, etc
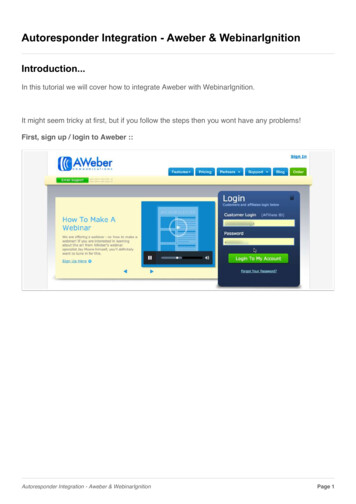
Integrating AWeber with 2Checkout - Step By Step1. Create AWeber opt-in Form For Your CustomersLogin to your AWeber account at http://www.aweber.com/login.htmChoose the appropriate list from the "Select List" dropdown menu in the upper right-handcorner of the pageClick the "Leads" tab, then the "Web Form Generator" linkClick "Create New Web Form"Create your Web Form using the Web Form GeneratorWatch our Web Form Generator video tutorialAfter you save your form, you'll be taken to the main Web Form Generator page. There,click the "Get HTML" link, and copy the form HTML from the popup that appears
2. Place Web Form on Your WebsiteYou now need to place the form onto a page of your site so that your customers can fill it out afterpurchase. Typically this will be a page of your site that is not linked to from any other pages, sothat only your customers can access it.If you are unsure how to create that web page, or how to place the form HTML onto it, pleaserefer to your web host or website editing software for assistance.3. Create Product in 2CheckoutYou now will create a product in your 2Checkout account and tell 2Checkout to redirect customersto the web page where you placed the AWeber web form. This way, after they pay you, yourcustomers can sign up to your list.Login to your account at https://www.2checkout.com/2co/loginClick the "Set Up Products" link along the left side of the pageClick the "New Product" link on the right side of the page
In the “Approved URL” field, enter the address of your web page where you have placedthe AWeber formComplete the other 2Checkout steps for creating a product (seehttps://support.2co.com/deskpro/faq.php for assistance)When you have entered all your product information, click Create Product. You will beredirected to a web page with the HTML for your button.
Copy the HTML for your button and place it onto your web page. If you are unsure how toplace the button on your web page, please refer to your web host or website editingsoftware for assistance.Now, when someone purchases your product through 2Checkout, they will be redirected to yourcustomer opt-in form. There, they can submit the email address where they want to receive yourupdates, customer newsletter or other information!Need Help?If you have any questions about this, or anything else about your account, please contact ourcustomer support team. We have real, live people ready to assist you.Hours:Monday – Friday, 7AM – 7PM Eastern timeSaturday, 9AM – 5PM Eastern timePhone:Toll Free: 1-800-531-5065 or 1 .com/support.htmLive text chat:Anywhere on the AWeber site – just click the “Live Support” icon!
add to your AWeber autoresponder account. You can then: Send post purchase email to customers Send out purchased information products automatically . Watch our Web Form Generator video tutorial After you save your form, yo
