Transcription
MITASPropertyManagerGuideGeorgia DCA - The Mitas Group, Inc.Updated and Revised By Georgia DCA 7.21.11.
MITAS Training GuideLIHTC Property Manager GuideTable of ContentsSystem Login . 1Main Menu. 3Property Information Screen . 4Property Status . 5Transactions . 6New Transactions. 7Household Screens. 8Family Member Screens . 9Income/Assets Screens . 10NAHMA FILE Upload . 11Ending the session . 12Important note: As you navigate through the Mitas screens, do not use the back button orarrow on the browser. Use the back button on the Mitas screens.
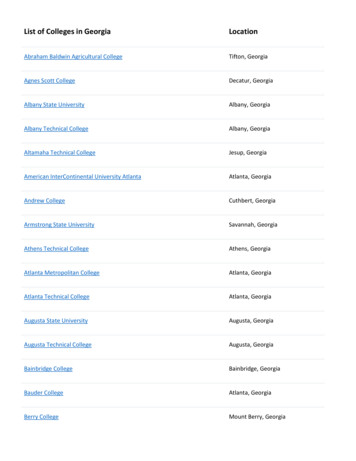
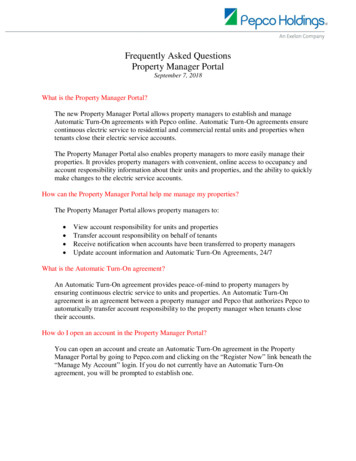
MITAS Training GuideLIHTC Property Manager GuideSYSTEM LOGIN Enter the web address to the MITAS portal as instructed by the Agency https://www.mitas.com/gadca/ www.mitas.com/propertymanagementtraining/ Click the Down Arrowin the “Web Profile” field to get to the list of log in optionsClick on one of the following options- Property Manager – This login has credentials for both the Financial and the Compliancesections Note: this credential can create additional users- Property Manager – Financials – This log in is for Property Manager Financials only- Property Manager – Compliance – This log in is for Property Manager Compliance onlyUpdated 7.21.111
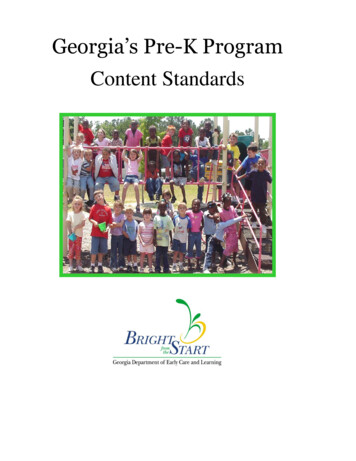
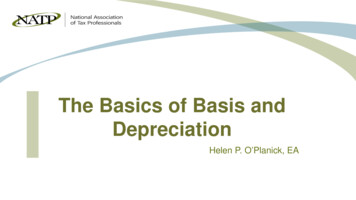
MITAS Training GuideLIHTC Property Manager GuideSystem Login Con’t.After selecting you choice of Property Manager Options your screen will change to the view displayedabove. Fill in the remaining fields Property Manager Number –This number is assigned by the Agency or the Property Manager.- This is not the site id this is the company ID assigned with your credentials by DCA Username – This is your unique username assigned by the Agency or the Property Manager. Password – This is your unique password, assigned by the Agency or the Property Manager andthen depending on your security setting you may or may not have to create/rename yourpassword. Click on the Login ButtonYou will get the following screenUpdated 7.21.112
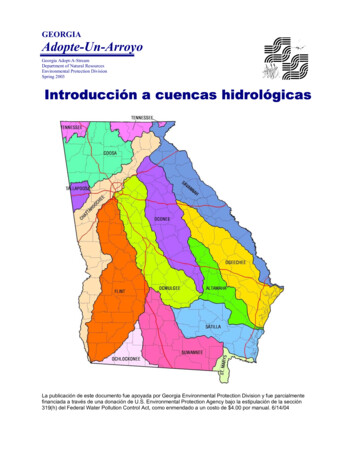
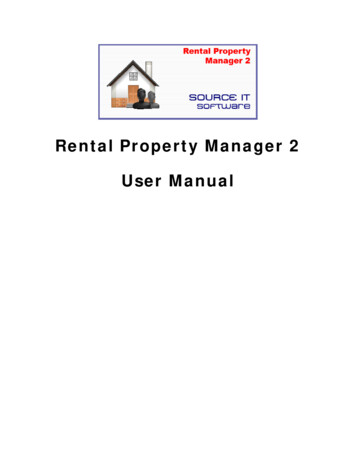
MITAS Training GuideLIHTC Property Manager GuideMain Menu ScreenOn the menu bar on the left you will have the following “Messages” block. If there are any messages from the Agency, they willappear here as a marquis. This will only appear while you are at the Main Menu level. Once youselect an entry from the menu, this block will change to a “Screens” blockand the screen that you are on will appear underneath. Main Menu – Click this at anytime and you will return to this screen, System Help – Click this to get System Help Logoff – Click here when you are ready to logoffThe Main Menu in the Center of the page has three options Property Information – This is where you access the properties so that you can enter or editinformationReporting – This is where you run the reports fromMy Account – This is where your user information is maintained (or if you are a manager andare responsible for maintaining other employees information) including login passwordinformation.Updated 7.21.113
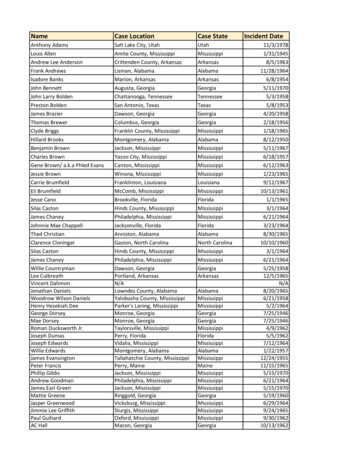
MITAS Training GuideLIHTC Property Manager GuideProperty Information Screen Click on Property InformationThis will bring you to the property login/retrieval screen Enter the property number Click on the Retrieve Button Updated 7.21.114
MITAS Training GuideLIHTC Property Manager GuideProperty StatusAll of the Property information will be displayedUpdated 7.21.115
MITAS Training GuideLIHTC Property Manager GuideTransactions Click on the ”Transaction” BoxChose the appropriate building and unit number Click the Down Arrowto drop down and select a building Click the Down ArrowClick on Retrieve List -to drop down and select a unitYou can at this point Edit a exiting record if the status is still a status of “Not-Processed” by clicking on the “EffiectiveDate” Enter a new transaction for this unit by selecting “New Transaction”Updated 7.21.116
MITAS Training GuideLIHTC Property Manager GuideNew TransactionTo enter a new transaction for a tenant/unit Enter the effective date of the transaction Click the Down Arrowto drop down and select a certification type- In this example we will use “Recertification”This Screen is also where you will enter terminations (I.E. Evictions) Click on the Submit ButtonYou will get the following screenThe “Household Information” and “Unit Information” will be displayedYou will have 6 options “buttons” to choose from (this would also be the same view (screen) that youwould get had you chose to edit an existing record that had not been processed).- Select Household to edit or update the Household Information- Select Family Member to edit or update the Family Information- Select to insert a new or edit an existing Income Record- Select to insert a new or edit an existing Asset Record- Select Update after you have entered the new information into the appropriate fields- Select Delete to delete and entire recordUpdated 7.21.117
MITAS Training GuideLIHTC Property Manager GuideHousehold ScreenEditable fields are Household Size Handicapped Temp ABS HH Special Needs Manager Mental Illness Domestic Violence Disaster Number of Children Live in Aid Homeless Model ADA Unit HIV/AIDS Farm Worker Move Out Date Student Use Code Comments Utility Allowance Tenant Rent Non Optional Charges Total Subsidy Assistance Type Program Unit DescriptionUpdated 7.21.118
MITAS Training GuideLIHTC Property Manager GuideFamily MembersEditable fields are First Name Middle Initial Last Name Date of Birth Sex Social Security Number Alien Registration Number Relationship to Head of Household Disabled Race Hispanic or Latino Marital Status Fulltime StudentUpdated 7.21.119
MITAS Training GuideLIHTC Property Manager GuideIncomeOn the Income screen two of the three fields that are editable are accessed by clicking on the DownArrowto drop down. Household Member Source of Income – This is a prebuilt table AmountEditable fields are Family Member Type of Asset Ownership Percentage Imputed Cash Value Annual Interest or Dividend Percentage Annual IncomeUpdated 7.21.1110
MITAS Training GuideLIHTC Property Manager GuideNAHMA FILE UploadTo upload a NAHMA file Click on the ”Transaction Upload” BoxThe following screen will appear. Click on the Browse Buttono Navigate to where you have the file savedo Select the file Click on the Upload ButtonUpdated 7.21.1111
MITAS Training GuideLIHTC Property Manager GuideCompleting Your SessionWhen you have entered your data and are ready to log off, please update the screen showingthe date through which all transactions have been enteredImportant Notes:Do not use the back button or arrow on the browser. Use the back button on the Mitasscreen.Turn off your Pop-up blocker(s) especially if you are doing a NAHMA UploadCheck out FAQ regularly by going to our opment/programs/complianceNews.aspQuestions or problems should go through your Mitas User for your company.Updated 7.21.1112
MITAS Training Guide LIHTC Property Manager Guide Updated 7.21.11 2 System Login Con't. After selecting you choice of Property Manager Options your screen will change to the view displayed above. Fill in the remaining fields Property Manager Number -This number is assigned by the Agency or the Property Manager.