Transcription
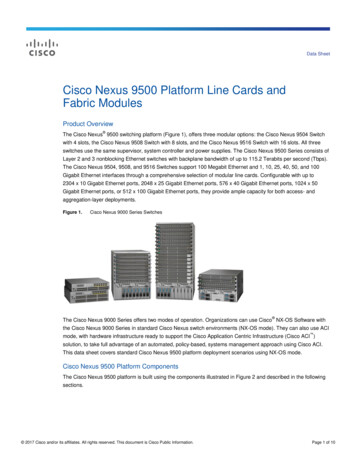
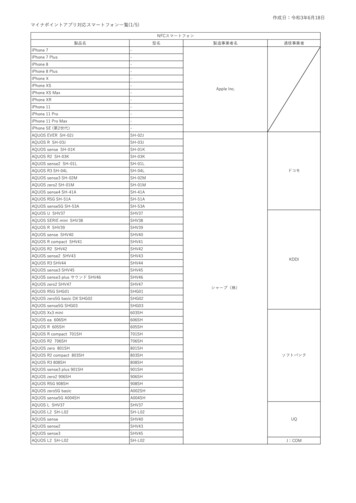
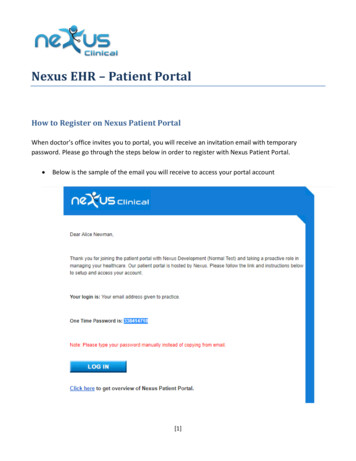
Nexus EHR – Patient PortalHow to Register on Nexus Patient PortalWhen doctor’s office invites you to portal, you will receive an invitation email with temporarypassword. Please go through the steps below in order to register with Nexus Patient Portal. Below is the sample of the email you will receive to access your portal account[1]
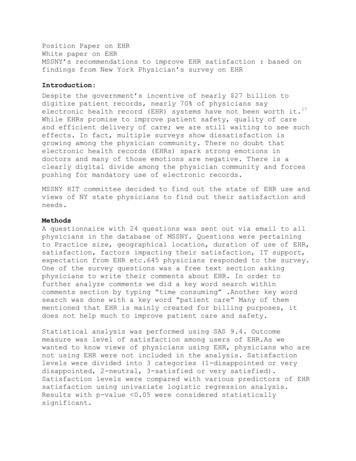
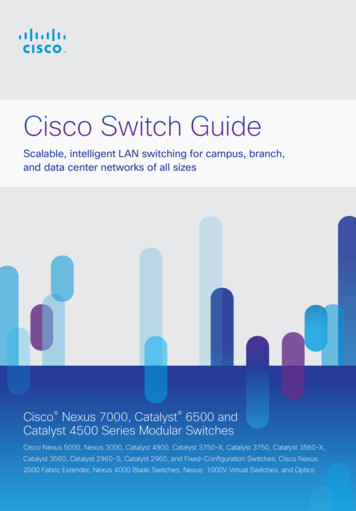
This email has your temporary passwordUsername is the email address you provided to the doctor’s office at the time of registrationClick on “LOG IN” button (in blue) on the invitation email Login screenshot It will take you to the patient portal login page as shown aboveEnter your email address as your username. Use password (please type, DO NOT copy & paste) receivedin invitation emailClick on ‘Login’ button, your new account registration page will be as shown below[2]
Please choose password of your choice on this screen to reset your password, you can also change yourusername (if desired). New username and password should not include spaces.You can set your security question, which will be used for password recovery (in case you forget yourpassword)Click on ‘Next’ buttonThis will take you to Patient Portal ‘Terms and Conditions’ page Check the box at the bottom where it says, “I acknowledge ”Then click on ‘Next’ button to complete registration. A success message will be displayed on this screen. Click on ‘Finish’ button to view your patient portal account. [3]
[4]
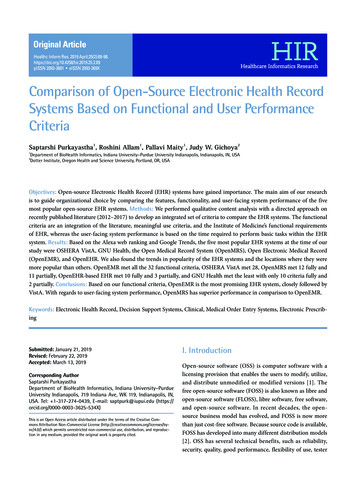
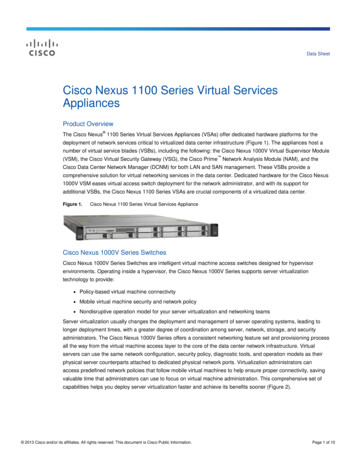
Portal navigation overviewOnce you are successfully registered on patient portal you can use your username and new passwordto login to your portal account.Logging in to your portal account will display ‘Home’ page. A prompt will appear on the bottom right ofthe screen to help you to navigate to self-service module of portal, as indicated in the image below.You can click on ‘Continue’ from the prompt at the bottom to instantly get on ‘Self-Services’ screen andrequest changes in your clinical information.Click ‘Cancel’ to stay on the ‘Home’ page. You can click on ‘Self-Services’ icon on the top (indicated inthe image above) anytime.Home page – Overview[5]
On this screen, the 1st option, which is selected by default on the left panel will display summary whichprovides concise view of your profile, Active Diagnosis codes, Medications, Orders and Chart Historyetc.2nd option shows detailed profile which includes Demographics, Emergency contact, Provider details,Additional details etc.3rd option is 'Medications' which shows the list of active medications and historical data.4th option will show 'Allergies' information.5th option 'Orders/Labs' displays all laboratory or imaging orders placed by provider and results ifavailable.6th option 'Documents' allows you to view visit notes signed-off by physician. This section will alsocontain 'Patient Education' documents shared by providers for the purpose of educating you regardingyour specific medical condition(s).7th option 'Summaries' gives an opportunity to patients to generate and export a summary file.8th option 'Audit' displays your activity log on your account.Last option will enable you to change your account password.[6]
Schedule - Overview:Clicking on this main menu icon takes you to appointment screen, you can look for your upcomingappointment details (if there are any), and also look at your appointment history.Messages - Overview:This module enables you to communicate with doctors and office staff. It has very simple layout toview inbox, compose mails and take other relevant actions. Messages can also be saved as drafts forlater use.[7]
[8]
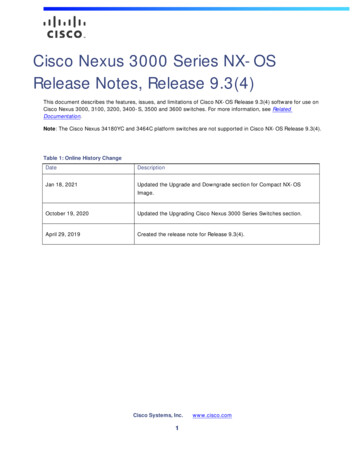
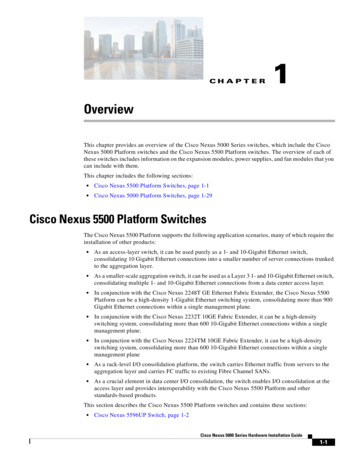
Self-ServicesThis module allows you to update your clinical information, which will be shared with doctor's office,The information will then be verified & accepted by staff as part of your record.This module allows you to update following information, if configured by clinic as part of your selfservice module. A clinic may choose to allow only a subset of following data elements to be selected aspart of self-service.1. Profile information – Address, contact information, demographics details etc.2. Medical Allergies3. History – Patient Medical history, family history, smoking status etc.4. Office forms and Documents5. DICOM Imaging Studies6. Visit Reason, symptoms and height, weight information for each visitSummary ScreenWhen you open this module, it will show a summary screen of all information that can be updatedthrough patient portal. You may click on update button on the section where you want to update yourinformation.Please note some sections on this screen has ‘Help’ option on the top (as indicated in the image below)which will direct you to video tutorials helping you understand system navigation and data entry.[9]
Office FormsYour Clinic may have configured some office forms like intake forms, consent forms etc to be availablefor signatures from self-service. Please check with your clinic prior to visit if you are required to fill andsign any forms from patient portal.1. On documents section please click on “Office Forms” section.[10]
2. Select the form from dropdown that you want to fill and sign3. The form may require to verify/fill some information which will be displayed in blue hyperlinktext. If may also include checkboxes to select appropriate options.[11]
4. If you want to enter change information shown in blue text then click on it to open data entryfield for this information.5. Once all information is filled and signed submit the form using “Save” button at bottom. Thisform will then be made available to clinic staff for verification and acceptance.[12]
Nexus EHR - Patient Portal How to Register on Nexus Patient Portal When doctors office invites you to portal, you will receive an invitation email with temporary password. Please go through the steps below in order to register with Nexus Patient Portal. Below is the sample of the email you will receive to access your portal account