Transcription
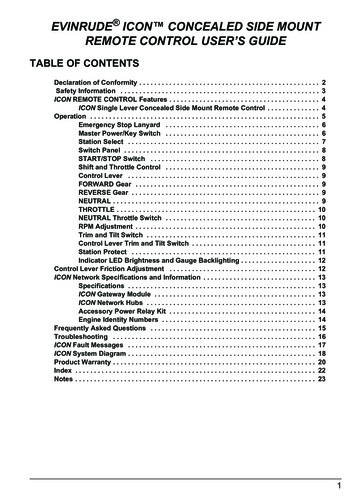
Concealed HeadlightsRestoring 1968-1972 Concealed Corvette HeadlightsHidden headlights and their mechanisms need attention every now and then. The following is a bookletto restore 1968-72 headlights. 31 PHOTOS1. The first step is to have all parts plated in thecorrect shades. The outer cover assemblyshould be body color on top and underneath.Light buckets and housing support should be GMBlack or satin black. The vacuum canister shouldbe plated gold zinc. Links, bearing assembly andsupport rods are GM Black. The nuts that hold thevacuum canister should have black oxideplating. The springs should be natural steelcoated with corricon, a rust-preventing preservative. Pins should be white cadmium plated.The rod clevis should be natural cast iron. Youwill need new bushing kits and a new headlightadjusting spring kit (one source is Bairs Corvette, 800-421-9644). The adjustment stopspacers should be natural steel. The large boltholding the main link to the housing is whitecadmium. All other bolts should be black oxide.2. After plating the vacuum canisters, testthem with a vacuum gauge to check for leaks,before remounting on the headlight assembly.
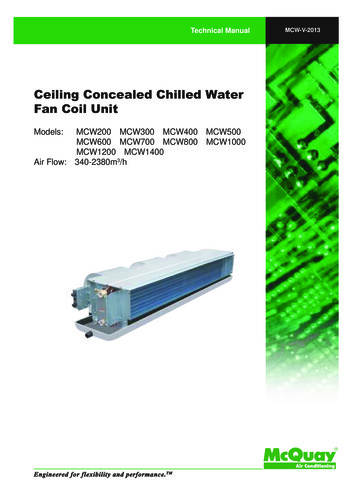
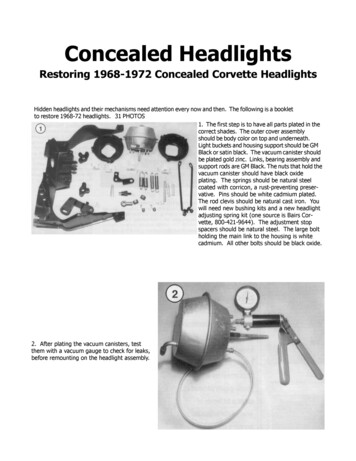
3. For long life, coat the gold zincplating, or it will tarnish quickly. Athin coat of RV86 and Catalyst 87 RMurethane clear from about 13 inchesaway using a spray gun will do. Mix 6oz. clear, 3 oz. catalyst and 3.5 oz. of685 flattener by Ditzler.4. Attach the black bracket to the housingsupport with two black oxide bolts. Place anylon bushing in the opening. Push thecadmium-plated pin through it slightly.5. Place three thin drops of oil onthe pin shaft and spin the pinthrough.
6. This is the other side with thewasher and stainless steel cotter pin.You can bend the ends now, or waituntil the end of the job and snip themto the right length.7. Insert the round nylon bushing in therod clevis, dabbling with two drops of oilfirst.8. Place the oval bushing in the link.
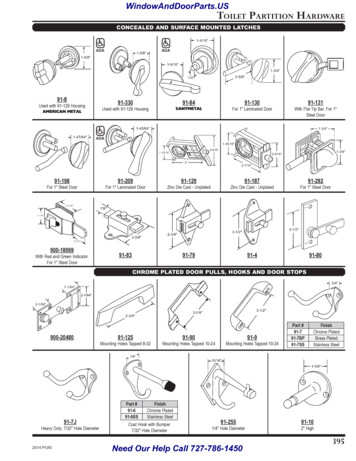
9. Put the round bushing into the extension link.10. Oil it and push it in flush.11. Put three drops of oil on the long cad pin. Push through thebushing, putting the two links together. Place a washer and cotter pinon it.
12. Slide the vacuum canister in place and pull therod through.13. Screw the rod clevis on the end of the canister.Back it all the way down and then back it off one totwo full turns. As you can see, it is already in placeand we are attaching the black oxide nuts to holdthe canister in place temporarily.14. Attach the fat spring into the little hole of thebracket that’s held onto the main support you firstassembled. The long end of the spring goesthrough this hole.
15. On the left-hand side, you can see how it fits.On the right side, we are using a pick hook tool.This won’t scratch the surface like a pair of plierswould. Just pull it into place by hooking androlling it over until it snaps in.16. Pull the rod clevis to the link where the ovalshaped bushing is. Slide the short pin in place andattach small cotter pins.17. Here is the correct bolthead with an O shape and twolines. Attach the support rodson the back side of the housingby these bolts.
18. The support rods are in place on top ofthe vacuum canister’s studs, and the blackoxide bolts are tight.19. Attach the long thin springs. Install thecontact switch with a cadmium nut.20. Attach the bearing assembly to oneside with three black oxide bolts. Onlyone side should be loose.
21. Slide the stop spacers on both ends of the shaft onthe housing assembly. Use an allen wrench to hold themin place temporarily. After you’ve installed the completeunit into the body, move them side to side for clearance,then tighten into place. Stick the one end through theside on which you installed the bearing assembly first.22. Slide the bearing assembly onto and down the otherend of the shaft. Install the three bolts on the outside.Do not over tighten them until you have the units in thebody.23. Run the larger bushing into the end link. This businghas a slot slicing through the center of it.
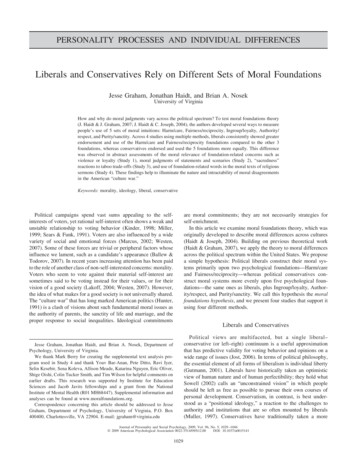
24. Put the large cad-plated bolt through thebusing and screw it in. Tighten after it is installedin the body.25. Take a tap set and tap out the threads wherethe headlight adjuster goes so that the screws workwell and do not strip out.27. Place a screw andwasher through the frontside.26. Apply a drop of Marvel Mystery Oil on theedge of the headlight adjusters that makecontact with the brackets.
28. All four headlight adjusters are shown inplace here. Tighten screws halfway down untilthe complete units are mounted in the body.Don’t forget to adjust the headlights against a wallor overhead door from 20-40 foot away beforedriving car.29. Put the gold zinc retaining springs in the holesin the bottom toward the assemblies. This will holdthe headlight bucket in place. Then install headlight buckets. Place grooves in adjuster screw slotsand then pull the spring over and onto the catch ofthe bucket to hold in place.30. Install headlights with newly polishedstainless steel retainer rings, using smallscrews that are made of black oxide.31. Put the front headlight cover or bezelthat surrounds the headlight over it. Thisshould already be painted body color, usingfour Phillips screws that fit flush into theholes. Now you are ready to attach theassembly in the car. Before installing intothe body you need to tape the edges of theopening carefully with 2-inch tape toprevent chipping while you move it around forfitting.
Short optional Customer SurveyAbout the Sites Convenience1. Did you have any difficulty downloading or viewing our booklets?YesNo if So, Why:2. Was Restoreityourself.com easy to navigate?YesNo if Not, Why:3. Was our sample enough information for you to purchase it?YesNo if Not, Why:About This booklet4. Is our product priced fairly?YesNo if Not, Why:5. Do you feel our booklet will help you with your project?YesNo if Not, Why:About Tools6. Would you buy your tools on-line and have them delivered to your Home orBusiness?YesNo If Not, why?About You & your Vehicle7. Will you be doing the work yourself or will you have a shop do the work for you?MyselfShop8. What is your age group?15-2425-3435-4445-5455-6465 9. What Vehicle/s do you own?10. What Vehicle/s are you working on or having worked on?In General11. How do you feel about On-line shopping?ComfortableUncomfortable but still do itNot comfortable at all12. Are you interested in becoming a member at restoreityourself.com for substantial savings?YesNo13. Have you seen other sites providing Auto-Restoration booklets?YesNo if yes, Where:14. Will you be a frequent visitor at restoreityourself.com?YesNoDon't knowPlease enter your email address if you would like us to contact you about the results of yoursurvey:For any additional comments please type them in below:Submit(You must be online in order to submit this Form)
Restoring 1968-1972 Concealed Corvette Headlights Hidden headlights and their mechanisms need attention every now and then. The following is a booklet to restore 1968-72 headlights. 31 PHOTOS 1. The first step is to have all parts plated in the correct shades. The outer cover assembly should be body color on top and underneath. Light buckets and housing support should be GM Black or satin .