Transcription
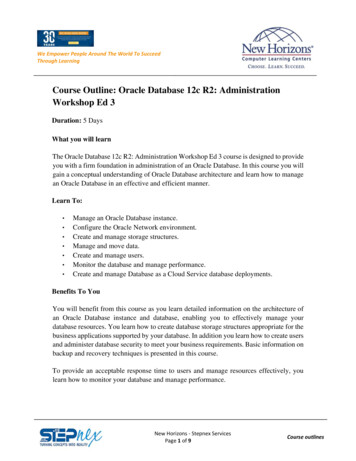
ODI 12 installation step by step method [By Sree Ram, Chennakrishnan]Post by: Sree Ram, ChennakrishnanContents: ODI 12C installation which I have done in my windows 32 bit machine.ODI 12C Installation step by step methodPre-requisite-Minimum java JDK version should be 1.7 build 15 and above3 GB space approximatelyI am installed in windows 7 - 32 bit machineAdmin privileges is requiredStep 1:Make sure JDK is installed in your machine and set the JAVA HOME environment variableStep 2:Download location for ODI 12C R1 (12.1.2.0.0)Step 3:Navigate to the JDK path (e.g. C:\Program Files\Java\jdk1.7.0.51\bin) and type the following commandin command prompt. [ Command : java –jar “ location of odi 121200.jar ” ]
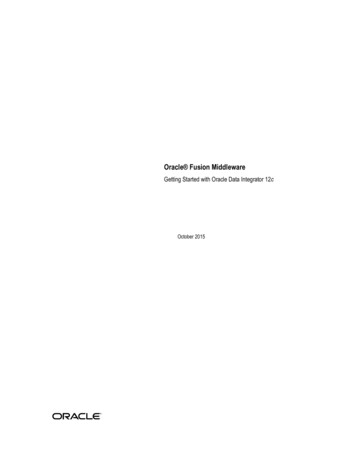
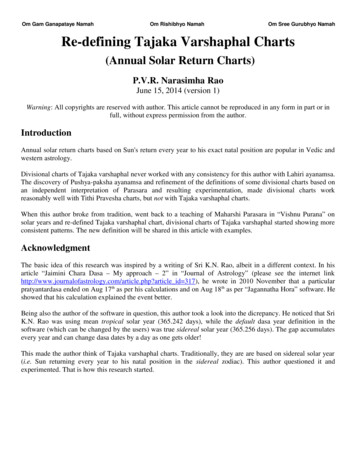
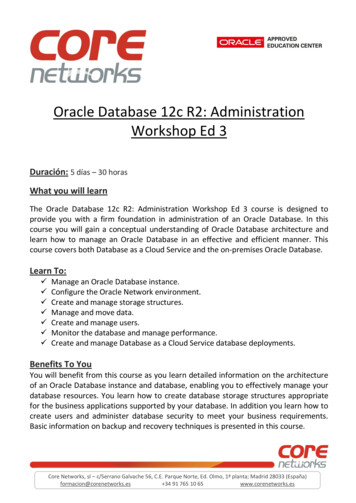
ODI 12 installation step by step method [By Sree Ram, Chennakrishnan]Step 4:You will be able to see the Welcome page. Please click the next button.Step 5:The installation location can be anywhere in your desktop. I have chosen“C:\Oracle\Middleware\Oracle Home”. Click next after installation location is set.
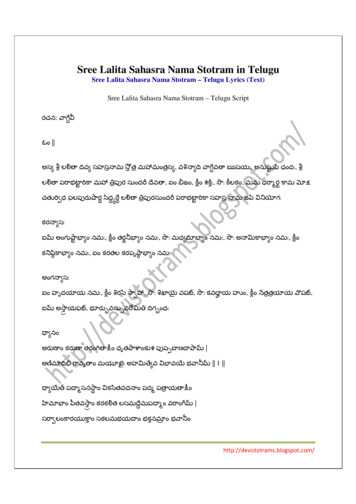
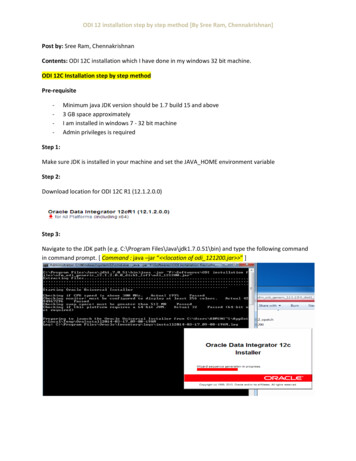
ODI 12 installation step by step method [By Sree Ram, Chennakrishnan]Step 6:Installation type can be Standalone installation or Enterprise installation. I have chosen Enterpriseinstallation mode. Once installation type is selected click next button.[ OR ]
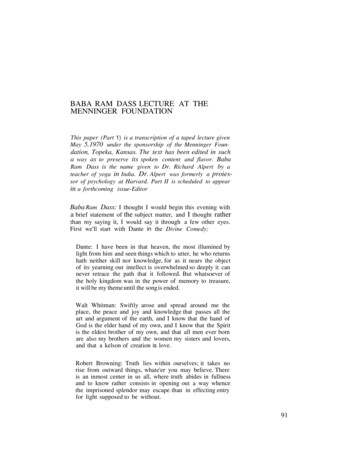
ODI 12 installation step by step method [By Sree Ram, Chennakrishnan]Step 7:Installation summary page is shown (In mean while, I have chosen F: , as my C: space is low which willcontradict part in the installation location in step 5 as I mentioned). Click next button after theinstallation summary is shown.Step 8:Installation progress step will be shown as below. This step takes a lot of time around 15 minutes. Oncethis step is done click next button.
ODI 12 installation step by step method [By Sree Ram, Chennakrishnan]Step 9:Installation completed is shown below and click Finish button. Here installation means extracting thefolders and libraries as like in ODI 10G as well as ODI 11G. The structure looks almost similar to the ODI11G. Installation is completed and now we will start the ODI studio and see how it looks like.Step 10:Navigate to the installation path where studio is located.is for 32 bit application andis for 64 bit machine. (In mean while I have java 1.7 release 51 and 1.7 release 45 bothinstalled in my machine. So for extraction I have used Java release 1.7 release 51 and for configure Iused Java 1.7 release 45. You can use for extraction as well as studio both 1.7 release 45 in yourmachine). Location for studio is like this (F:\oracle\Middleware\Oracle Home\odi\studio) as we seefrom above installation location mentioned. Double Click on therelease 45button. Java home path is 1.7
ODI 12 installation step by step method [By Sree Ram, Chennakrishnan]Step 11:You will be able to see a prompt like this below,Step 12:If you have already installed ODI 11G, then it is asking for import the preference. I have not installedprevious versions in my machine. So I clicked NO.
ODI 12 installation step by step method [By Sree Ram, Chennakrishnan]Step 13:And here you go, as the ODI 12C is installed. You can start configuring the data integrator. I will sharethe configuration information in the next post.
Download location for ODI 12C R1 (12.1.2.0.0) Step 3: Navigate to the JDK path (e.g. C:\Program Files\Java\jdk1.7.0.51\bin) and type the following command in command prompt. [ Command : java –jar “ location of odi_121200.jar ” ] ODI 12 installation step by step method [By Sree Ram, Chennakrishnan] Step 4: You will be able to see the Welcome page. Please click the next button.