Transcription
1 PageMurphy USA Retail‐FieldNew Hire Portal Experience
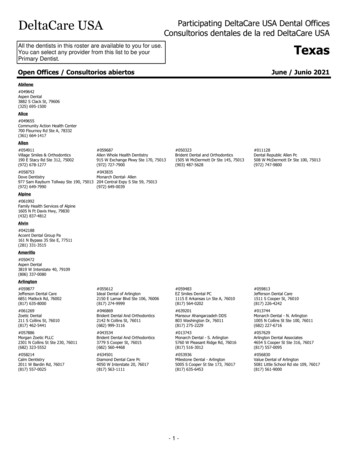
2 PageCongratulations on your new position with Murphy USA! Now that you have accepted an offer, themanager who hired you will begin the process of "On-Boarding" you into the company. What thismeans is that your manager will begin the process of capturing information from you, electronically, toget you into the company's Human Resource system to process payroll, facilitate tax withholding, andverify your eligibility to work in the US. This also includes company agreements that you will berequired to sign.In the email that you have just received, you are provided an auto-generated URL which is a link to theMurphy USA New Hire Portal, a user-name (which is your email address you used in the hiringprocess) and password, that you will need to get started. To log in, you will use the user-name andpassword. If you have issues logging in, contact the store manager and they can reset your passwordfor you so that you can get in to the system and then you may change your password to whateveryou’d like. Once you have completed the on-boarding process you will no longer have access norneed access to the New Hire Portal.You will need Adobe Acrobat Reader to view and sign PDF forms in this portal. You can download thissoftware free with no obligation to purchase by visiting ource ga&gclid CJSLi5fAsq8CFQTd4AodmiolHgYour log‐in screen will look like this:
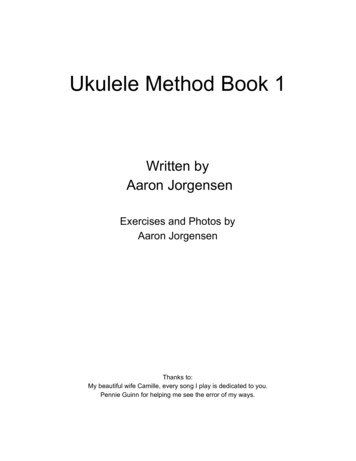
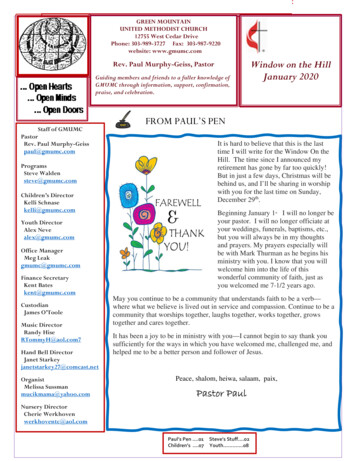
3 PageWhen you enter the new hire portal, you will see what we call a Dashboard. The dashboard has informationabout the company, a video you can play and information that you need to know about your first day, benefits,and contact information. To see information about Human Resources, you can click on this first button on theleft. In the section of the “Things you need to know”, click on each of the topics and review.When you click on each one on the list, a window will appear that will look like this:
4 Page
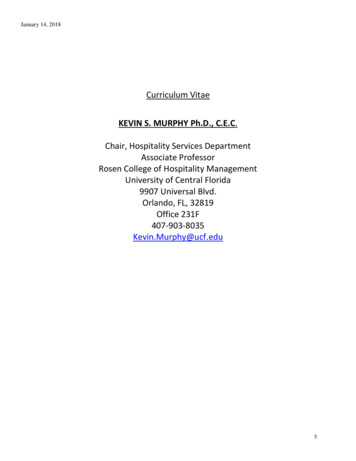
5 PageWhen you are ready to start on your electronic paperwork, click the Application Information tab or the StartOnBoard in the Blue Section.When you get to the Applicant Information section, many fields are pre‐populating for you. This informationhas come over from the application you filled out when you applied for the position. All fields highlighted inRED or with a RED asterisk (*) are required and you will not be able to move forward if you do not fill them out.You may also make any changes that may have occurred such as a change of address or phone number. Youmay need to scroll down the page if you do not see all of the fields. Use the scroll bar if necessary if you do notsee all of the fields. The purpose of the secret question and answer is if you want to reset your passwordand/or you forget your password, you can recover it, using your secret question and answer. You can reset yourpassword by using the RESET PASSWORD button here.
6 PageYou will select the NEXT button located at the bottom of the page. If the NEXT button is grayed out it meansthat you did not complete everything that is required. Required fields have a RED asterisk next to them.
7 PageIn this section you can verify your race/gender status and your disability status that you filled out in theapplication process, OR if you did not complete this at the time you filled out the application please complete itnow. This page will also collect emergency contact information from you.Once you have completed the required fields, select the NEXT button at the bottom of the page. If the Nextbutton is grayed out, then you have not completed the required fields on this page.
8 PageAfter you select the NEXT button, you will be asked Veteran and Disabled Veteran questions, once youcomplete these fields, select NEXT at the bottom of the page. If the Next button is grayed out, then you did notcomplete all of the required fields on this page.In this section you will select either Direct Deposit or Pay Card from Murphy USA as your preferred form ofpayment for your paychecks. You will need to click on the “Pay Card or Direct Deposit” link.NOTE: Pay Cards are like a debit card that your pay is loaded on at each pay date. If you select Direct Deposityour pay goes directly into the bank account you specify.
9 PageYou will either select Direct Deposit or Pay Card. If you choose Pay Card, select Pay Card in the drop downmenu and then Submit and Close at the bottom of the page. You are finished with this task at this point andyour task status will state that it has been “Submitted.”If you would like Direct Deposit select it from the drop down menu and then select Submit and Close. You willneed to complete another item on the next slide below (on the next page.)
10 P a g eIf you selected Direct Deposit, you will now need to complete your banking information item by clicking onDirect Deposit task that will appear on top of task you just completed.You will need to complete the required fields for direct deposit and then hit Submit and then Close.You have now completed the last section and select NEXT at the bottom of the page. (NOTE: If you selected Pay Cardyour manager will complete this section at the store on your first day.) If you selected Direct Deposit, the screen willdisplay that “both of my tasks are Submitted.” If the button is grayed out, you did not complete the requiredtask or tasks on this screen.
11 P a g eIn this step you will use your Mouse to sign your name. Click and Hold the left button and sign your name asyou would if you were using a pen. If you want to do it over again, just hit the CLEAR button and try again. Onceyou are satisfied with your signature, you may select the NEXT button.Once you have signed your name, select the NEXT button. You will now be in the Forms Tab. This is where youwill need to make sure you have Adobe Reader to view and sign these PDF forms. The first one that will appearis the Onboard W‐4 form which is the Federal Income Tax Withholding form ‐ just click on the words: OnboardW‐4 and a window will pop‐up with a Wizard for you to complete.
12 P a g eWhen you click on the form you will have started the W4 Wizard, this first section provides you withinstructions, please read and then select NEXT to get to the next page of the wizard.You will fill in the required fields, once you have completed you will select NEXT. If the Next button is grayedout as you see it here, it means you DID NOT complete all of the required fields
13 P a g eNow you will need to select the check box to electronically sign the W4 and click Next.The W4 PDF document will appear, review for accuracy and complete any additional allowances you wish toclaim on the form. When you click in each of the fields in the PDF you can interact with the PDF form to makeany changes necessary. Once you are ready Click here to SIGN and SUBMIT at the TOP of the page.
14 P a g eOnce you have completed this step, you will see this screen. You can now select Close at the bottom of thepage or close out of the window.When your form is complete it can be viewed at the bottom of the window and the status will show Submitted.
15 P a g eNow that the W‐4 is complete, you will see you have a list of additional forms you will need to complete/sign.This will include any state withholding tax forms, state driven specific agreements, and corporate policyagreements.The next form is the Code of Business Policy. Please review, select Sign and Submit at the TOP of the Form.
16 P a g eThe next form is the Code of Business Ethics. Please review, select Sign and Submit at the TOP of the Form.The next one will be the Binding Arbitration and Waiver.
17 P a g eThe next is the Retail Marketing Employee Guide. Please review, select Sign and Submit at the TOP of the Form.The next one is the Safety Handbook. Please review, select Sign and Submit at the TOP of the Form.
18 P a g eIf your New Position, not your residence, is located in Texas, Arkansas, Alabama, or Mississippi, you will be presented withTobacco agreements to review and sign. If the position is located in Kentucky, you will also be presented with theKentucky Lunch/Break Document to sign. Please review, select Sign and Submit at the TOP of the Form.Next is the Benefits summary.
19 P a g ePlease review the Acknowledgement form in its entirety. At the bottom of the document you will be requiredto select the position for which you were hired. Please review, select Sign and Submit at the TOP of the Form.The Onboard I‐9 is the work authorization wizard you will need to complete to have the I‐9 PDF complete.
20 P a g e
21 P a g e
22 P a g eThe I‐9 PDF will appear. Please review, select Sign and Submit at the TOP of the Form.
23 P a g eNow that all your Forms have been submitted, you can see this in the column to the right, you are now finishedwith your tasks in the New Hire Portal. Your manager will receive a notification and they will complete the rest ofyour on-boarding process.If you have any questions please contact your Store Manager.
3 Page When you enter the new hire portal, you will see what we call a Dashboard. The dashboard has information about the company, a video you can play and information that you need to know about your first day, benefits,