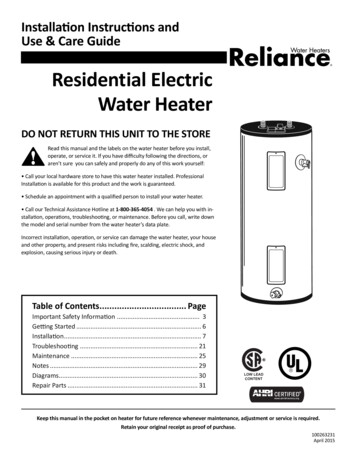
Transcription
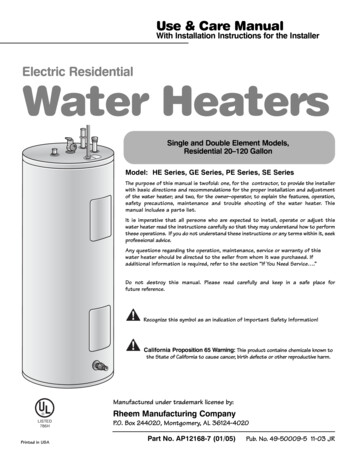
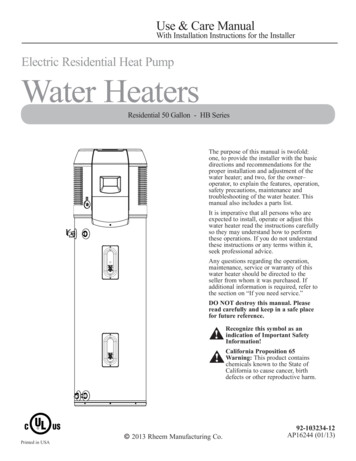
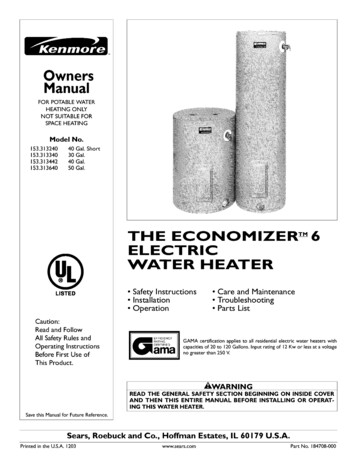
OwnersManualFOR POTABLEWATERHEATING ONLYNOT SUITABLE 153.313640No.40304050Gat. ISTED Safety Instructions Installation OperationTM6 Care and Maintenance Troubleshooting Parts ListCaution:Read and FollowAll Safety Rules andOperating InstructionsBefore First Use ofGAMA certification applies to all residential electric water heaters withcapacities of 20 to 120 Gallons. Input rating of 12 Kw or lessat a voltageno greater than 250 LThis Product.WARNINGREAD THE GENERAL SAFETY SECTION BEGINNING ON INSIDE COVERAND THEN THIS ENTIRE HANUAL BEFORE INSTALLING OR OPERATING THIS WATER HEATER.Save this Manual for Future Reference.Sears, RoebuckPrinted in the U.S.A. 1203and Co., Hoffmanwww.sears.comEstates,IL 60179U.S.A.Part No. 184708*000
SafetyPrecautions,WARNINGJHAZARD OF ELECTRICAL SHOCK! Before removingany access panels or servicing the water heater, make Jsure the electrical supply to the water heater is turned"OFF". Failure to do this could result in DEATH, SERIOUS BOD LY NJURY,OR PROPERTY DAMAGE.,WARNINGJImproper installation, adjustment, alteration, service ormaintenancecan cause DEATH, SERIOUS BODILY INJURY,JOR PROPERTY DAMAGE. Refer to this manual for assistance or consult your localSearsService Center for furtherinformation.AWARNINGHOTTER WATER CAN SCALD: Water heaters areintended to produce hot water. Water heated to a temperature which will satisfyspaceheating, clothes washing,dish washing, and other sanitizing needs can scald andermanently injure you upon contact. Some people aremore likely to be permanently injured by hot water thanothers. These include the elderly, children, the infirm, orphysically/mentally handicapped. If anyone using hotwater in your home fits into one of these groups or ifthere is a local code or state law requiring a certain temperature water at the hot water tap, then you must takespecial precautions. In addition to using the lowest possible temperature setting that satisfies your hot waterneeds, a means such as a mixing valve, shall be used atthe hot water taps used by these people or at the waterheater. Mixing valves are available at plumbing supply orhardware stores. Follow manufacturers instructions forinstallation of the valves. Before changingthe factory setting on the thermostat,read the "TemperatureRegulation"section in this manual.WARNINGAt the time of manufacture this water heater was providedwith a combination temperature*pressures relief valve certified by a nationally recognized testing laboratory that maintains periodic inspection of production of listed equipment ormaterials, as meeting the requirements for Relief Valves andAutomatic Gas Shutoff Devices for Hot Water SupplySystems, and the current edition of ANSI Z21.22 CSA 4.4and the code requirements of ASME. If replaced, the valvemust meet the requirements of local codes, but not lessthan acombination temperature and pressure relief valve certified asmeeting the requirements for Relief Valves and AutomaticGas Shutoff Devices for Hot Water Supply Systems, ANSIZ21.22 CSA 4.4 by a nationally recognized testing laboratorythat maintains periodic inspection of production of listedequipment or materials.The valve must be marked with a maximum set pressure notto exceed the marked hydrostatic working pressure of thewater heater (150 Ibs. p.s.i.) and a discharge capacity not lessthan the water heater input rate as shown on the model ratingplate. (Electric heaters - watts divided by 1000 x 3412 equalBTU/Hr. rate.)Your local jurisdictional authority, while mandating the use ofa temperature-pressurerelief valve complying with ANSIZ21.22 CSA 4.4 and ASME, may require a valve model different from the one furnished with the water heater.Compliance with such local requirements must be satisfied bythe installer or end user of the water heater with a locally prescribed temperature-pressure relief valve installed in the designated opening in the water heater in place of the factory furnished valve.For safe operation of the water heater, the relief valve mustnot be removed from it's designated opening or plugged.The temperature-pressurerelief valve must be installeddirectly into the fitting of the water heater designated for therelief valve. Position the valve downward and provide tubing sothat any discharge will exit only within 6 inches above, or atany distance below the structural floor. Be certain that no contact is made with any live electrical part. The discharge opening must not be blocked or reduced in size under any circumstances. Excessive length, over 30 feet, or use of more thanfour elbows can cause restriction and reduce the dischargecapacity of the valve.No valve or other obstruction is to be placed between therelief valve and the tank. Do not connect tubing directly to discharge drain unlessa 6" air gap is provided. To prevent bodilyinjury, hazard to life, or property damage, the relief valve mustbe allowed to discharge water in quantities should circumstances demand. If the discharge pipe is not connected to adrain or other suitable means, the water flow may cause preperty damage.The Discharge Pipe: Must not be smaller in size than the outlet pipe size of thevalve, or haveany reducing couplingsor other restrictions. Must not be plugged or blocked. Must be of material listed for hot water distribution. Must be installed so as to allow complete drainage of boththe temperature-pressure relief valve, and the dischargepipe. Must terminate at an adequate drain. Must not have any valve between the relief valve and tank.&WARNINGWATER HEATERS EQUIPPEDFOR ONE VOLTAGEONLY: This water heater is equipped for one type voltageonly. Check the rating plate near the bottom access panelfor the correct voltage. DO NOT use this water heaterwith any voltage other than the one shown on the modelrating plate. Failure to use the correct voltage can causeproblems which can result in DEATH, SERIOUS BODILYINJURY, OR PROPERTY DAMAGE. If you have any questions or doubts consult your electric company.&WARNINGINSULATINGJACKETS: When installing an externalwater heater insulationjacket on an electric waterheater:a. DO NOT cover the temperature-pressurerelief valve.b. DO NOT put insulation over the access covers or anyaccess areas.c. DO NOT remove operating instructions, and safetyrelated warning labels and materials affixed to the waterheater.d. DO obtain new warning and instruction labels fromSears for placement on the jacket directly over the existin labels.,WARNINGJDo not usethis appliance if any part of it has been under Jwater. An electrical short or malfunction could occur.Thewater heater shoud be rep aced.CAUTIONWATER HEATERS EVENTUALLYLEAK: Installation ofthe water heater must be accomplished in such a mannerthat if the tank or any connections should leak, the flow ofwater will not cause damage to the structure. When suchlocations cannot be avoided, a suitable drain pan shouldbe installed under the water heater. Drain pans are available at your local Sears Store. Such a drain pan must bepiped to an adequate drain.2
Table of ContentsSafety Precautions .2Table of Contents .3Customer Responsibilities .4Product Spedfications .4Materials and Basic Tools Needed .5Materials Needed .Basic "lbols .InstallationInstructions55.6-12Removing the Old Water Heater. .Facts m Consider About the Location .6.7Water Piping .T&P Valve and Pipe Insulation ."l mperature-Pressure Relief Valve .Filling the Water Hearer .Wiring Diagram .Wiring .Installation Checklist .8.8.9101010-1112Service and Adjustment.13-17"l mperature Regulation .Thermostats ."l mperature Settings .Thermostat Adjustment ."lhnperature-PressureRdief Valve Operation .Draining .Element Cleaning/Replacement.Anode Rod Inspection .Drain Valve Washer Replacement .Service .TroubleshootingGuide.Start Up Conditions .Thermal Expansion .Strange Sounds .Operational Conditions .Smelly Water ."Air" In Hot Water Faucets .Rumbling Noise .High "Ihnperature Shut Off System .Not Enough or No Hot XX&rer.Water Is Ibo Hot .Leakage 0191919192.02.02.1Parts Order List .22-23Warra
water heater insulation jacket on an electric water heater: a. DO NOT cover the temperature-pressure relief valve. b. DO NOT put insulation over the access covers or any access areas. c. DO NOT remove operating instructions, and safety related warning labels and materials affixed to the water heater. d. DO obtain new warning and instruction labels from Sears for placement on the jacket .