Transcription
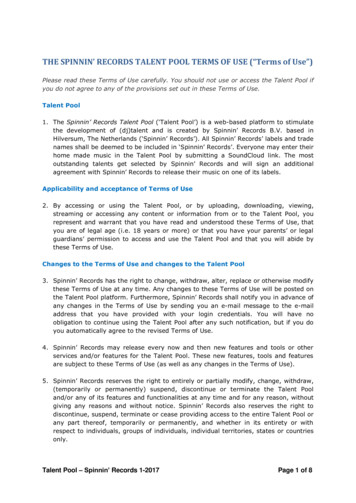
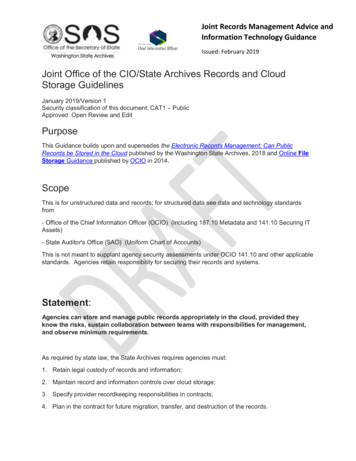
How to Access Your Records Online & RegisterThe Jaguar Spot/Student Online ServicesGo to the Jaguar Spot. Click on the Student Online Services button.Log In: This will be the same User Name & Password that you use to log into your DACC studentemail account. If you have not retrieved your User ID/Name/Password yet, visit the link aboveto retrieve it.1
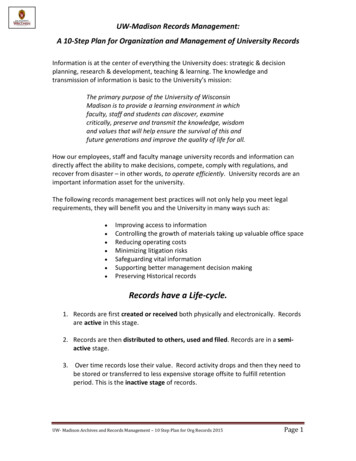
Registering for a Course or Full Semester OnlineStudents may register online if they have a Student Plan set-up by their Academic Advisor.Students may visit the Advisement & Counseling department in Lincoln Hall, Room 104 or call217-443-8750 to make an appointment to set-up a plan.After you’ve logged into Student Online Services, select the Student Planning option from thehome page.Selecting Sections from the Courses Planned by the Advisor:You will land on the following page. Select the Plan & Schedule option.2
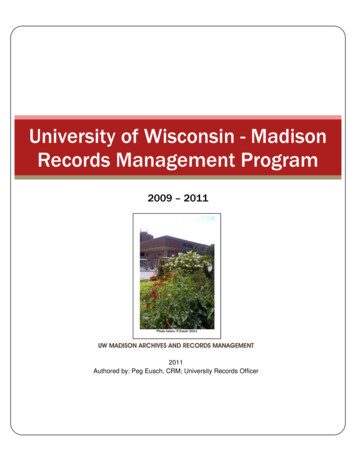
You might have to scroll over to the next term by using the button. The current term is alwaysdisplayed first.Before it is time to register, you can check to see if your Advisor approved your planned courses bylooking on the Schedule screen. The courses that you selected will have a “thumb’s up” sign withApproved by it:In this example, ENGL 101 does not have an “approved” status, but the PHIL 103 does. At this point, itwould be a good time to have a conversation with your Advisor.3
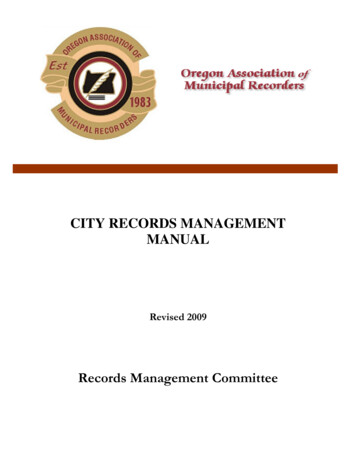
View the sections offered in the upcoming registration term by clicking on the down arrowunder each course. The course sections may only be viewed when the upcoming semesterschedule is published.4
The section options will appear under the course in the list-view or on the calendar view:Select a section by clicking on the calendar grid option or from the list on the left-hand side.When you select a section, a Section Details box will pop-up. It will remind you of pre-requisitesfor the course. Click on the “Add Section” box to add the specific course section (ENGL 101 A)to your plan5
You will receive a notice that the section has been planned and it will show up on your calendarview.Select the specific sections for the other courses on your plan. When you are adding coursesections to your plan, you will see all the options on the calendar view. Select the one thatworks best for you and the courses already selected.Note: Sections that are totally online or online with exams only on campus will show up at thebottom of your calendar view:6
Registering for Your Planned Course Sections:Once the registration period for the semester starts (see notice of start date & time), you maylog-in and register for the sections. Below is an example of the notice and screen that you willsee when the registration period is not open yet.Review your planned courses from the Schedule (list or calendar view) or from the Timelineview. The Timeline view shows you past, current, and future courses completed and planned.7
To register for the sections that have been planned and approved by your Advisor:Selecting Add Section in the previous step only adds the course as aplanned course. In order tocomplete the registration process, you must select “Plan and Schedule” from the StudentPlanning drop down at the top of the schreen:Confirm the correct semester is selected. If not, use the arrows to move to the correctsemester.8
The courses you previously planned should appear, with the “planned” and “approved” tags onthe left-hand side of your screen. Once the registration period opens and you are satisfied withthe course(s), select Register under the Meeting Information.If you have more than one course planned and you would like to schedule them all at one time,click on the Register Now button in the upper right-hand corner.Note on Concurrent Course Registration: Courses that must be taken at the same time (i.e.,PEMW 135 Fitness Center I and PEMW 134 Fitness Center Orientation must be registered for atthe same time with the Register Now button in the top, right-hand corner.9
If you try to register for a course that has not been approved by your Advisor, you will receive anotification. If you receive a notification, you should contact your Academic Advisor via emailor in Lincoln Hall, Room 104. Once the course is approved, you may go back to the schedulescreenRegistered courses will appear in green and you will receive a confirmation email in yourstudent email account.You may view your schedule by selecting the Student Planning option on the main menu andthen by selecting the Plan & Schedule option found in 2 different areas:10
Scroll over to the term you are looking for with the arrows to the left or right of the term.11
You may view your schedule in a calendar view (middle of page) or a list on the left-hand side.12
You may also select the Print option toward the top of the screen.The print option will produce the following:Joe Test (Stu ID#)13
You may print it from your computer using the web browser functions at the top of the righthand corner.Joe Test (Stu ID#)You may also view your scheduled courses through the Timeline option on the Plan & Scheduletool bar.14
From the Timeline view, you can see current registration, future planned courses, and coursestaken in the past (with the grades you received).These courses wereplanned, but notenrolled in.Courses in progresswill have a checkmark by them.Courses completed inpast terms (withgrades).15Futurecoursesplanned.
How to Drop a Course:If you decide to drop a course prior to the semester start date, select Drop (under the courselist on the left-hand side of your screen). If you try to drop a course “after” the last day todrop/withdraw from a course, the online system will stop you from completing the process.You will be asked to confirm the course(s) that you are dropping. If it is correct, you mayselect the Update option. If it is not correct, select cancel.Students should consult with theFinancial Aid Office and their Advisorbefore dropping/ withdrawing from acourse. Financial aid awarded may beaffected and owed back to the College insome situations. Dropping a course mayalso affect your graduation timeline.Since all courses are offered every term,your timeline can be pushed out 1-3terms. #CheckFirstYou can find your Advisor’s informationby selecting the Advising option.16
After you drop the course, it is placed back as a planned course and appears in a yellow/goldcolor on the calendar view. To remove it from planned, click the X in the upper right-handcorner of the list of courses on the left or click on the X in the upper right-hand corner of thecourse box in the calendar view.17
Planning & Registration TroubleshootingWhile you are planning and registering for courses, error messages will pop-up and/or preventyou from registering. Here are a few of the common messages and how to address them:Click on the course title to view any prerequisite or offering notes about the course before youmove it. If the course was a Fall only course and you planned it for Spring, it could extend yourtime to complete a degree. Consulting with your Advisor is always a good choice when indoubt.18
You will know if you have a plan established by the notice in the upper, right-hand corner:In this example, the BIOL 101 C course has not been planned and approved by the Advisor:In this example, prerequisites forcourse planned and sections forthe term are noted in the listview on the left-hand side of theStudent Planning screen.19
This student has a Past DueBalance and will need to pay it ortalk to the Business Office aboutthe circumstances. The studentwill not be able to register until thisis reconciled. Business office #217-443-8592.Course Notes: (Pre-requisites, When it is offered (Fall, Spring, Every Other, etc.):20
Self Service also has a great deal of Help screens. Go to the Help button in the top, right-handcorner of the screen:21
The Jaguar Spot/Student Online Services Go to the Jaguar Spot. Click on the Student Online Services button. Log In: This will be the same User Name & Password that you use to log into your DACC student email account. If you have not retrieved your User ID/Name/Password yet, visit the link above to retrieve it.