Transcription
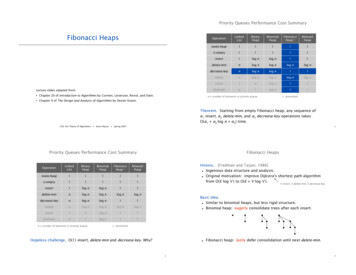
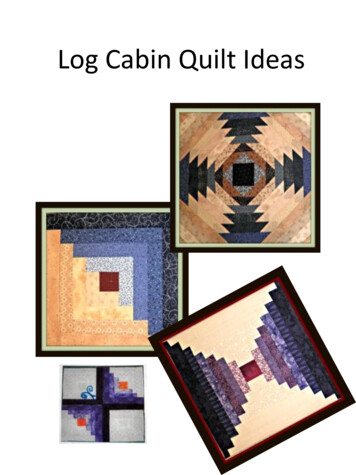
Log Cabin Quilt Ideas
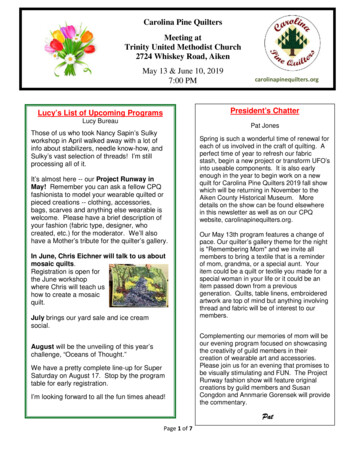
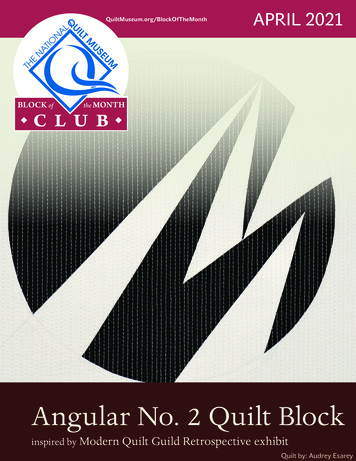
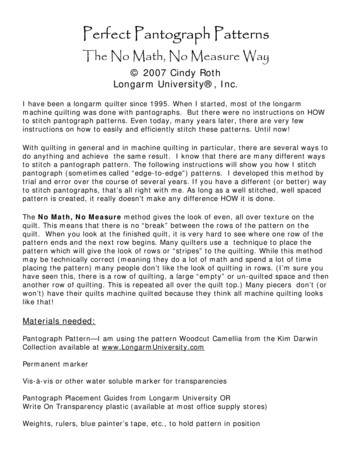
Log Cabin Quilt Pattern2.5” X 12.5”2.5” X 7.5”2.5” X17”2.5” X12.5”2.5 X7.5”2.5” Sq2.5” X5”2.5” X10”2.5” X15”2.5“ sq2.5” X 5”2.5” X 10”2.5” X 15”You will need an assortment of 3 different small tan prints that fluctuate fromlight to dark tans. Plus, you will need an assortment of 3 different small blueprints that also fluctuate from light to dark blues. Our free pattern will be thesize of a wall hanging with only four squares.
log cabinHOW TO CONSTRUCT THIS BLOCKEach log cabin block has a light side and a dark side. In this quilt the lightside is tan and the dark side is blue.In the diagram on page two the letters refer to the template, and thenumbers refer to the order in which the pieces are added.A log cabin quilt starts with a single 2.5 inch square of a “red” print. Youwill Join the second 2.5 inch light tan square to the red square to formthe center part of the block. Next join the #3 tan strip to the centerpart you just finished to form the 5” center square. The strips areAdded in a counter clockwise motion.Next add the length of the #4 strip and the length of the #5 strip to getthe yardage needed for the first blue fabric for a single block. In ourcase we added 5” 7.5” for a total of 12.5 overall inches of light blue.Multiply this 12.5” by the total number of blocks you will need. In ourcase 4 blocks. So, 12.5 times 4 equals about 50 inches of the lightestblue fabric. It is a good idea to add 4 or 5 extra inches for the famous“just in case” syndrome.Estimated Yardage(Any fabric left over goes in yourstash)Light tan – 1 fat qtrLight blue – 1 fat qtrMed tan – 1/3 yardMed blue – 1/2 yardDark tan - 1/2 yardDark blue – 3/4 yard
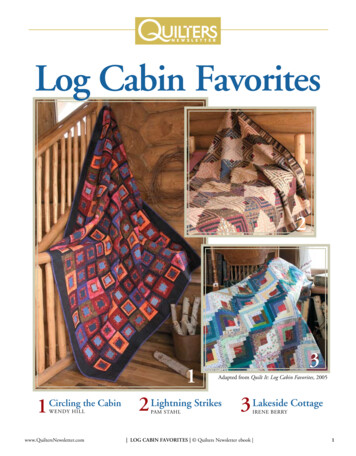
HOW TO CONSTRUCT THIS BLOCK Con’tRemember, keep adding strips in this manner in a counterclockwise motion. When finished, each block will be asquare that measures about 14.5-inches. (14 inch blockand quarter inch seams).Make sure all seams are a quarter inch wide when sewingthe strips together.Using a “Design Wall” you can lay out your Log CabinBlocks to form a pleasing design one you like.A Log Cabin quilt pattern isa good place to use the“chain piecing” technique.Press all seams toward thedark fabric using the lift andplace method (not the pushand pull method).
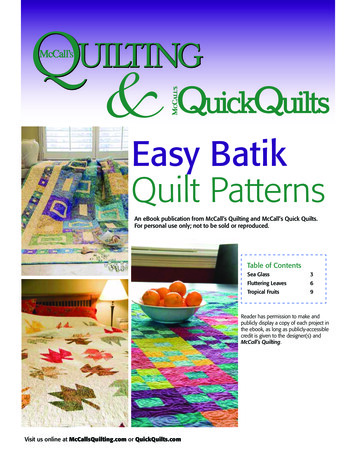
Look AgainAs a forever favorite, this block can varygreatly with the number of colors/prints offabric and the placement of the light piecesof fabric and the placement of dark pieces offabric when joining the blocks together.Just take a look at what we did with a singleblock.By grouping the lights on one side of the redcenter square and the darks on the other,side the traditional log cabin look isachieved.By using a “design wall” it is easy to createvarious designs by repeating just one block.You simply stick and peel each block on thedesign wall until you achieve the perfectdesign.
A log cabin quilt starts with a single 2.5 inch square of a red print. You will Join the second 2.5 inch light tan square to the red square to form the center part of the block. Next join the #3 tan strip to the center part you just finished to form the 5 center square. The strips are Added in a counter clockwise motion.