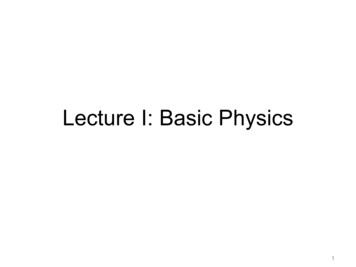
Transcription
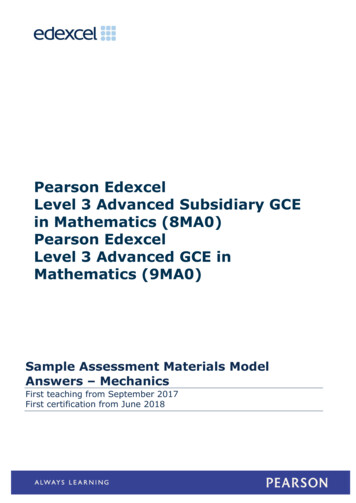
Module15?Portrait Drawing Part 3What is Explored in This Module?In this module, we’ll continue our look at portrait drawing with colored pencils. The focus of thismodule will be on drawing the mouth, including the lips and the teeth.How to Create the Illusion of a MouthIt is important to understand that no one formula for drawing the mouth will work for everysubject. However, there are specific things that we can look for to help ensure success.Three concepts should be considered when drawing a mouth !! The illusion of lips is created by the relationships of subtle highlights and shadows andstrong highlights and shadows. A full range of value will exist on most lips.! Cross contour lines are visible on most lips and should be included in the drawing.! Teeth are not white.Strong highlights and subtle highlights exist on the lips and surrounding areas of the mouth.Lips are not made up of one color or value. In fact for most lips, the colors and values arequite complex. It is the relationships of these values and colors that will lead to a realisticdepiction of the mouth.Copyright (c) 2014 The Colored Pencil Course
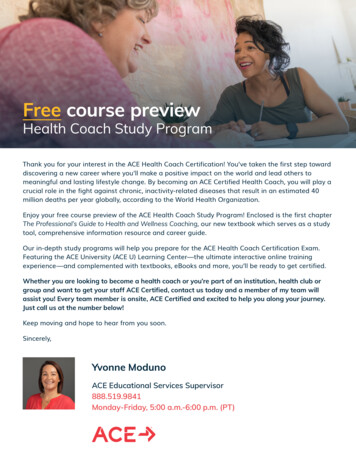
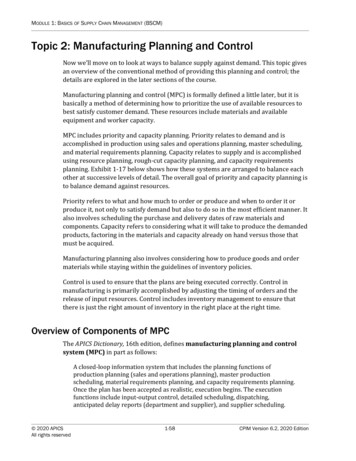
Portrait Drawing Part 3How to Create the Illusion of a MouthJust as strong highlights and subtlehighlights exist, strong shadows and subtleshadows are present as well. !!Typically, the locations of the strongestshadows will occur in the corners of themouth. This is true whether the mouth isopen or closed. Subtle shadows will exist invarious areas on the lips, teeth, andsurrounding areas of the mouth. !!Since most light sources will originate fromabove, the upper lip will likely be darker inoverall value compared to the bottom lip.The bottom lip will also receive stronger lightand will likely have the areas of strongesthighlight.!!Just as is true for most areas on the face,the lips and mouth will have a full range ofvalue.!!As marks are made, attention should bepaid to the subtle lines that exist in thetexture of the lips. Marks should be made tocompliment these lines (cross contour lines)so that the texture and form of the lips areaccurately communicated in the drawing. !A light application of Peach is applied firstto the lips. This will act as a base tone.Magenta is laid on top with a lightapplication. Because of the complexity,color will be applied with cautiouslayering, becoming more deliberate andheavy as the drawing progresses.!Copyright (c) 2014 The Colored Pencil Course
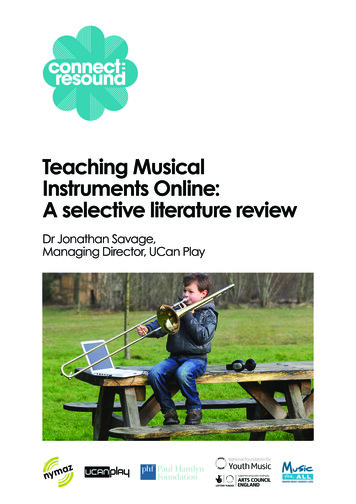
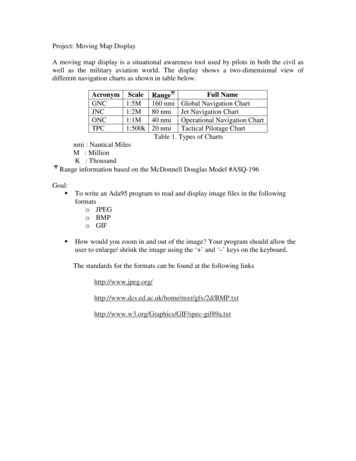
Portrait Drawing Part 3Magenta is lightly applied in multiple areason the lips.Applications on the bottomportion of the lips are made withconsideration to the observed cross contourlines present in that area.!Sienna Brown is layered over the applicationof Magenta, toning down the intensity of thecolor. Tuscan Red, a color with a darkervalue, is layered next.!Highlights are preserved and intensified witha heavy application of White. This is doneearly in the drawing process.!Initial areas of shadow are worked usingDark Umber. These areas will gradually bebuilt up throughout the drawing process. !Copyright (c) 2014 The Colored Pencil Course
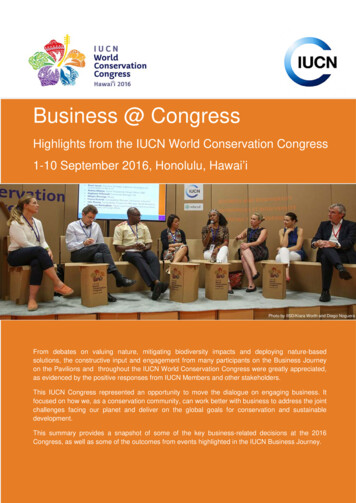
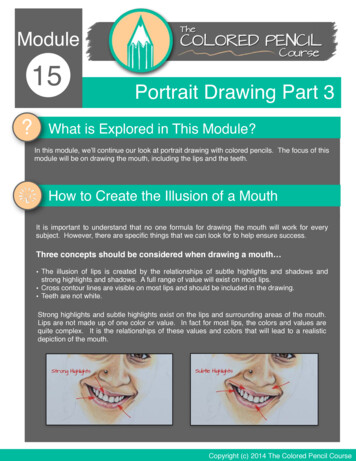
Portrait Drawing Part 3A colorless blender is next used to work thelayered colors into the surface, burnishingthem to a smoother texture.!To make the lips appear natural, Beige isheavily applied, further burnishing the colors.This color is chosen because it is the basecolor that has been used for the skin tones.!Since the colors have been burnished, awaxy base exists in which to develop thevalue further. Dark Umber is layered againto darken up the corners of the mouth.!A slight bit of purple can be observed in thereference. For this reason, a light applicationof Dark Purple is applied to the bottom lip,close to the corners of the mouth.!Copyright (c) 2014 The Colored Pencil Course
Portrait Drawing Part 3The lips then receive a heavy application ofPeach, further burnishing the area anddeveloping the colors.!With enough information on the lips, we canturn our attention to the inside portions of themouth.The teeth receive a mediumapplication of Cream, followed by a heavyapplication of White.!Dark areas around the teeth are addressedinitially with a heavy application of DarkUmber. Adjustments to the shape of theteeth and the edges of the lips can be madehere as the negative areas around them aredeveloped. !Crimson Lake is used for the base tone colorof the gums. This is applied with a mediumto heavy application. Here again, the shapesof the teeth and the lips can be adjusted.!Copyright (c) 2014 The Colored Pencil Course
Portrait Drawing Part 3Burnt Ochre is applied over the areas ofCrimson Lake to give the color a naturalappearance. This area is then burnishedwith Peach.A light application of DarkUmber follows to define the shadows thatexist between each tooth.!Teeth are not white.Instead, they aregenerally a light yellow.To produce thiscolor, a heavy application of Cream isapplied, which is subsequently burnishedwith White.!White is also used to further define theshape of the teeth and the edges of the lips.!To create the necessary contrast betweenthe lips and the inside portions of the mouth,Dark Umber is used to create a subtle line.!Copyright (c) 2014 The Colored Pencil Course
Portrait Drawing Part 3With the inside of the mouth defined,adjustments can be made to the valuespresent on the lips. Dark Umber is applied inthe corners of the mouth.!To make the values darker, and to produce anatural black, Indigo Blue is used over theDark Umber.!Next, attention turns to the areas around themouth. A base tone of Beige is applied witha medium to light application.!The development of the shadows above thelips and just outside of the corners of themouth begins with light applications of DarkUmber and Sienna Brown.!Copyright (c) 2014 The Colored Pencil Course
Portrait Drawing Part 3These areas are burnished with Beige,toning down the intensity of the color andsmoothing the surface.!Peach is also worked into areas around themouth. Heavy pressure is applied with thiscolor, burnishing the surface as it is applied.!Additional applications of Dark Umber areapplied and then burnished with Beige,developing the color and the value.!This process of layering darker values andburnishing them into the surface continuesaround the mouth.!Copyright (c) 2014 The Colored Pencil Course
Portrait Drawing Part 3An area of highlight exists just above the lips.This area is addressed with a heavyapplication of White and Cream and thenburnished with a colorless blender.!Work continues on areas around the mouth.Values and colors are developed by layeringDark Umber and Sienna Brown. A bit of LightUmber is used as well. These areas areburnished after each application with Beigeand Peach.!As colors and values are worked,comparisons are made with surroundingcolors and values. Adjustments are made tothe value according to these comparisons.!A final burnishing occurs with a colorlessblender and Beige.!Copyright (c) 2014 The Colored Pencil Course
Portrait Drawing Part 3 Sienna Brown is layered over the application of Magenta, toning down the intensity of the color. Tuscan Red, a color with a darker value, is layered next.! Highlights are preserved and intensified with a heavy application of White. This is done early in the drawing