Transcription
AFROTC GuideAdmissions ProcessOPR: AFROTC/RRFPAFROTC.RRFP@us.af.mil334-953-4380CAO: 15 AUG 181
TABLE OF CONTENTSCHAPTERPAGECHAPTER 1 – APPLYING TO AFROTC (APPLICANT SIDE)CHAPTER 2 – COMPLETING THE APPLICATION CHECKLIST (APPLICANT SIDE)CHAPTER 3 – ENROLLING AND CLASSIFYING A CADET (DET SIDE)23926
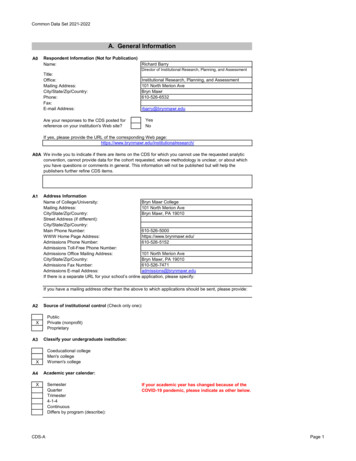
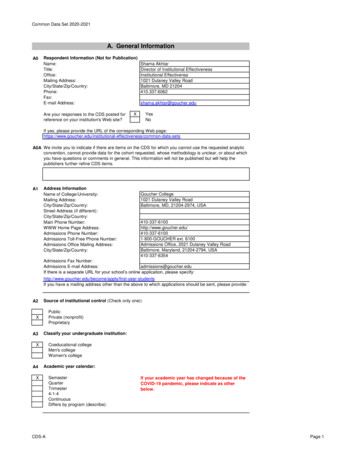
CHAPTER 1 – APPLYING TO AFROTC (APPLICANT SIDE)1.1. Admissions Process is the process by which prospective students formally apply for the program,are checked for viability, and become officially registered as cadets. This guide is designed to assist youin completing the admissions process required to in-process a Cadet into Air Force ROTC. Follow thesteps in the exact order, be sure to read all instructions associated with this guide.1.1.2 The Applicant (You) will click on the “Apply for ROTC” link via the Holms CenterWINGS Portal (https://wings.holmcenter.com). Refer to Figure 1.1.Figure 1.1. Click Apply for AFROTC3
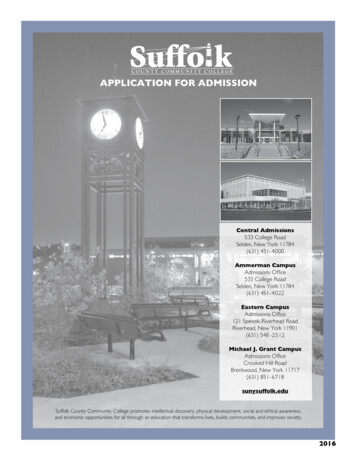
1.1.3. You will be directed to the Privacy Act Statement. If you agree with the statement,Click Yes and Submit. Refer to Figure 1.2.Figure 1.2. Privacy Statement4
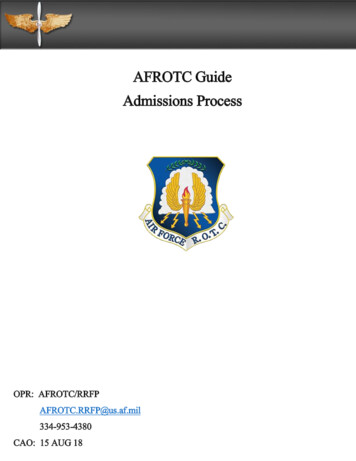
1.1.4. To create your account, you must enter an active email account. This email addresswill also be used as the username, along with the password you create at this screen. Select asecurity Question and type Response. Click Submit. Refer to Figure 1.3.Figure 1.3. Account Creation with Active Email Account1.1.5. You will be directed to a new screen, notifying you that an activation code was sent toyour email address. Keep the window open and check your email for the activation code. Referto Figure 1.4.Figure 1.4. Keep Window and Check Your Email for Activation Code1.1.6. Within minutes of entering your email address in WINGS, an Activation Code will besent to the email address you provided. Check your inbox for the activation code sent fromhcportal@holmcenter.com. Refer to Figure 1.5.5
Figure 1.5. Activation Code Sent in Registered Email Address1.1.7. Type the activation code into the *Activation Code field and click Submit. Refer toFigure 1.6.Figure 1.6. Enter Activation Code1.2. Landing Portal. After you create the account, you will be directed to the WINGS Portal.Use your User ID (email address) and password to create your WINGS account. See Figure 1.7.Figure 1.7. Sign in to WINGS Holm Center6
Figure 1.8. Click on My ROTC Applicant tile1.3. My Profile. After you successfully login to WINGS, you will create your profile.Complete all fields. Click Submit. Refer to Figure 1.9.Figure 1.9. Complete My Profile7
1.3.1. You will be prompted to verify your Date of Birth and Social Security Number by retyping them. Once complete, click OK. Refer to Figure 1.10.Figure 1.10. Re-enter Date of Birth and Social Security Number1.3.2. Your Account Profile will be stored in the WINGS database, and will directed to yourapplication.Note: If there an existing profile with similar data as your profile, your profile will be reviewedby HQ AFROTC and you will receive a notification that your Account Profile is Under Review.See Figure 1.11.Figure 1.11. Account Profile Under Review1.3.3. Sign out of WINGS by clicking the three dots located at the top right corner of the screen.Refer to Figure 1.12.Figure 1.12. Sign Out of WINGS8
CHAPTER 2 – COMPLETING THE APPLICATION CHECKLIST (APPLICANT SIDE)2.1. Completing the Application. You (Applicant) will login to WINGS. See Figure 2.1.(https://wings.holmcenter.com). See Figure 3.1.Figure 2.1. Landing Portal. Use your User ID (email address) and password to login.2.1.1. Click on My AFROTC Application tile. See Figure 2.2.Figure 2.2. Click on My AFROTC Application2.2. Intent for Completing the Application. Answer your intent for completing the onlineapplication. The checklist items will be listed, depending whether you are applying to the HighSchool Scholarship Program (HSSP), joining the AFROTC Program, or just wanting to attendAFROTC classes.2.2.1. If you click No to “Apply for the AFROTC HSSP” and No to “Join AFROTC,” youwill be applying as a Participant. This will allow you to enroll in AFROTC classes only.You are required to select your school of preference(s). See Figure 2.3.9
Figure 2.3. Intent to Apply, No to Scholarship / No to Join AFROTC2.2.2. If you click No to “Apply for the AFROTC HSSP” and Yes to “Join AFROTC,” youare required you to complete a list of items in the checklist. Click on each item. Refer toFigure 2.4.Figure 2.4. Intent to Apply, No to Scholarship / Yes to Join AFROTC10
2.3. Select Schools. Click Select Schools. Select the colleges you are attending by clicking thedrop-down menu for the state and the preferred colleges. The selected colleges will receive yourcontact info and review your application. If you have more than one school of preferences, rankthem in preference order. Click Save & Close. Refer to Figure 2.5.Figure 2.5. Select Schools You are Interested in11
2.4. Youth Experience. Answer all fields and click OK. If you have any Youth Experience, youwill any certificates or documents in Supporting Documents in your application checklist. Referto Figure 2.6.Figure 2.6. Complete all Fields for Youth Experience2.5. Contact Information. Click the drop-down menu to indicate the Type of phone number,email address, and address registered to the account. The home of record is your primaryresidence. If you currently live in a different address, click the sign and add your currentaddress. Ensure information and type is accurate. Once complete, click OK. Refer to Figure 2.7.Figure 2.7. Complete all Fields for Contact Information12
2.6. Demographics. Complete all fields and click OK. See Figure 3.8.Figure 3.8. Complete all Fields for Demographics.2.7. Military. Answer all fields. Males will require their Selective Service Number. Refer toFigure 2.9.Figure 2.9. Complete all Fields for Military.13
2.8. Medical. Answer, then Save & Close. Refer to Figure 3.10.Figure 2.10. Answer and click Save & Close.2.9. Dependents. Answer and complete fields. If you have a dependent, you will be required toenter your dependent’s contact information and acknowledgement the statements for Dependent /Dependent Care. Click Continue. Refer to Figure 2.11.Figure 2.11. Complete all Fields for Dependents14
2.9.1. Read and understand the Questions /Acknowledgements for Dependent / DependentCare. If you acknowledge, check the box beside it. Click Save & Continue when complete.Refer to Figure 2.12 and 2.13.Figure 2.12. Read and Answer Items in Dependent / Dependent Care15
Figure 2.13. Read and Answer Items in Dependent / Dependent Care16
2.10. Questions / Acknowledgements. Click Questions/Acknowledgments. You must read andanswer all questions and acknowledgments truthfully. Click Next to go to next series ofQuestions / Acknowledgements. Clicking Next will save current answers and move to nextscreen. Once complete, Click Save & Close. See Figure 2.14 and 2.15.Note: You must read and answer all questions and acknowledgments truthfully. If you donot understand the question, do not answer that portion and return to it, once thedetachment has provided clarification of the question / acknowledgment.2.10.1. Clicking Save & Close will close you out of the module. Make sure you haveanswered all questions and acknowledgements before moving on.Figure 2.14. Read and Answer Items Truthfully in Questions / Acknowledgements17
Figure 2.15. Read and Answer Items Truthfully in Questions / Acknowledgements2.10.2. If you proceed to Next page without answering all questions, a message will appearnotifying you not all questions were answered. Click OK and remember to unansweredquestions / acknowledgements. See Figure 2.16.Figure 2.16. Incomplete Page.2.10.3. An uncommon response will require you to provide additional information for theacknowledgement. Click OK when complete. Refer to Figure 2.17.18
Figure 2.17. Provide Additional Information for an Uncommon Response.2.10.4. Once all questions, have been answered, click Save & Close. Refer to Figure 2.18.Figure 2.18. Provide Additional Information for an Uncommon Response19
2.11. Releases & Forms. Click on Releases and Forms. Read instructions. Click on each itemto download or print. Then completely fill out forms. Click Finished Printing to resumeapplication. Refer to Figure 2.19.2.11.1. You are required to print the Mail Authorization Release and bring it to thedetachment, as it requires the detachment staff signature.Figure 2.19. Click Finished Printing20
2.12. Supporting Documents. Click on Supporting Documents. The required supportingdocuments will be dependent on how you answered your application. Example: If you hadanswered that you were in the Boys Scouts, you will be required to upload a Scout Certificate.Refer to Figure 2.20.Figure 2.20. Click Add Attachment and Browse for File.21
Figure 2.21. Click Add Attachment and Browse for File to Upload.22
2.13. Civil Involvements (CI). If you have had any involvement with any civil, military, schoolauthorities / law enforcement officials (regardless of its insignificance, disposition, or finding), itmust be reported. Ensure you read and understand what a CI is. Click Add an Involvement ifyou have any to report. Refer to Figure 2.22.Figure 2.22. Click Add Involvement if You Have a Civil Involvement to Report23
2.13.1. Provide details of the CI and upload documents. If the Cadet Statement Required boxis checked, click on Cadet Statement Required link. It is a hyperlink for you to add yourrecollection of the CI. Click Report/Save to save and return to CI, at a later time. Submit asComplete when required documents and cadet statement have been provided. Refer to Figure2.23.NOTE: The detachment will set a time for you to bring your supporting documents forverification and for you to certify any CI’s.Figure 2.23. Complete Fields for CIOnly 120 characters. Make it short.If there is a check mark, click to add your statement24
2.14. All Items Checked. Once you receive check marks on all boxes, click Submit. Thedetachment will review the application and contact you for any questions and explanations. Ifyou do not complete the checklist, the application will save automatically and you may completethe application at a later time. Refer to Figure 2.24.Figure 2.24. Application List Items all Checked2.14.1. Sign out of WINGS by clicking the three dots at top right corner. See Figure 2.25.Figure 2.25. Sign Out of WINGS25
CHAPTER 3 – ENROLLING AND CLASSIFYING A CADET (DET SIDE)3.1. Enrollment / Classification. This allows you to review and update an application. DetNCO may move an applicant through different statuses based on the information provided in theapplication.31.1 The NCO will sign in WINGS and review which applicants require to be gained(assigned) to the detachments. Click on Recruiting / Admissions tile.Figure 3.1. Sign into WINGS3.1.2. Navigate to Contact Worklist. See Figure 3.2.Figure 3.2. Click on Contact Worklist26
3.1.3 Filter Application Status. Click on Non-HSSP Application to populate worklist with NonHSSP applicants. Click Fetch Results. See Figure 3.3.Figure 3.3. Filter Application Status3.1.4. You may search for an applicant’s name or a recent date an applicant’s profile was created.Click on the applicant’s name. Refer Figure 3.4.Figure 3.4. Navigate to Contact Search and Type Contact’s Data.27
3.1.4. Click on each tab and review data. Refer to Figure 4.4. Most of the information areitems the detachment staff had already reviewed, when the contact was a prospect. Refer toFigure 3.5.Figure 3.5. Click on Tabs to Review Data3.2. Notes. Notes are used to communicate between staff. Staff may include commentspertaining to applicant’s application.3.3. Review All Answers. Staff may review Applicant’s responses from Questions /Acknowledgements.3.3.1. Uncommon responses will be flagged red. You will see these responses again and willcommunicate with applicant if you require any further clarification or explanation. Refer toFigure 4.5. No action is required from detachment until you are about to enroll and classifythe applicant. Refer to Figure 3.6.3.3.2. Click the Full Question block to read entire question. The Help Text block isinformation for the applicant to better understand the question. Not all questions haveinformation in the Help Text block. Refer to Figure 3.7.28
Figure 3.6. Uncommon Responses are Highlighted RedFigure 3.7. Click Full Question as Applicable3.4. Supporting Docs Tab. You will see the documents the applicant uploaded.3.2.1. View and verify documents. Click on the File Status drop down menu to Approve orReject items. Refer to Figure 3.8.29
Figure 3.8. Navigate to Supporting Docs to Verify Files3.5. Contact Data Tab. Click on Contact Data Tab, to Create Cadet. Clicking Create Cadet willallow you to gain the cadet into your detachment. See Figure 3.9.Figure 3.9. Click on Contact Data Tab3.6. Create Cadet. Applicant’s contact data will be displayed. Click on Create Cadet. Refer toFigure 3.10.30
Figure 3.10. Click Create Cadet to Gain Cadet to DetachmentBeacadetIwanna3.7. Gain Cadet. You will be directed to a new screen. Input the applicant’s projected DOC andclick Gain Cadet. The applicant is now assigned to your detachment and no other detachmentswill be able to view the applicant’s application. Refer to Figure 3.11.Figure 3.11. Enter Projected DOC and Click Gain Cadet31
3.7.1. The Contact’s info will be relocated to Cadet Data. The detachment is ready toverify and validate the application. Refer to Figure 3.12.Figure 3.12. Application Status3.8. Enroll and Classify a Cadet. Det Cadre must check the list of applicants who still need tofulfill requirements for enrollment and classification. Navigate to Enrollment / Classification andclick Search. Refer to Figure 3.13.Figure 3.13. Navigate to Cadet Data and click Enrollment / Classification3.8.1. If you are searching for applicants without any contact data, leave Search Criteria blankand click Search. A list of applicants who have been gained to your detachment will bedisplayed. This is a snapshot of all applicants pending enrollment and classification. Refer toFigure 3.14.32
Figure 3.14. List of Gained Applicants Not Yet Classified3.8.2. If you are searching for a particular applicant, include the applicant’s information inSearch Criteria and you will be directed to their application status. Refer to Figure 3.15.Figure 3.15. Click on Each Box to Verify Qualifications are Met3.9. Enrollment Eligibility. Click on Enrollment Eligibility box. Acknowledge you havereviewed and verified documents by clicking the small box beside statement. Detachments arenot required to scan a copy of document.33
3.9.1 Click on the box for each section and a green check mark will mark that section, withDetachment user’s name and time stamp. Click OK. Refer to Figure 3.16.Figure 3.16. Verify Supporting Documents for Enrollment EligibilityXXXxxxxxX34
3.10. Youth Military Experience. Click on Youth Military Experience box. Once each fieldhas been verified, a green check mark will appear in the box for that section. Supportingdocuments must be uploaded. If items are not all marked, you will upload documents in theApplication Documents section of the application status. Click OK.Figure 3.17. Ensure all Boxes have a Check Mark35
3.11. Screening Questions. Click on Screening Questions box. Ensure all questions have acheck mark. Review responses with red X’s/ Refer to Figure 3.18 and 3.19.Figure 3.18. Review Screening Questions ResponsesFigure 3.19. Review Uncommon Responses36
3.11.1. If there are any red X’s, click on the box to Review and Accept or Reject comments.Mark whether you accepted or rejected comments. Click OK. If you Approve comments, therewill be a green OK for that question. Refer to Figure 3.19 and 3.20.Figure 3.20. Review and Accept or Reject Applicant’s Response3.12. Application Documents. Review, verify, and approve Application Documents. ClickOK. Ensure each item has a check mark. Det may upload documents if the applicant has notuploaded all supporting documents or Det may tell the applicant to sign into WINGS and returnto their application checklist to upload documents. Refer to Figure 3.21.Figure 3.21. Review Supporting Documents37
3.13. Civil Involvements (CI). Certify all CIs have been reported. Click Add Certification.Refer to Figure 3.22.Figure 3.22. Add CI Certifications3.13.1. Applicant’s presence is required for Civil Involvement Certification. Acknowledgestatement by clicking OK. Refer to Figure 3.23.Figure 3.23. Acknowledge that Cadet Presence is required for CI Certification3.13.2. Applicant will click box and will digitally sign using their username and password.Have the contact click Sign/Submit. Click Return. Refer to Figure 3.24.Figure 3.24. Applicant will Type Username and Password38
3.14. Click Classify Cadet. Once all boxes are checked, click Classify Cadet. See Figure 3.25.Figure 3.25. Classify Cadet3.14.1. Update Status and type in the AS level. Refer to Figure 3.26.Figure 3.26. Click Applicable Student Status and Type AS level3.14.2. Verify cadet has been gained. Navigate to Cadet Data and search for Cadet.39
in completing the admissions process required to in-process a Cadet into Air Force ROTC. Follow the steps in the exact order, be sure to read all instructions associated with this guide. 1.1.2 The Applicant (You) will click on the "Apply for ROTC" link via the Holms Center WINGS Portal (https://wings.holmcenter.com). Refer to Figure 1.1.